Training is well underway and almost done for my runDisney Princess race! I cannot believe the race is only a week away. I was going to go hardcore with my running costume this race, but let’s be real it’s just not fun to run in something uncomfortable. While I LOVED my Provincial Belle running costume I made for a previous runDisney race I decided (more…)
Cricut
1st Birthday Tutu and Onesie Tutorial
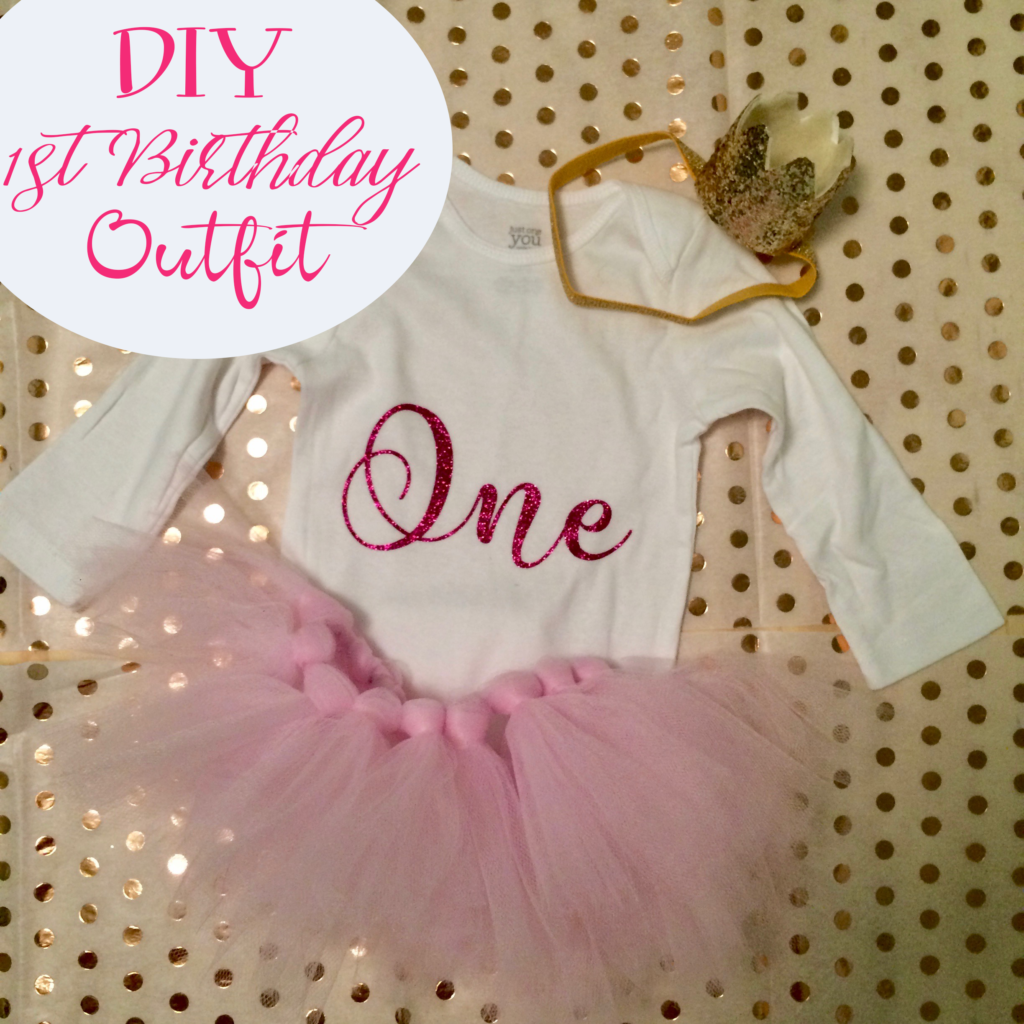
A babies first birthday is such an exciting milestone for new parents. An easy DIY no sew tutu with a matching onesie is a perfect first birthday outfit for any baby girl. When my adorable niece was turning one I decided to make her a little first birthday outfit to wear on her day! There isn’t anything cuter, in my opinion, that a little girl in a tutu (more…)
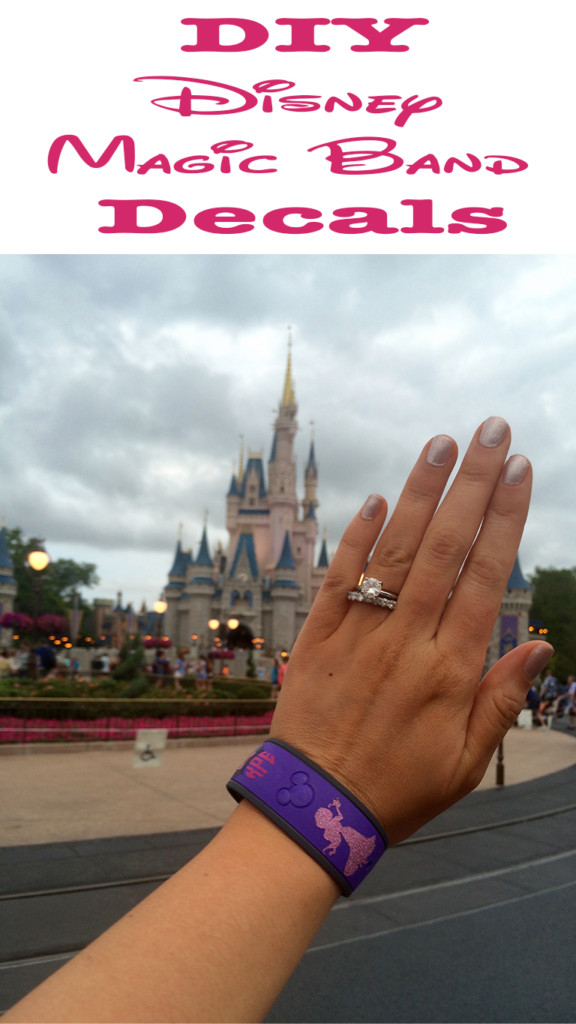
DIY Magic Band Decals
Whether you are planning your first trip to Walt Disney World or your 100th, you’ve likely seen or heard that Disney uses something called a Magic Band as an all in one source for your park ticket, room key, reservations, photos, fast passes and even a credit card to use on in park purchases. Basically, everything for your vacation is linked on this one little waterproof wristband.
If you book a stay at one of the Walt Disney World resorts your entire party will receive a magic band by mail at least 30 days prior to your vacation. (This is ending in 2021, but you can still purchase MagicBands to use) You can also choose to buy your own magic band and Disney sells many different ones. I now have way too many magic bands. I like to make these personalized magic band decals with my Cricut die cut machine. They add a little personality and then I can tell my bands apart.
*This post contains affiliate links. If you make a purchase using these links we will be compensated.*
The magic bands used for this project were the old style magic band. Around January 2017, Disney updated the magic bands and now uses a different style. UPDATE 2020: This project does work for the new Magic Bands without changing the sizes. You can modify if you want the imagine to be larger.
There are many places you can buy vinyl decals such as Etsy if you do not want to make your own vinyl decals. I love any excuse to use my Cricut, so I make them for myself, friend’s, and family. This is a pretty (more…)
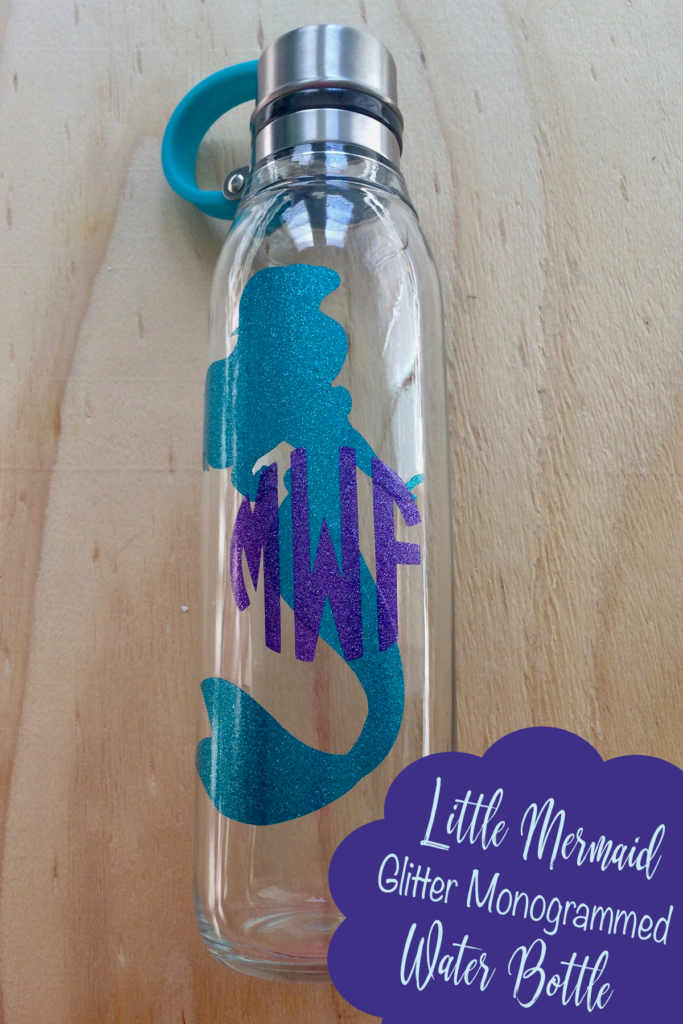
Layered Glitter Monogrammed Water Bottle
I previously posted how to make a princess monogrammed water bottle. My sister saw my post and wanted her very own water bottle. I decided to change the design and make her a Little Mermaid water bottle with layered glitter vinyl and use a glass water bottle. Glass can easily be used to apply vinyl. They are a wonderful alternative for those wanting to avoid plastic. In this post, I’ll show you how to make your very own layered glitter (more…)
Cricut Explore Air 2 Is Here
Cricut launched a new Explore Air! Cricut Explore Air 2 is now here and available on the website now. If you have spent any time reading my blog you already know how much I use and love my Cricut die-cut machine. After doing extensive research I decided to purchase a Cricut over the other brands available. The Cricut Explore Air 2 fixes some of the issues I have with my current Explore Air. I cannot wait to get my hands on one to test it out. **This post contains affiliate links and I will be compensated if you make a purchase after clicking on my links.
Why I Love The Circut Explore Air
I purchased the Cricut Explore Air to help make my DIY projects simpler and my cuts more precise. I never imagined, even after all my research, how many different projects I would end up using it for. The Cricut Design Studio offers (more…)
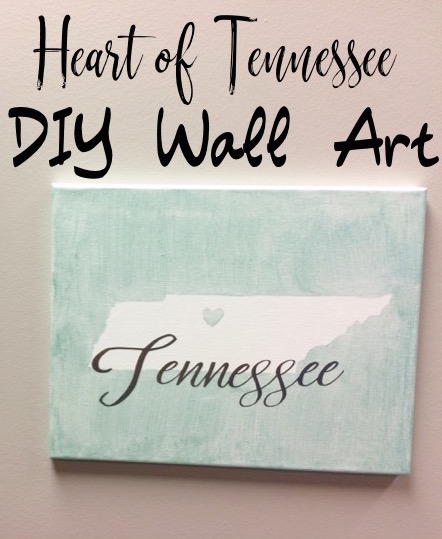
Heart of Tennessee DIY Wall Art
Even though I no longer live in Tennessee, it will always have my heart. I recently moved desks at my office and needed some new wall art. I’ve seen tons of these fun wall art using states and a heart for your city. I think showing a little state pride is a super fun piece of art for your home or office and it can be easily customized. This DIY project was clearly for Tennessee with a heart for my hometown, Nashville, but you can adapt this project for any city or state if you aren’t as TN proud as I am. **This post contains affiliate links. If you make a purchase after clicking on these links, we will be compensated. All opinions are our own.**
DIY Supplies
I try and use as many supplies as I already have on hand. Luckily, I had an 11 x 17 canvas already, some mint acrylic paint and extra silver vinyl foil so that’s what I used. I happen to be slightly obsessed with gray and mint at the moment, so this is probably why that is what I had on hand. A fun idea would be to use your favorite team colors. If you don’t have everything on hand and need to pick up supplies get a simple stretched canvas, it needs to be an unprimed one or the vinyl will not stick easily. You will also want to pick up a small bottle of acrylic paint, mine was a pearl colored mint, a brush, piece of card stock for a stencil and vinyl foil. I used a Cricut die cut machine for this project. That is what I own, if you have another die cut machine you can likely adapt my steps and use whatever machine you have.
Products I Used For This DIY Project
- Cricut Explore Air – See below for a coupon code
- Card Stock
- 11 x 17 stretched canvas
- Pearl Mint Acrylic Paint
- Paint Brush
- Cricut Design Space
- Cricut Adhesive Foil
- Font – FontBundles has amazing free fonts!
- SVG cut file of Tennessee
- Cricut Tools
- Cricut Cutting Mat
Cricut.com Coupon – I love a deal! Follow this link for an extra 10% off (excludes Access and Explore 2) + free standard shipping with code HOLIDAYDEALS
Directions:
This project is a very simple Cricut project. (more…)
DIY Welcome Sign – Cricut Project
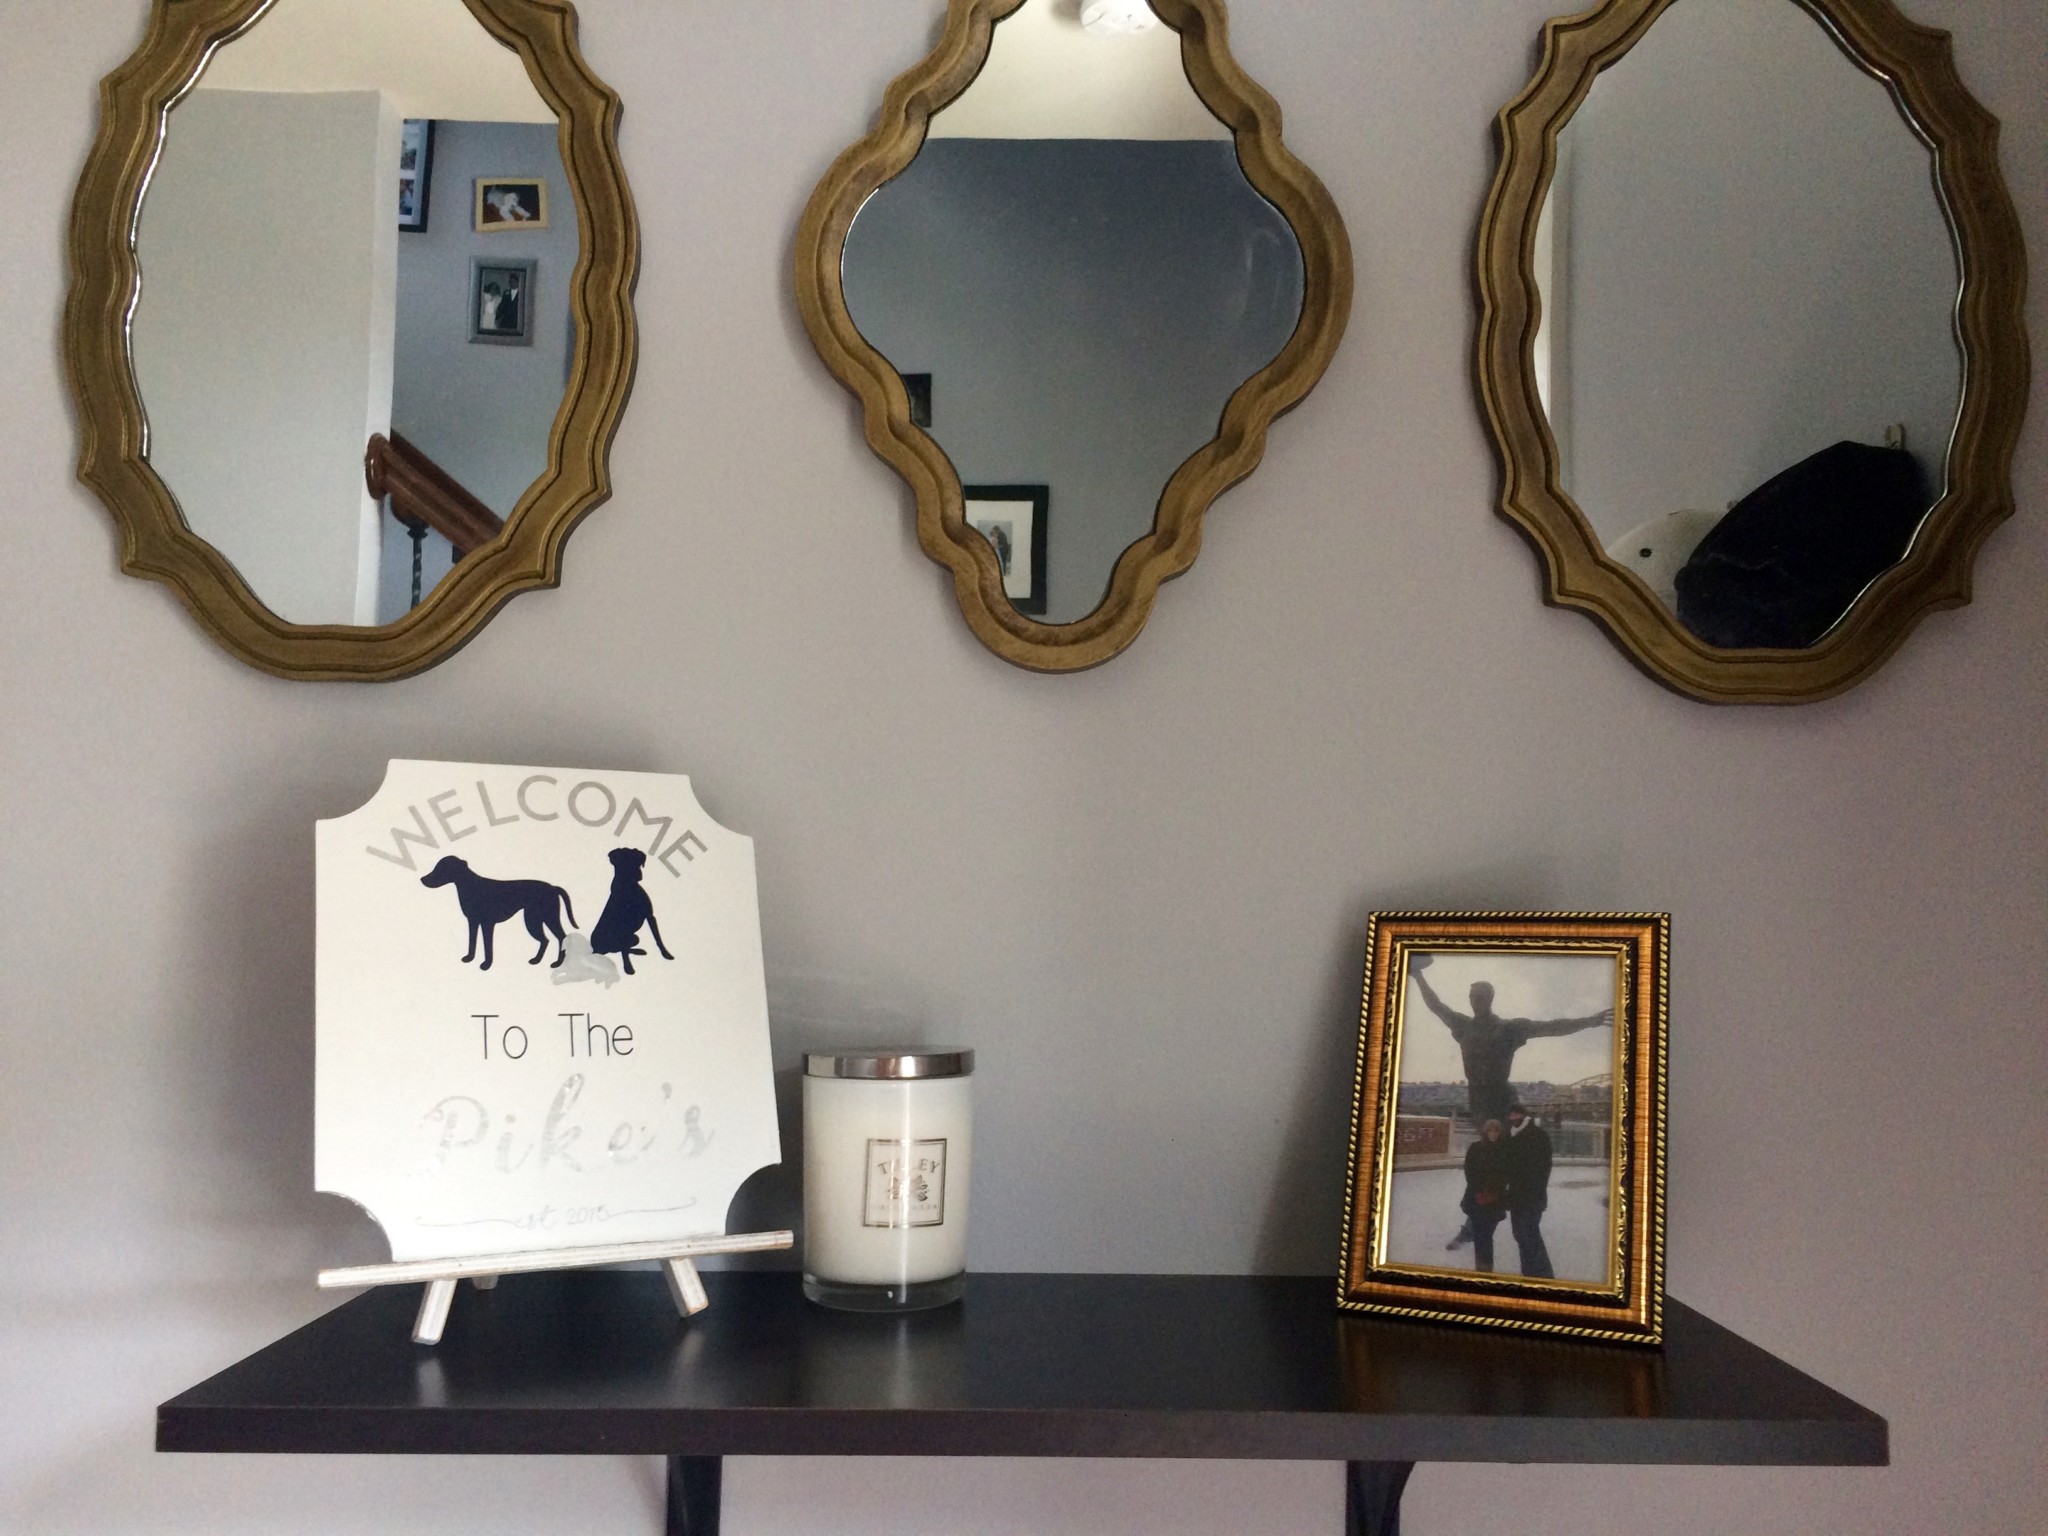
Our dogs are family and when figuring out a way to fix a DIY Welcome Sign for our entryway that was a total fail, I couldn’t leave the pooches out! I got the idea to add silhouettes that looked like our three dogs and make this adorable welcome sign. A custom welcome sign was the perfect way to complete our entry and is such a cute way to greet guests. I’m a huge fan of contrast, so our entry has a mixture of gold and silver. The sign I made has a gray background with metallic silver and navy vinyl and silver foil. **This post contains affiliate links if you make a purchase after clicking one of these links, we will be compensated. All opinions are our own.
Items needed for this project:
- Cricut Die Cut Machine
- 2 – 12 x12 Pieces of Vinyl – Expressions Vinyl
- 1 – 12 x12 Piece of Metallic Silver Foil
- Cricut Design Space
- Cricut Tools
- Cricut Cutting Mats
- Small Sign
- Paint
- Paint Brush
You can find all of these items at JoAnne’s, Michaels or your nearby craft store or online!
The Sign Before:
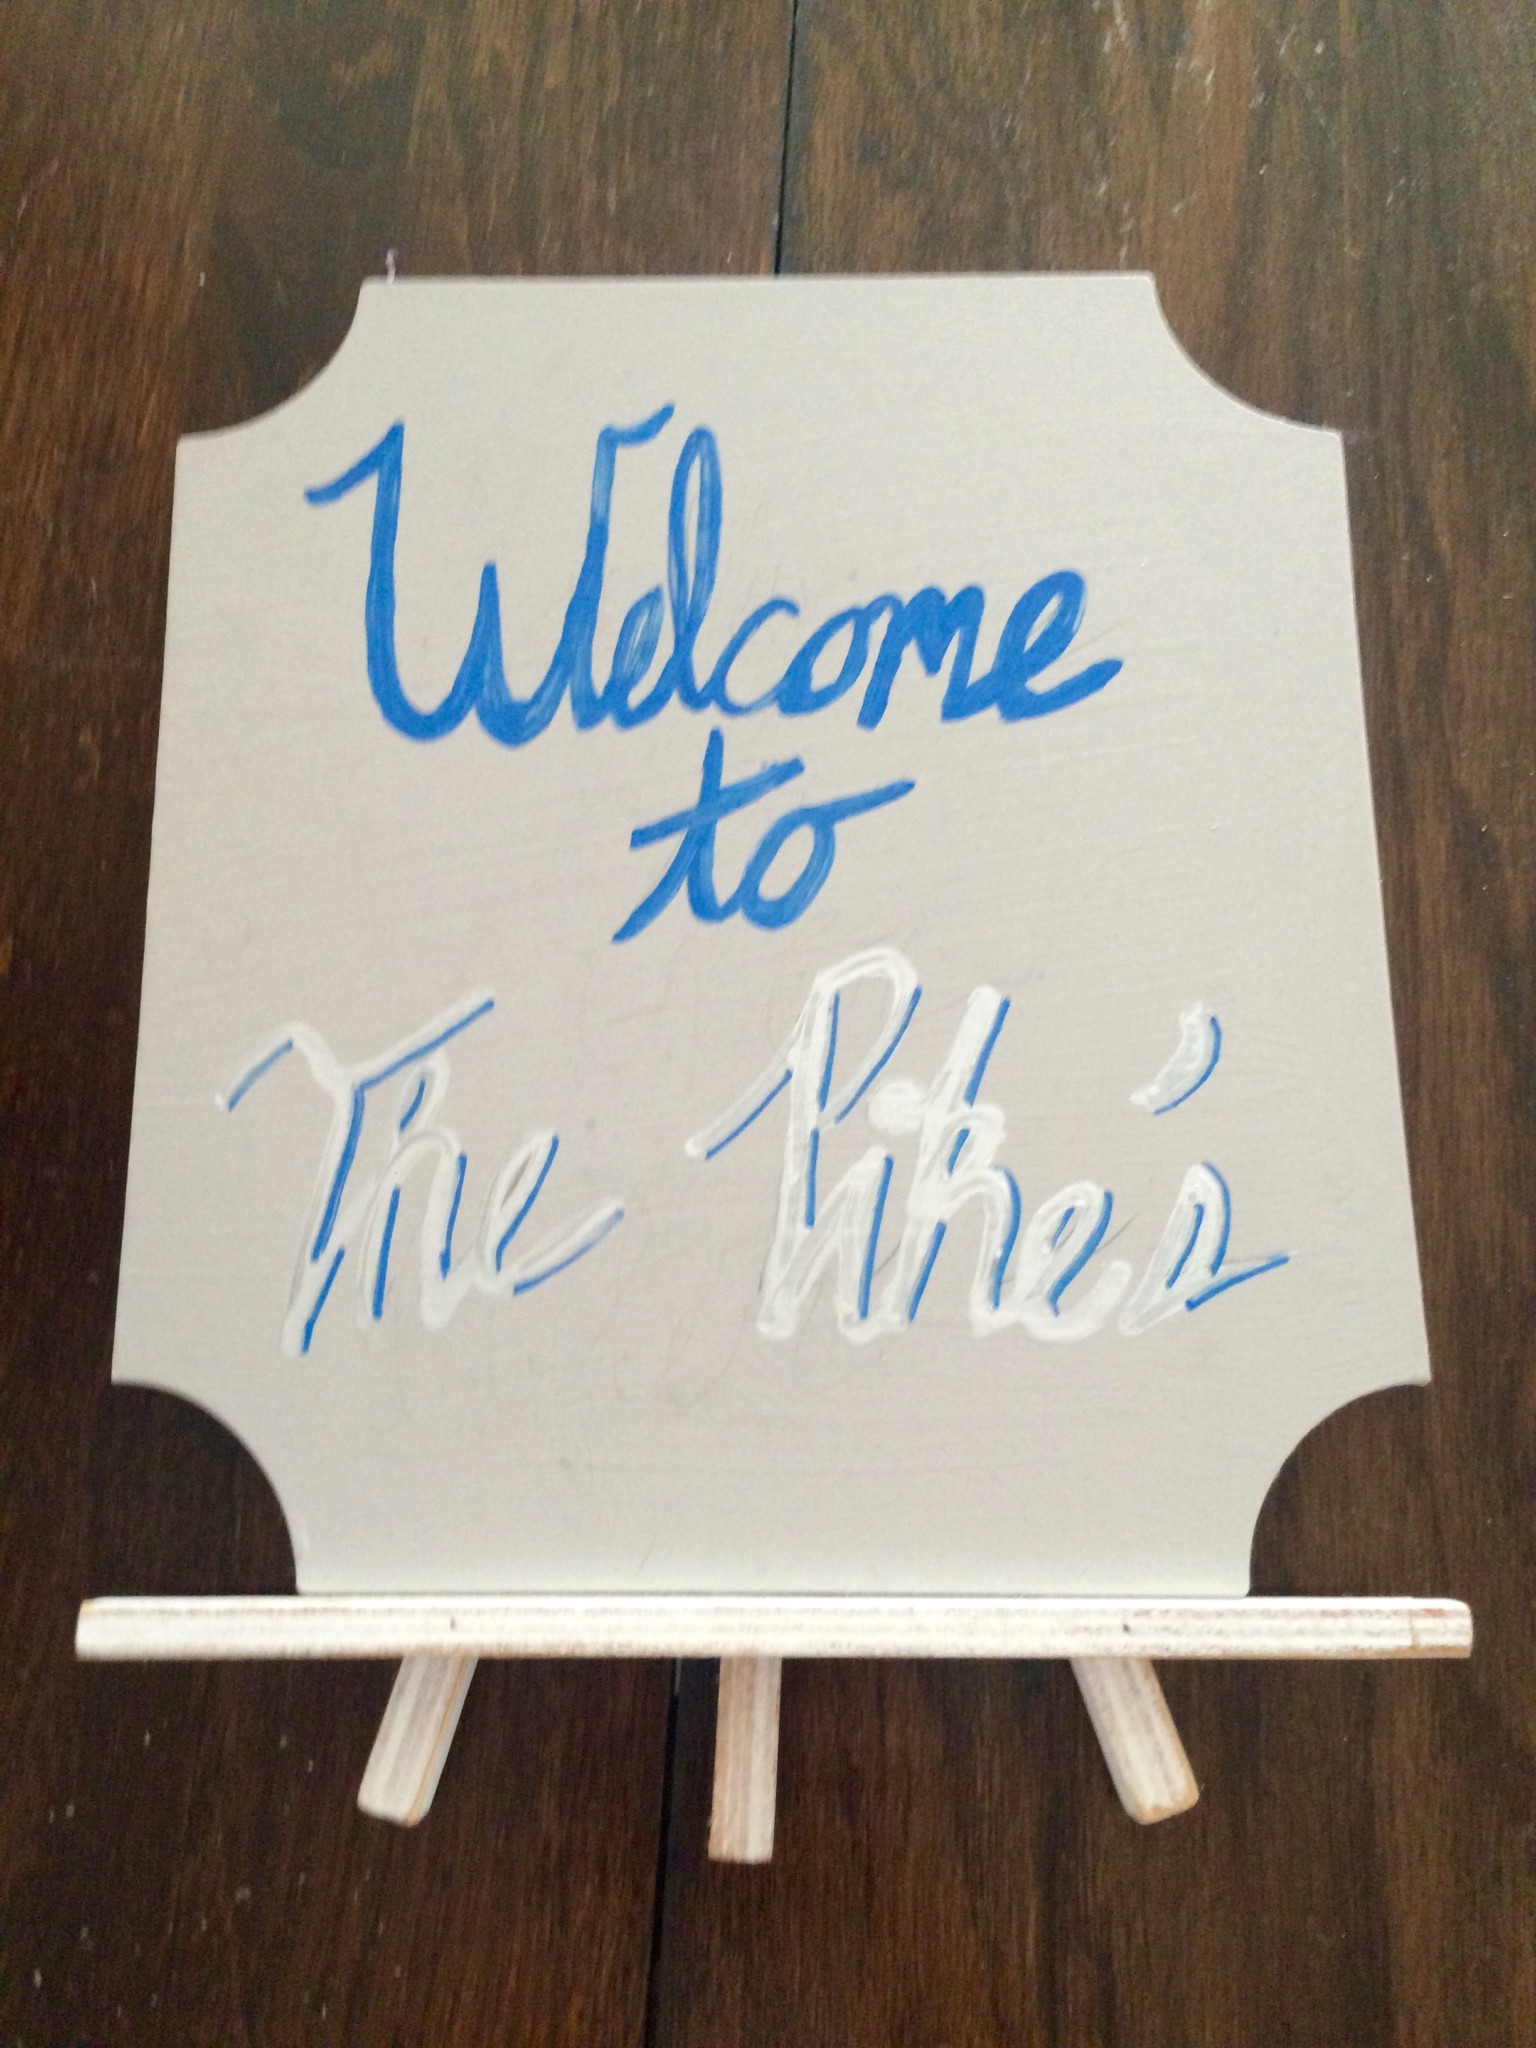
Here was the hideous sign before. I purchased the blank sign on sale from Michael’s and wanted to use it in our wedding for a drink menu. I wound up framing a typed up drink menu since that fit our wedding decor better, but I still wanted to use this sign for something. When we moved I needed some decor in our entry and thought a welcome sign would be perfect. A bad paint pen experience later and the sign was not what I intended it to be. (more…)
Honeymoon Tote Bag DIY
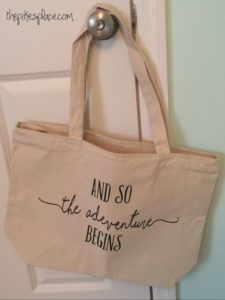 A good tote bag is a summer essential. Something that can get wet, easy to carry and can hold all your pool, beach or lake items. For our honeymoon I needed a beach bag that I could use around the hotel to take towels, sunscreen, phones, books and such to the pool or beach. I found this canvas bag on Amazon for $6.00 and thought it was perfect to personalize with some iron-on vinyl. **This post contains affiliate links. If you make a purchase after clicking on one of these links, we will be compensated. We actually purchased and used all products endorsed and all opinions are our own.**
Items Needed
- Cricut or Die cut machine
- Font of your choice
- 12 x 20 Black Iron on Glitter Vinyl – I purchased from Expressions Vinyl
- Cricut Tools
- 12 x 24 Cricut Cutting Mat
- Iron
- Surface to Iron On
- Towels or heat barrier to protect surface and vinyl
- Measuring Tape or ruler
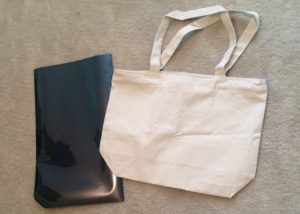 Instructions:
This is a super simple Vinyl project that has no layering or special designs. If your tote is washable, you will need to pre-wash the bag (more…)
DIY Wifey Tank Top
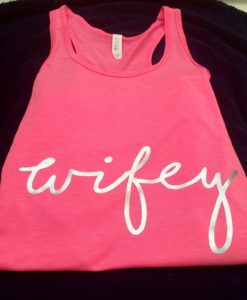
Last November I purchased a Wifey sweatshirt to wear the day after our winter wedding. I love it so much and once it was summertime I was sad to put it away for winter. Once we booked our honeymoon, I new I wanted a Wifey tank top. There are so many adorable wifey tank tops out there. This time instead of buying another one off Etsy, I decided to make my own for less than half the cost! If you’re not married or engaged, this can be a perfect gift for a friend’s engagement party or shower.
I made this project with my Cricut. If you don’t have one you can either buy a vinyl iron on off one from one the many Etsy or buy iron on letters from a local craft store and still make your own tank. **This post contains affiliate links. If you make a purchase after clicking on these links we will be compensated. All opinions are our own.**
What You Need:
- Cricut or Die Cut Machine
- Heat Transfer Vinyl – Expressions Vinyl Stretch in Silver
- I purchased a 12×12 sheet for $3.99 and I have about half left for another project.
- Cricut Design Space or other design program
- Font of your choice
- I downloaded Shoreline from Dafont.com (for personal use only)
- Iron
- Tank Top (Pre-washed)
- I purchased a Bella Ladies Flowy Racerback Tank off Amazon with free shipping for $3.00!!!!
- Cutting mat and Cricut tools
Instructions:
Designing the Wifey
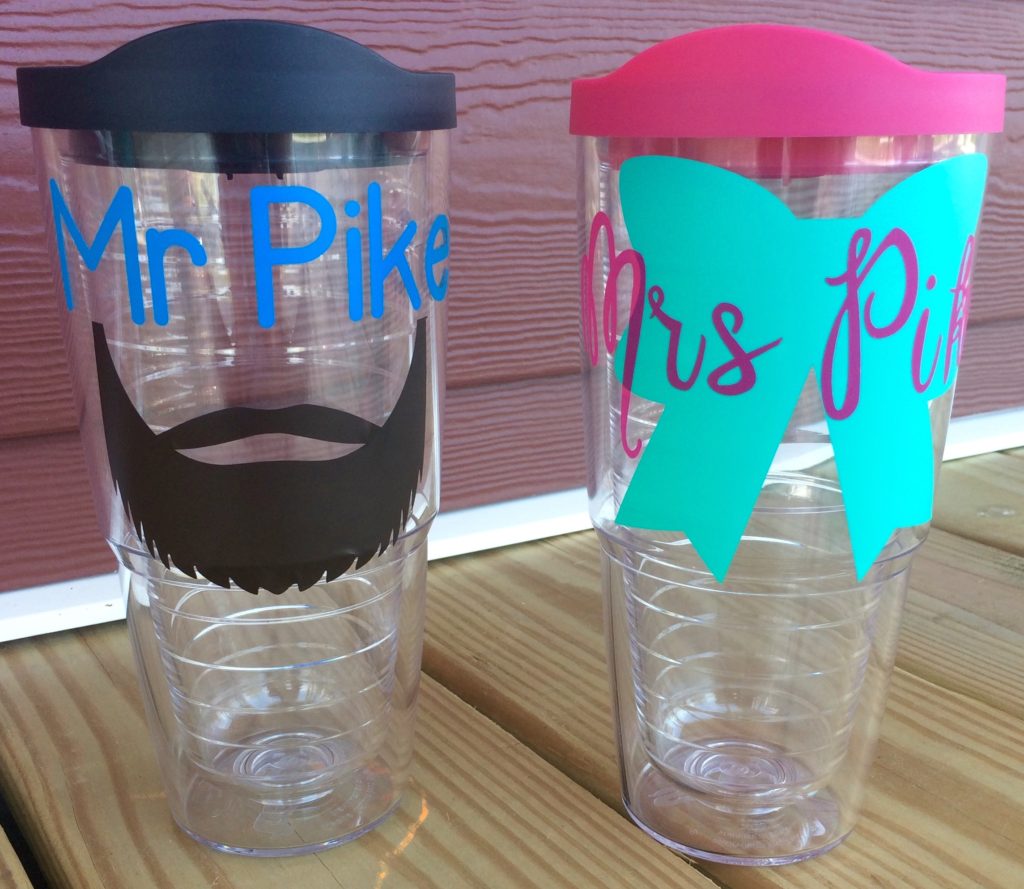
Mr. & Mrs. Honeymoon Tumblers
The honeymoon is almost here and we are heading to an All Inclusive resort in Mexico! I can’t wait to lay out on the beach with my hubby margarita in hand! After reading tons of reviews about all inclusive resorts, I decided it was a good idea to bring along a tumbler to keep beverages cold while laying poolside/beachside at the resort. I’m a big water drinker, but I hate warm water. If I needed to order 10 cups of water at once and fill up my tumbler to keep it cold in the sun, I would do so in heartbeat. I decided custom tumblers were a must! *This post contains affiliate links. If you purchase after clicking on one of these links, we will be compensated.*
These tumblers may be my favorite designs I’ve (more…)
