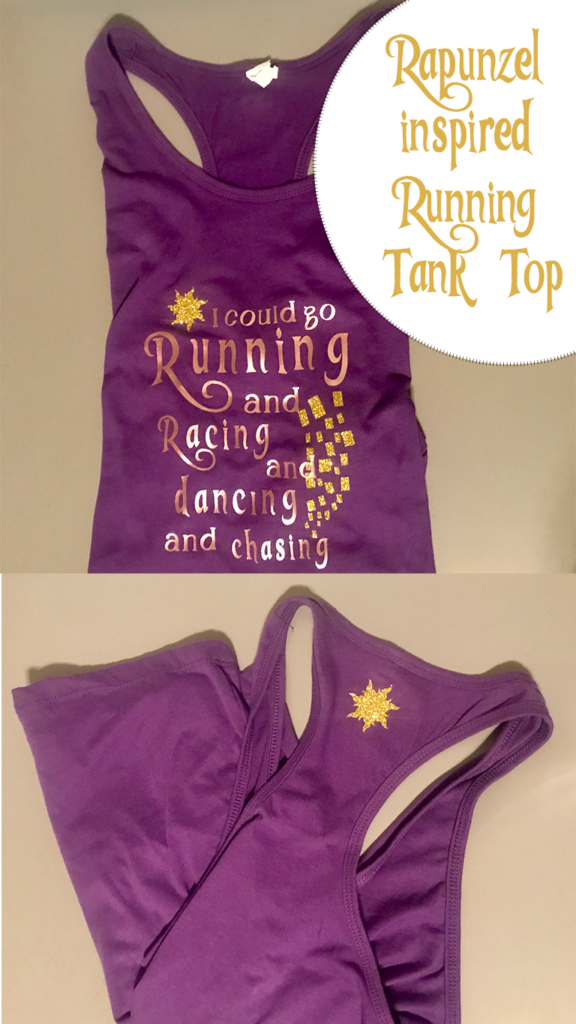
Training is well underway and almost done for my runDisney Princess race! I cannot believe the race is only a week away. I was going to go hardcore with my running costume this race, but let’s be real it’s just not fun to run in something uncomfortable. While I LOVED my Provincial Belle running costume I made for a previous runDisney race I decided that running in a skirt and costume just isn’t for me. This time around I went back to the basics and will be running in a tank top, workout pants, a hat and maybe something else fun thrown in there to spice it up. In this tutorial, I will show you how I made my Rapunzel tank top that is not only perfect for race day but can also be worn for a park day.
*This post may contain affiliate links. We will be compensated if you make a purchase after clicking on these links. All opinions are our own.*
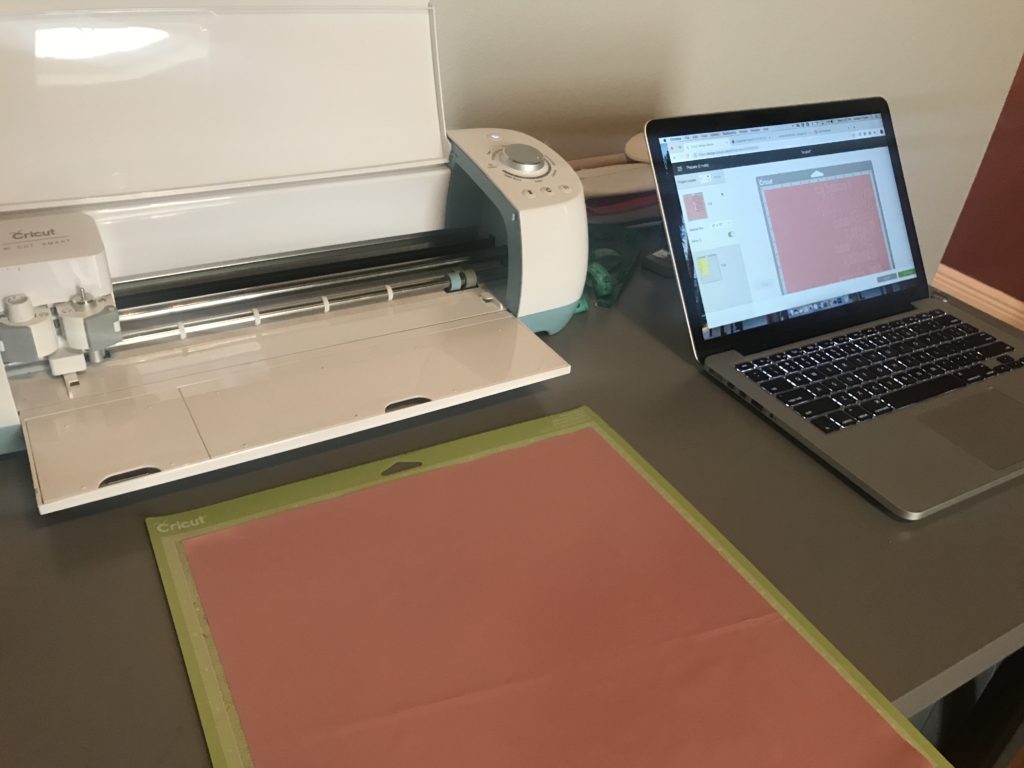
I used my Cricut machine to cut heat transfer vinyl into the quote, sun, and “floating lanterns” then ironed it on my tank top. If you don’t have a Cricut or die cut machine now is the perfect time to get one! OR you may be able to find something similar in vinyl ready to iron on off of Etsy.
Supplies Needed:
- Cricut or similar die cut machine – *Shop Machines from Cricut!
- Sun SVG Cut File – You can purchase one off Esty or find a sun you like in Cricut Design Space
- Cricut Design Space
- HTV Vinyl – Purchased from *Expressions Vinyl
- Colors I used: Rose Gold HTV and Gold Glitter HTV
- Cricut Cutting Mat
- Font of Your Choice – Tangled from dafonts.com (for personal use only!)
- Shirt – Purple Tank Top found on Amazon
- Iron
I Love A Deal!
My Rapunzel Design
- Start this project by measuring your shirt and decide how large you’d like your design to be.
- Next, open up Cricut design space or your design program and start a new project.
- Add one text box. In the box type each word individually and chose your font.
- Align the words in the order that you like, I made them off centered around the word running so my lanterns and sun could go around them.
- When the words are aligned attach them together as a group.
- Now add your sun image to the project and resize and place it where you want it on the shirt. I cut a second sun to add the back, so add that one too!
- This is the tedious part. I added and resized squares to make each individual floating lantern.
- Select and attach the floating lanterns once you have the pattern and shape you like. Then resize to fit where you like it to go.
- Now you are ready to cut.
Cutting the HTV
- Once you have your image size correct, select the program to cut and your machine to iron on.
- Make sure that you check the box for a mirrored image before you cut anytime you are using iron-on vinyl! This is important or your words will be backward.
- Load your first color vinyl on your cutting board SHINY SIDE DOWN, check your settings and hit cut.
- Repeat that process again for your second color.
Preparing To Iron
- After your cut is complete, peel off the sections you are not going to be using.
- Heat up your iron using the setting provided with your vinyl. Do not use steam! The vinyl I used irons on at roughly 325°F.
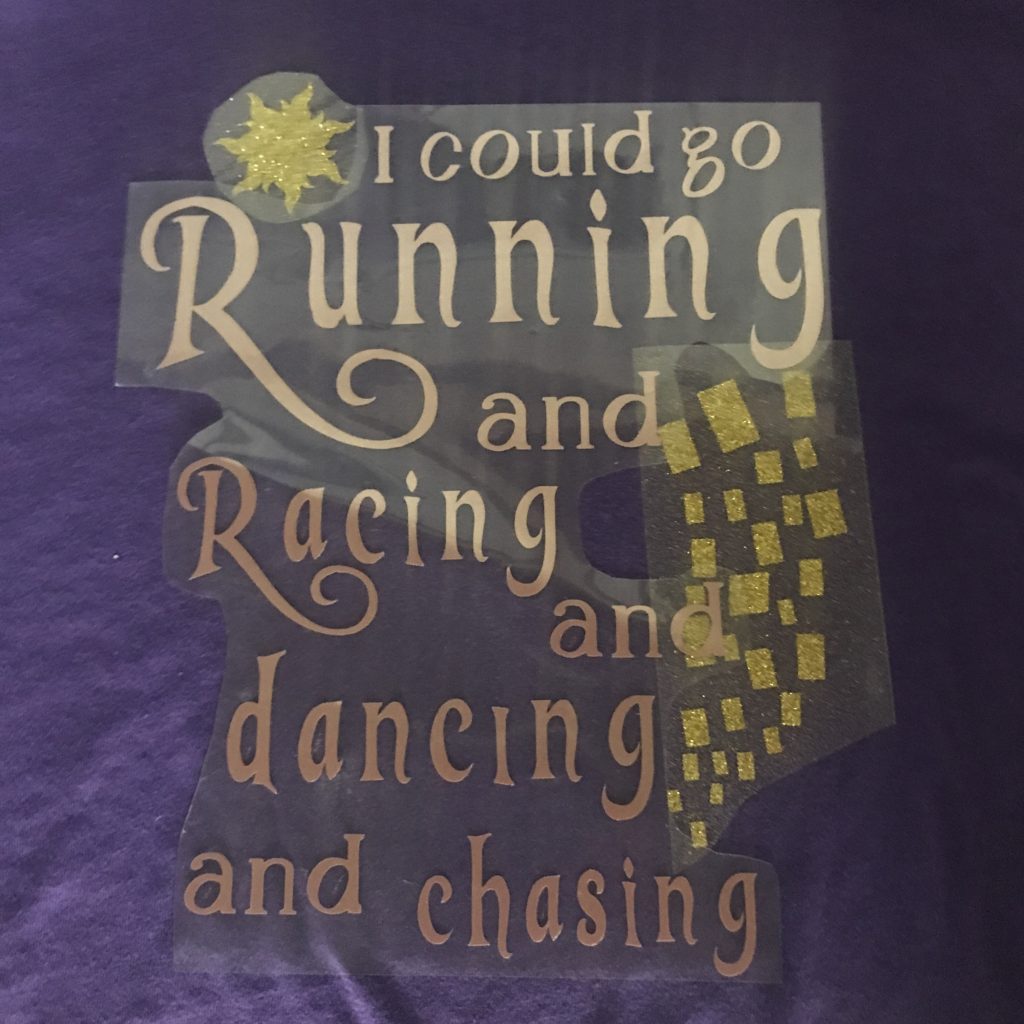
- Line up your words with your tank and stick it to the location. You can adjust this as many times are you need until you get it perfect. Use a ruler if you need too.
- Then add line up the sun and lanterns and stick them to the shirt.
- If your lanterns are going behind any of the letters you need to iron them on first!
Ironing On The Glitter HTV
- Iron on a flat surface such a countertop that can withstand heat. You can use an ironing board, I think you get a better outcome with a harder surface. However, If you follow my advice be extremely careful to protect your counter!
- Use a heat transfer cover sheet or cloth to iron over the design.
- Place your iron over the section you are going to iron first, in the case the lanterns, and press down for firmly for 10-15 seconds.
- Check to see if the corners of your are stuck to the shirt. If they are not, do not pull the backing off. Put another 10-15 seconds of firm pressure down and check again.
- Now peel the backing off the lanterns and place the rest of the design down to iron that on.
- Press down for firmly for 10-15 seconds over the rest of the design. Make sure the iron does not touch any of the lanterns without a cloth or the backing covering them!
- Check to see if the corners of your are stuck to the shirt. If they are not, do not pull the backing off. Put another 10-15 seconds of firm pressure down and check again.
- Peel off the backing slowly while it’s still warm and then place the cloth back over the letters and iron over the entire design one last time to make sure it adhered.
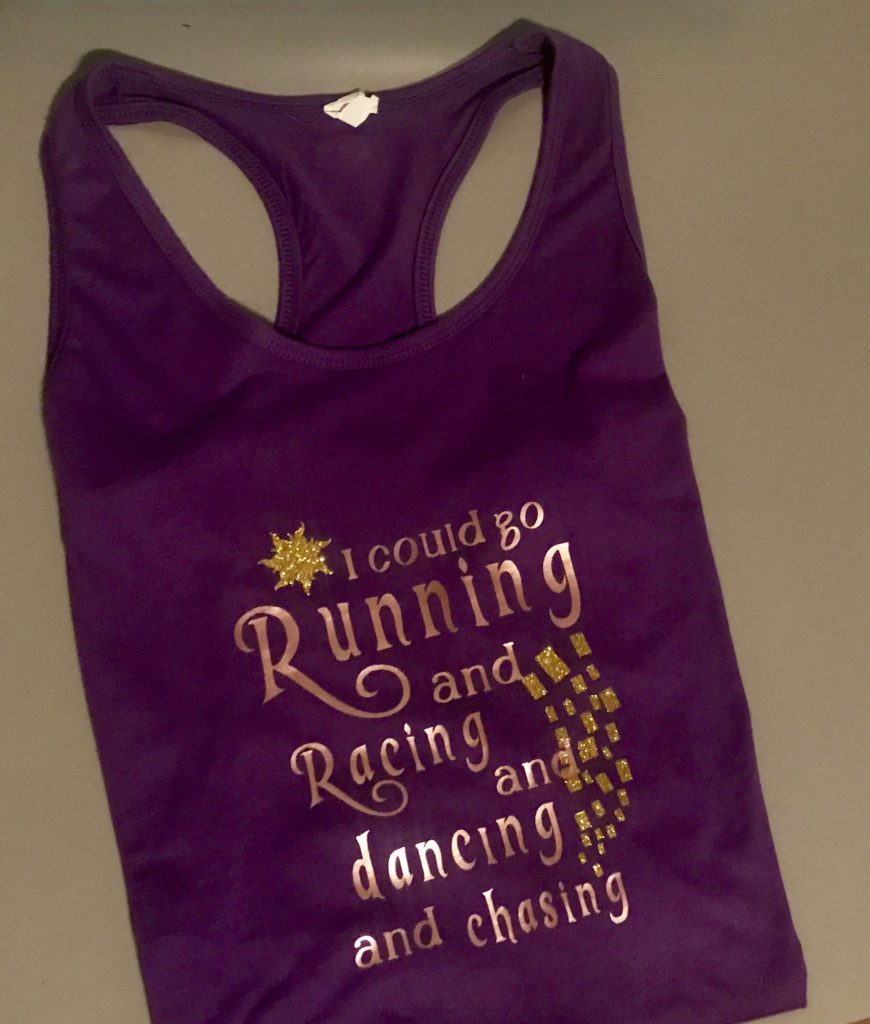
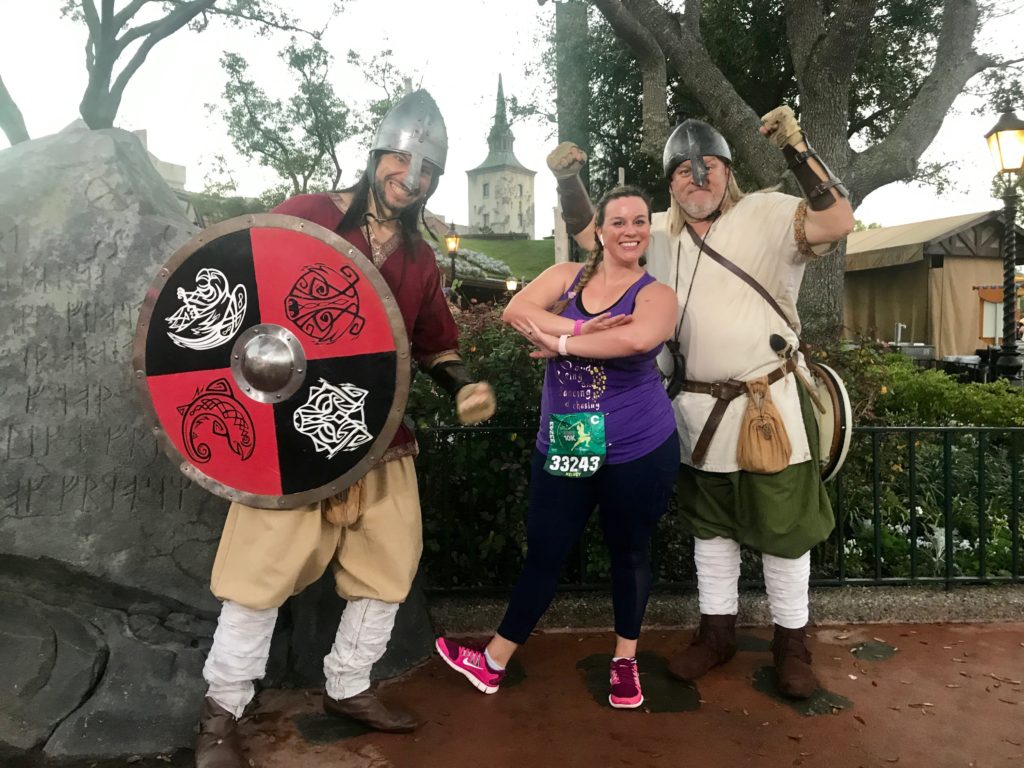
My Finished Rapunzel RunDisney Race Outfit
I wore this tank top with a pair of running leggings, and a long side braid. I was so excited to find some “ruffians” on the course to take photos with. Have fun creating your shirt. Add your own flare to it and on race day no one else will have the exact one you do. Don’t forget whatever you decide to wear, enjoy the run and if you ever see me on the race course say hi!
If you are running tell me in the comments what you are or what you did wear on race day!