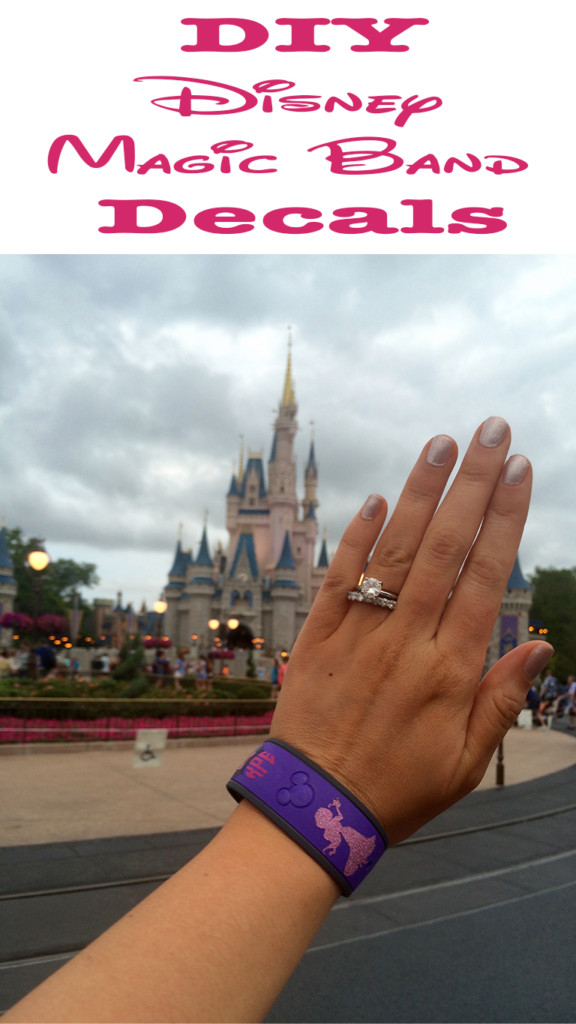
Whether you are planning your first trip to Walt Disney World or your 100th, you’ve likely seen or heard that Disney uses something called a Magic Band as an all in one source for your park ticket, room key, reservations, photos, fast passes and even a credit card to use on in park purchases. Basically, everything for your vacation is linked on this one little waterproof wristband.
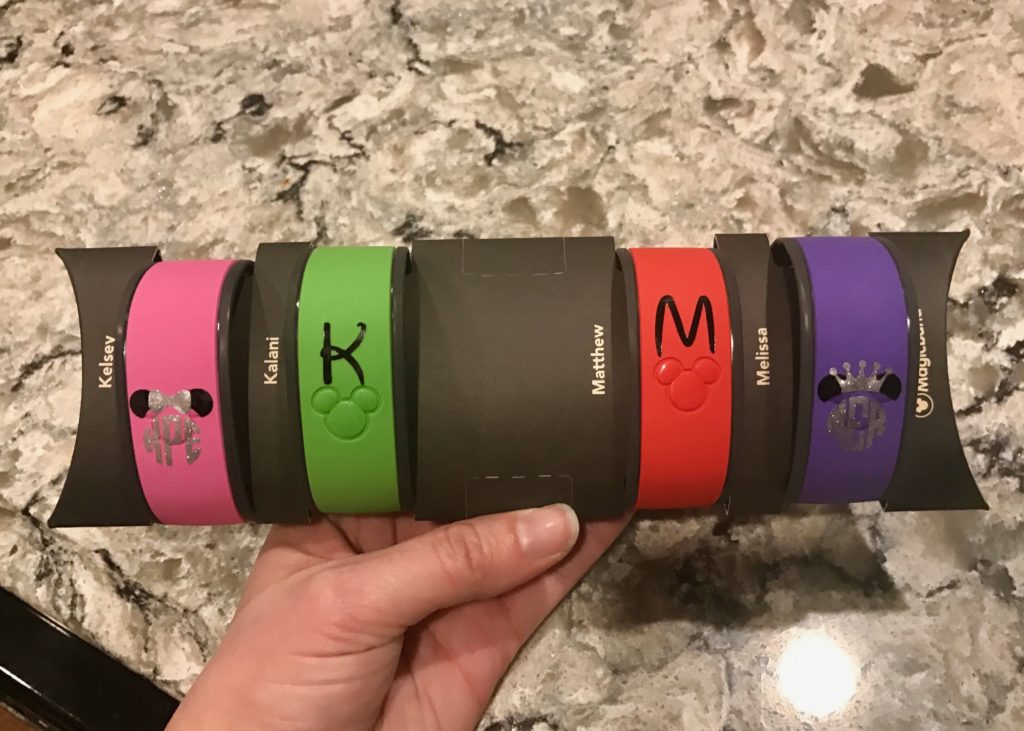
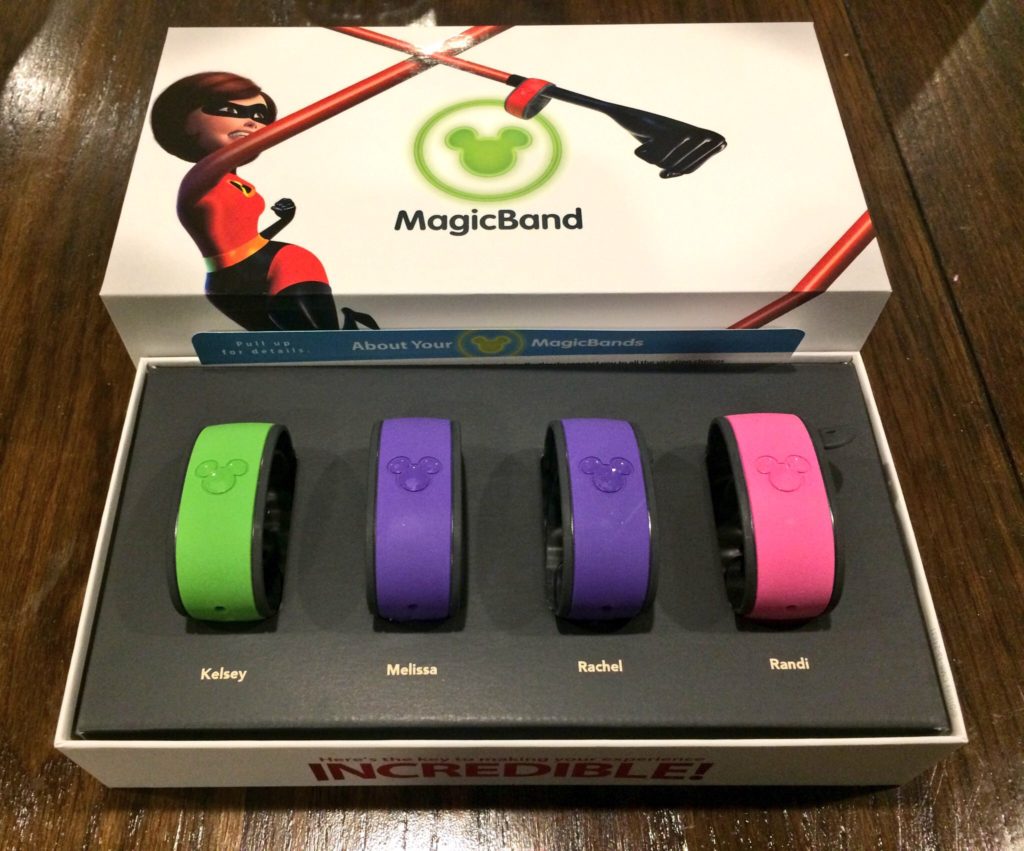
If you book a stay at one of the Walt Disney World resorts your entire party will receive a magic band by mail at least 30 days prior to your vacation. (This is ending in 2021, but you can still purchase MagicBands to use) You can also choose to buy your own magic band and Disney sells many different ones. I now have way too many magic bands. I like to make these personalized magic band decals with my Cricut die cut machine. They add a little personality and then I can tell my bands apart.
*This post contains affiliate links. If you make a purchase using these links we will be compensated.*
The magic bands used for this project were the old style magic band. Around January 2017, Disney updated the magic bands and now uses a different style. UPDATE 2020: This project does work for the new Magic Bands without changing the sizes. You can modify if you want the imagine to be larger.
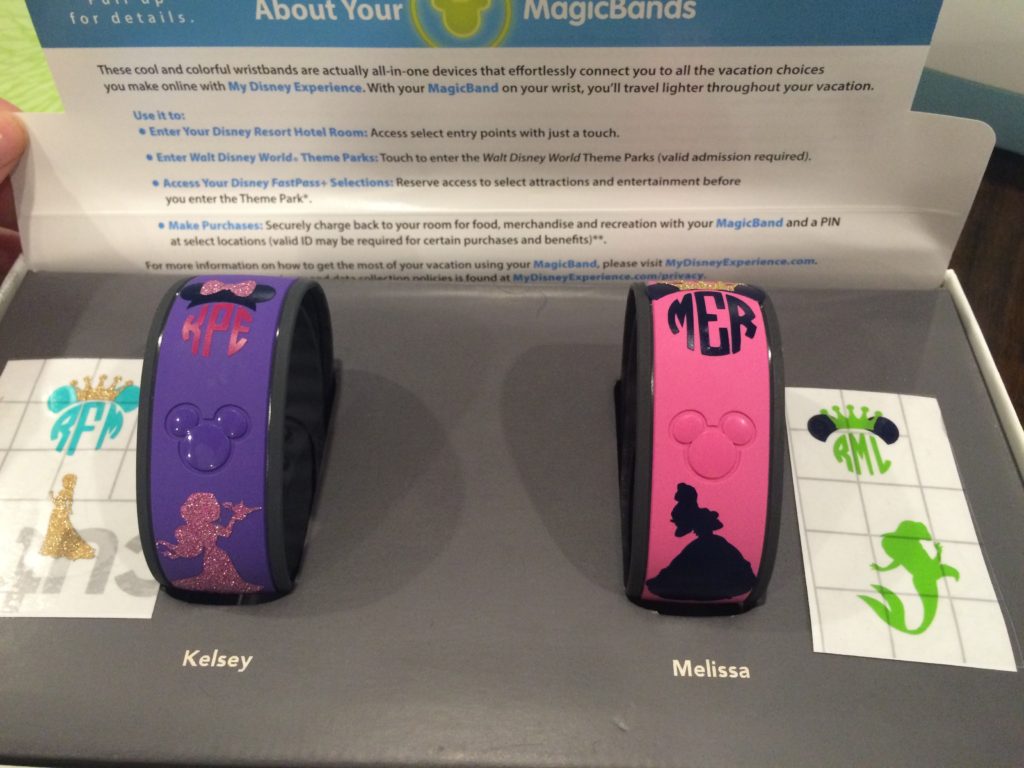
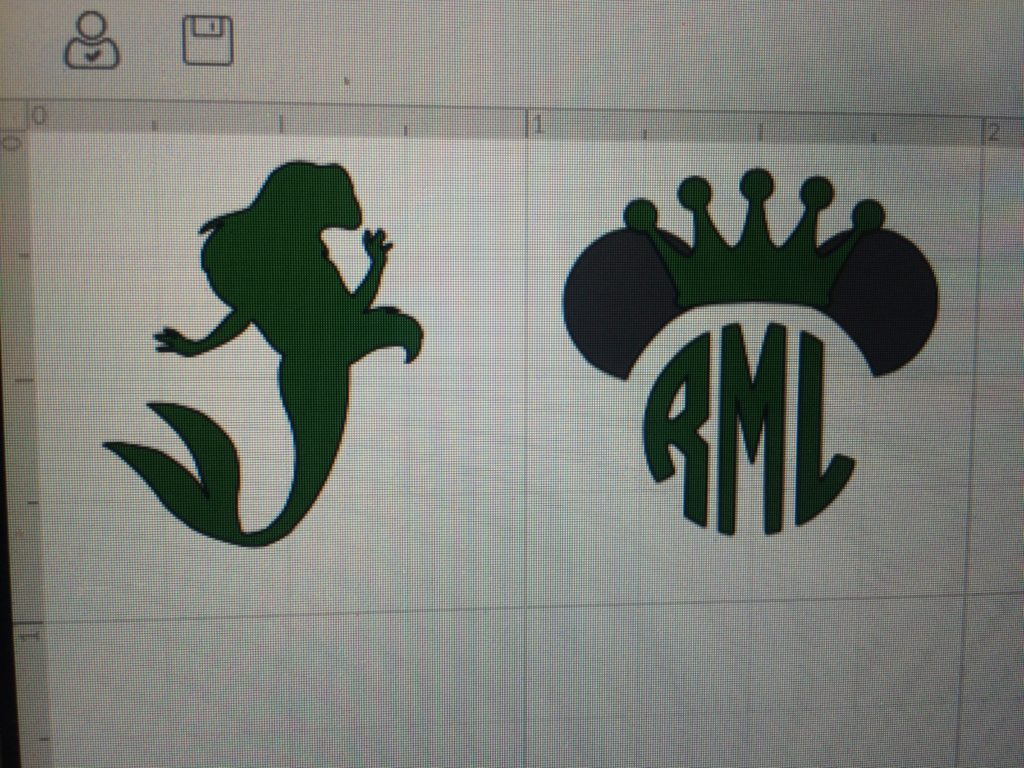
There are many places you can buy vinyl decals such as Etsy if you do not want to make your own vinyl decals. I love any excuse to use my Cricut, so I make them for myself, friend’s, and family. This is a pretty simple vinyl project. The more layers you add the more difficult the project becomes. For this tutorial, I will show you how to make a Monogrammed Princess and Minnie Mouse style decal.
Supplies Needed:
- Cricut or similar die cut machine -*Cricut Explore Air
- Circle Monogram SVG Cut File – I own this file, but originally purchased off Etsy
- Cricut Design Space
- Permanent Outdoor Vinyl – *Expressions Vinyl
- Colors I used: Black, Steel Blue, Pink, Turquoise, Lime Tree Green, Glitter Melon, Glitter Gold,
- Cricut Cutting Mat
- Cricut Weeding Tools
- Transfer Tape – *Expressions Vinyl
- Free Printable Princess Coloring Pages
- Disney Magic Band
Here are some Cricut deals!
Free Shipping on orders of $99 or more with promo code NOVSHIP
Save 40% on accessories! Valid through 11/3.
Cricut Explore Air 2 on sale for $229! Valid through 11/3.
The first thing you will need to do for this project is to measure your Magic Band. Since I did this project before the new Magic Band decals, my measurements may not work for the new band. You should double check the measurements to be sure the decals will fit on the bands properly. (UPDATE: They do work with the new bands, if you want the images large you may adjust the sizes.)
Mouse Ears – .70 in wide max
Monogram – .55 in wide max
Bow/Crown – .55 in wide max
Princess – .70 wide in max
Instructions:
Monogram Minnie Ears With Bow or Crown
- Start by adding three circles to a blank design space project.
- Move the circles to form a mouse head.
- Select and resize the two circles that will be your ears to make the shape you like.
- Align the two ear circles so they are centered with one another.
- Place the two ear circles above the mouse head circle and line everything up in the way you’d like it.
- Select all three circles and click on the SLICE button on the top right corner of your design space.
- Delete everything, except your two mouse ears. (You should be left with a circle cut out in the ears to make a rounded shape for your monogram.)
- Select the two mouse ears and resize them to 0.55 inches or less and click attach, so they will be an attached item.
- Next click insert image and find a bow or crown you like out of the free to use images.
- Add your selection to your project and resize the bow or crown to 0.55 or fewer inches.
- Place it over the mouse ears and center.
Adding Your Monogram
- Click on add images and select your circle font letters. (Circle fonts usually come in individual letter images and not as actual fonts. You will need to add each letter individually.)
- Use the align button to align the letters correctly
- Attach the letters together to make them a set.
- Resize the monogram to 0.55 inches or less.
- Place the letters underneath your Minnie Ear design and align them correctly so everything is centered.
- Select the bow or crown design and your monogram design only and attach them to make them set. You want to bow and the monogram to cut at one time and the ears to cut separately.
Now you are ready to make your princess design OR omit and move on to cutting the image.
The Princess Decal
In order to make the princess silhouettes for this project, you will need to use the same steps outlined in my post on making Princess Monogrammed Water Bottles.
- Download a Disney Princess coloring page and uploaded the images to Cricut Design Space.
- After uploading it to your Design Space erase anything on the coloring pages you don’t want. For example, Ariel had Flounder with her and Belle had a background scene I didn’t want to use. When prompted I took the eraser and erased those sections before it was uploaded.
- Once the image is uploaded, add the princess image to the project board.
- Take the coloring page and turn it into a silhouette of the princess. This is the trickiest part. On the right side of the design space toolbar is a button called Contour. Click the contour button and the design will be highlighted in blue and purple. Blue sections will not be cut out and purple sections will be cut out.
- Resize the design to 0.70 inches or less. The length is up to you depending on how much of band you want the decal to covered.
Cutting You Magic Band Decals
- Place your first piece of vinyl on your cutting mat making sure it is the right color for the first cut.
- Set your machine to vinyl and load the mat.
- Click go on your computer, the Cricut cut button on your machine and watch the magic happen!
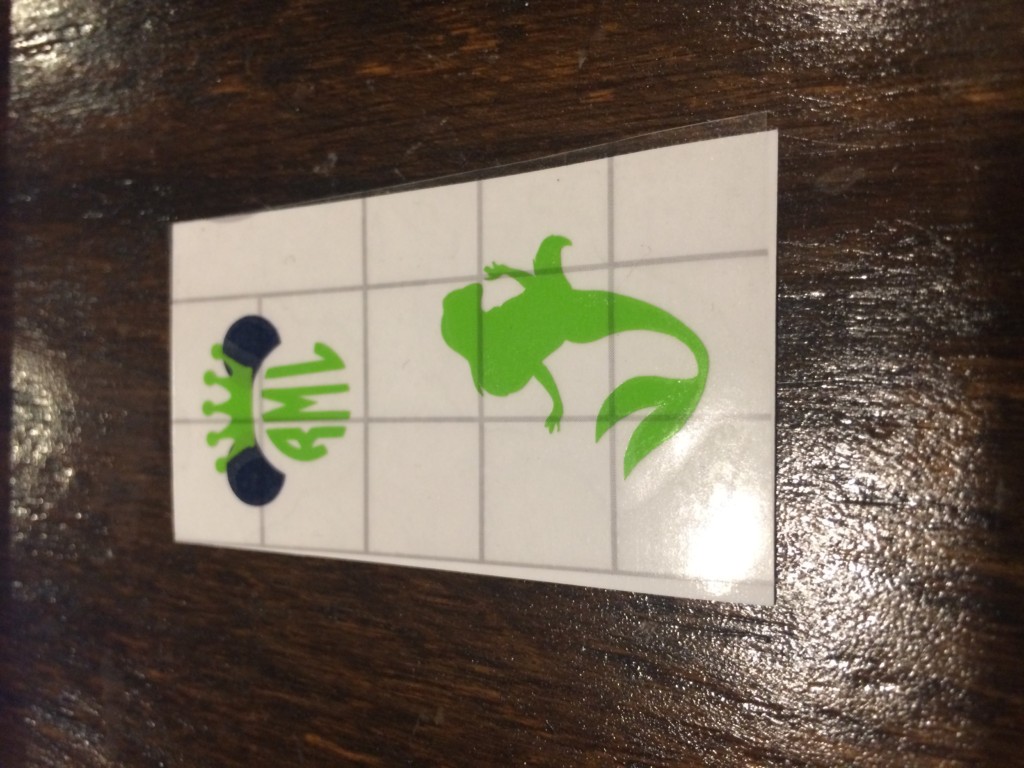
- After your cut is complete, unload the mat and remove the entire piece of vinyl.
- Repeat steps 1-4 for each piece of vinyl you need to cut.
- After all the cuts are done, use the Cricut weeding tools to carefully remove the outside of the design and the inside of the letters.
- You want the princess, the monogram, the bow/crown and the ears to remain on the backing.
Attaching the Decal To Your Magic Band
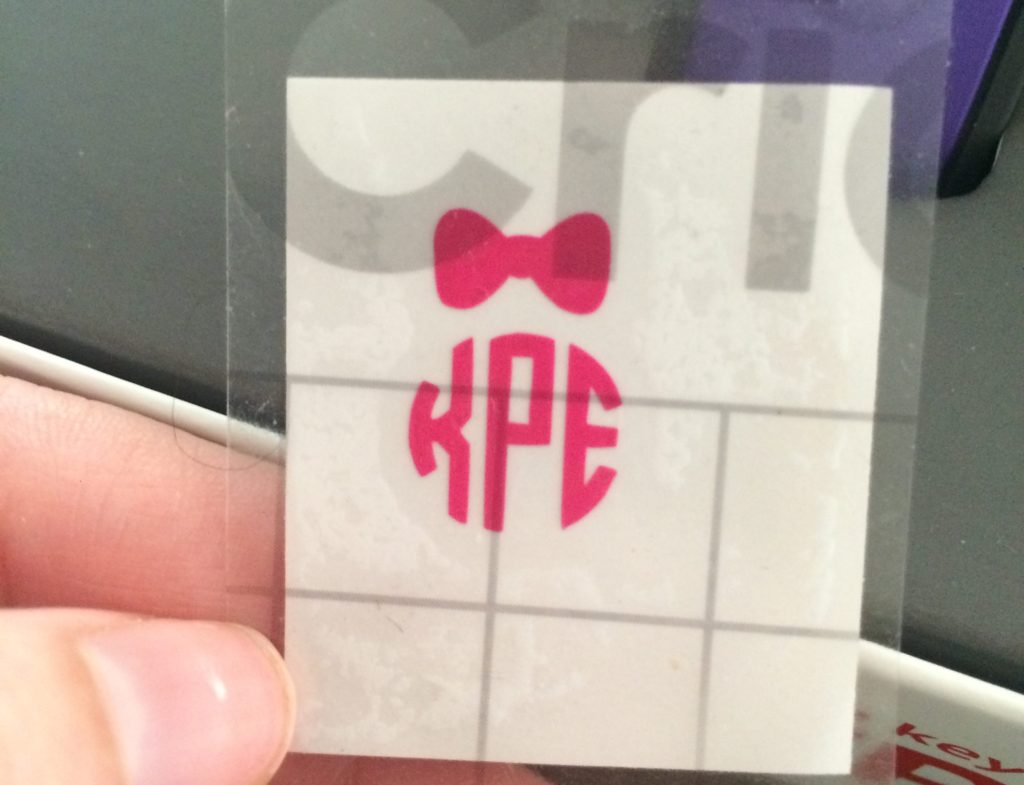
- Cut a piece of transfer tape slightly larger than the bow/crown monogram design. You want the first layer on the transfer tape the design that you’d like to be the top layer.
- Carefully place the tape on top of the cut bow monogram design and pull the white backing away from the cut design slowly.
- Make sure the vinyl stays on the transfer tape.
- Repeat steps 1-3 for the ear design adding it to the same piece of transfer tape that the bow/crown monogram design is on, so the ears are behind the bow monogram when you place it on the band.
- You want to try and center the ears with the bow/crown and have everything line up exactly the way you want it on your Magic Band.
- Slowly working from the center outward press the design and transfer tape onto the band.
- Ruh over the entire piece of tape to make sure the vinyl is stuck in place.
- Carefully pull the transfer tape off of the magic band.
- Repeat all above steps to add the princess decal to the band.
- Make sure all the small sections of vinyl adhere to the Magic Band and you’re done!
Enjoy your personalized Magic Bands and have a fantastic trip to Disney! Check out our other posts for more Disney, DIY, and travels ideas!