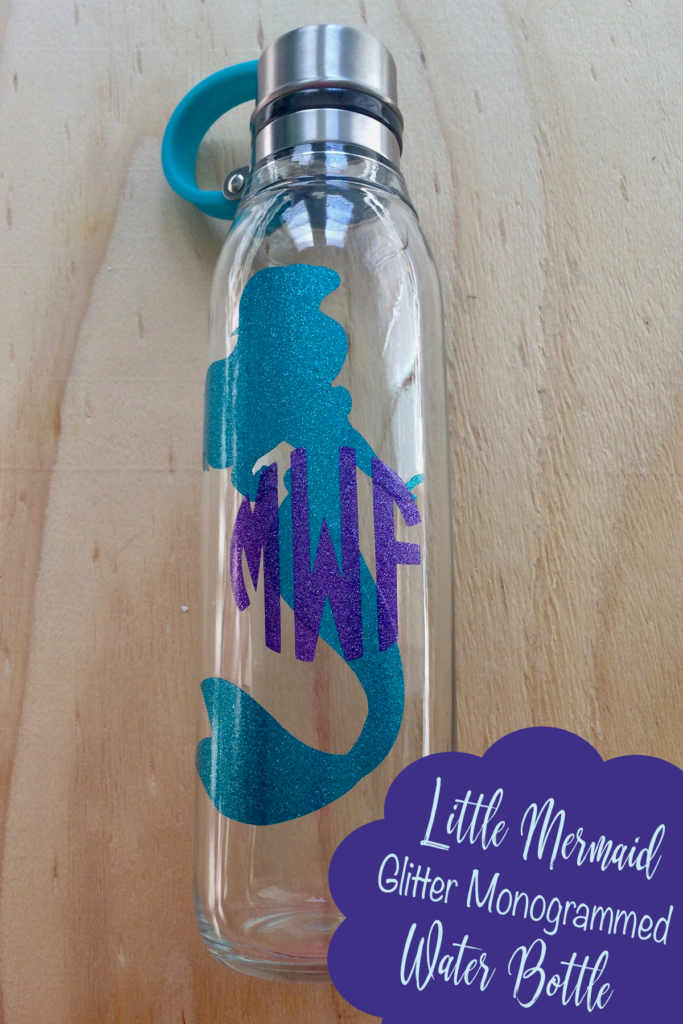
I previously posted how to make a princess monogrammed water bottle. My sister saw my post and wanted her very own water bottle. I decided to change the design and make her a Little Mermaid water bottle with layered glitter vinyl and use a glass water bottle. Glass can easily be used to apply vinyl. They are a wonderful alternative for those wanting to avoid plastic. In this post, I’ll show you how to make your very own layered glitter monogrammed water bottle. You can also refer back to my original post if you want to try out a single layer design vinyl first! *This post contains affiliate links. If you make a purchase after clicking on one of these links we will be compensated. All opinions are our own.* This project is for personal use only!
Supplies Needed
- Cricut Explore or Die Cut Machine – Click here to visit Cricut
- Glitter Vinyl – Click Here To Visit Expressions Vinyl
- 1 Ultra Glitter Sheet in Green
- 1 Ultra Glitter Sheet in Purple
- Transfer Tape – Expressions Vinyl (Click Here)
- Glass Water Bottle – Target for $4! Huge score, I removed the rubber shell first.
- Little Mermaid Design – Find a Free Printable Coloring Page, purchase from Cricut Access or off Etsy
- (2) 12 x 12 Cricut cutting mats
- Scraper and Cricut Weeding Tools (optional to help get the vinyl off the backing)
- Cricut Design Space
- Circle Monogram Letters – I purchased off Etsy for $1.99.
Here are some Cricut deals!
Free Shipping to U.S. and Canada on orders of $99+. Use code APRSHIP.
Flash Sale: Save 40% off Select Materials! Valid through 4/14/2020
Save 50% off Select Machine & Rolling Totes! Valid through 4/14/2020
EasyPress Machines Starting at $49! Valid through 4/14/2020
How To Make The Little Mermaid Design
- Open up Cricut Design Space and start a new project
- If you are using a free printable coloring page see directions here on how to add and make the design on Cricut Design Space. If not move to step 3.
- Add the Little Mermaid design to the project
- Use the contour button to hide any lines you don’t want to be printed.
- Measure the water bottle and decide how large of a decal you want. My decal is 3.5 inches wide by 5.5 inches tall.
- Resize the design to the correct size.
- Move on to add the monogram.

How To Add A Circle Monogram
- Add a circle to begin the design of your monogram.
- Place the circle on top of the design and resize the circle to fit the space you want the monogram to cover.
- Move the circle away from the design.
- Insert your circle font letters the same way you inserted the design. Circle fonts usually come in individual letter images and not as actual fonts. You will need to add each letter individually.
- Use the circle you placed in step 2 to size the monogram letters evenly. It always helps me to use the align button to get the horizontal spacing correct.
- After the monogram is sized, delete only the circle.
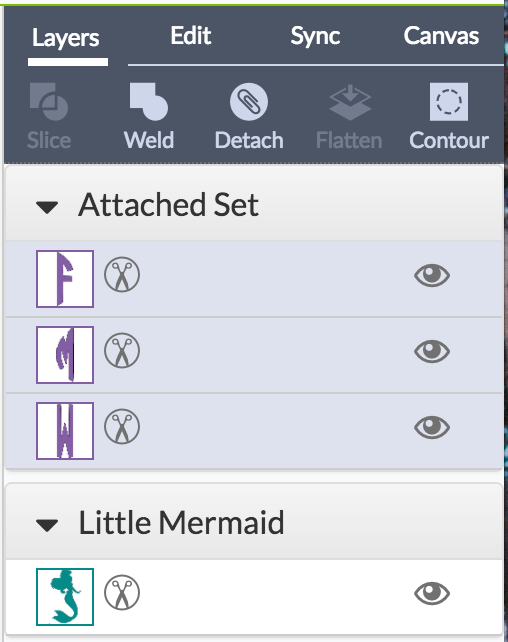
- Highlight all of the monogram letters and attach them together to make a set.
- Place the letters on top of the design.
- Now you’re ready to cut!
Cutting the Design
- Place the first piece of vinyl on your cutting mat. Make sure you have enough vinyl for the entire cut. Also, check you have the right color for the first cut.
- Set your machine to vinyl and load the mat.
- Click go on your computer, the Cricut cut button on your machine and watch the magic happen!
- While the Cricut is cutting place your second piece of vinyl on another cutting mat.
- After your cut is complete, unload the mat and load the second cutting mat.
- Click go to your computer and the Cricut cut button.
- While this is happening, remove the first piece of vinyl from the cutting mat.
- Use the Cricut tools to carefully remove the outside of the design. Only the Little Mermaid design should remain on the backing.
- When the second piece of vinyl is done cutting repeat the same steps to remove the mat and weed the vinyl monogram design. Make sure you remove all the centers of the letters and only leave the letters on the backing.
 Attaching a Layered Design
- Cut a piece of transfer tape slightly larger than the entire design.
- Carefully place the tape on top of the cut monogram design first.
- Pull the white backing away from the cut design slowly. Make sure the vinyl stays on the transfer tape.
- Take the same piece of transfer tape now with your monogram on it and place it over the Little Mermaid design. Place it exactly where you want it. Once it’s stuck you will not be able to redo it.
- Slowly pull the transfer tape of the designs backing making sure the entire design, the Little Mermaid and the monogram, are still adhered to the tape.
- Carefully line up the transfer tape to where you want the design to be attached and gently stick the tape down on the bottle starting in the center and work your way outwards.
- Use the scrapper to push out any air as you move outward. Slowly pull off the transfer tape. Check to make sure the entire design has adhered. You’re done!
 Hand-Wash Only!
Tips! Small details, such as the center of a letter, can be tough to get off the transfer tape. Go slowly and have patience and you should do fine.
Now you have a one of a kind water bottle for the Disney Parks or anywhere else you want to show that you’re basically a mermaid!
Disney World Tip: Quick service restaurants give out free cups of ice water if you ask. Take your water bottle along on a Disney vacation and fill it up all vacation long!
