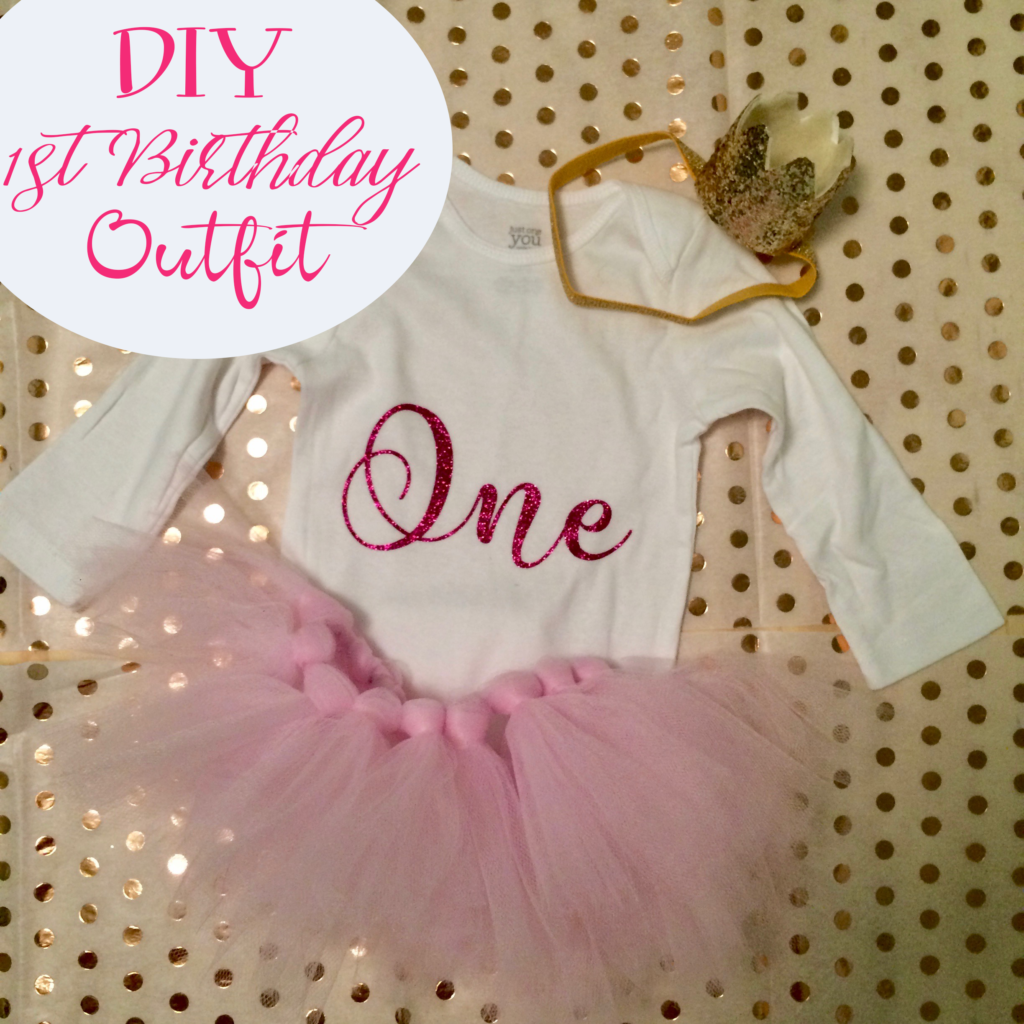
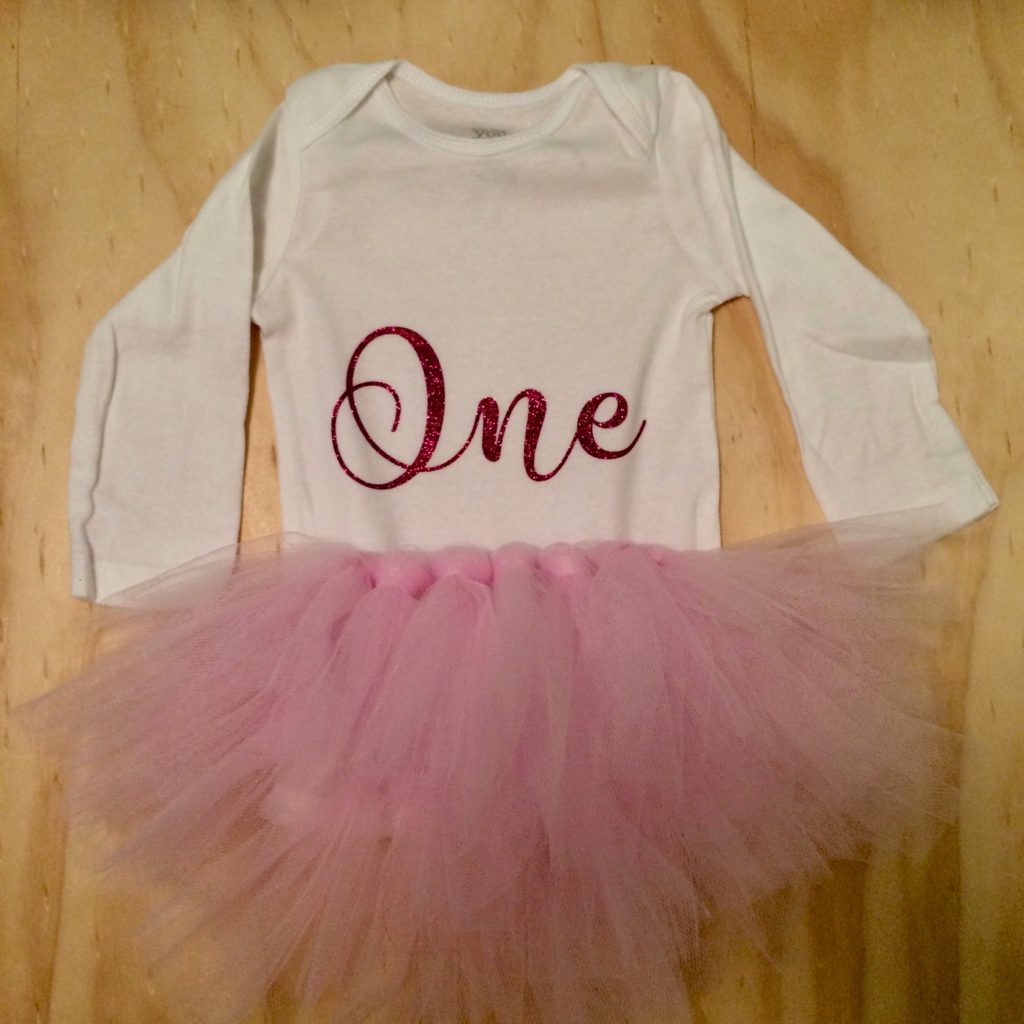
A babies first birthday is such an exciting milestone for new parents. An easy DIY no sew tutu with a matching onesie is a perfect first birthday outfit for any baby girl. When my adorable niece was turning one I decided to make her a little first birthday outfit to wear on her day! There isn’t anything cuter, in my opinion, that a little girl in a tutu. My sister and I loved tutu’s when we were kids, so I thought it would make a great gift. I also added a little crown, I’ll go over how to make that in another post. They both loved the outfit.
You can also easily adjust this project for a little girl of any age! Just switch out the word one for any word and make the tutu for the correct waist size.
*This post may contain affiliate links. We will be compensated if you make a purchase after clicking on these links. All opinions are our own.*
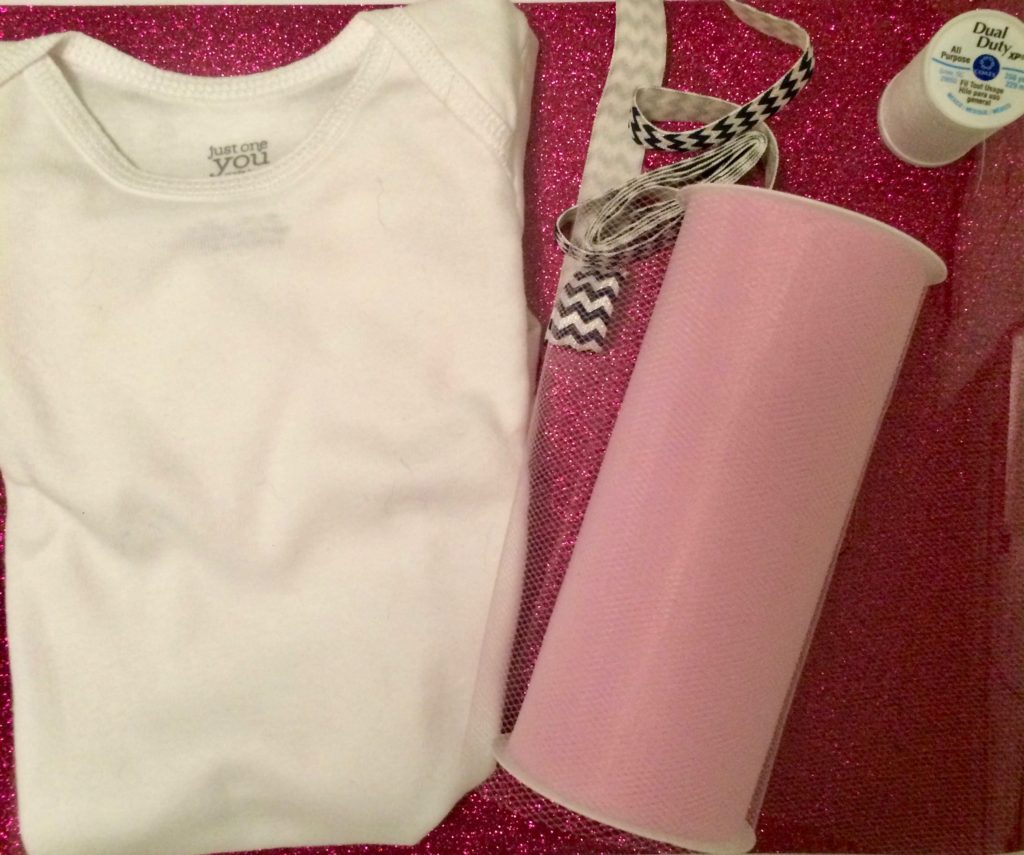
Supplies Needed:
For the Tutu
- 6″ rolls of tulle (I purchased three and used two)
- 1/2 – 1 inch sturdy elastic
- Scissors
- Piece of Cardboard
- Needle
- Thread
For the Onesie
- Heat Transfer Vinyl – Purchased at Expressions Vinyl
- Iron
- Cricut machine or die cut machine
- Onesie
- Cricut cutting mat
- Cricut design space
- Weeding tools (optional)
- Heat Transfer Cover Sheet, pillowcase or bed sheet (optional)
Tutu Tutorial
For the tutu, I followed the tutorial on The Pinning Mama‘s blog. Her directions were easy to follow and the measurement chart was so simple! My niece is on the smaller side, so make sure you follow the babies clothing size rather than age on the chart. I did make hers a little larger than she needed, so she could use it longer. I purchased all my supplies for the tutu at Michael’s. You can also find everything you need at JoAnne’s or most other craft stores.
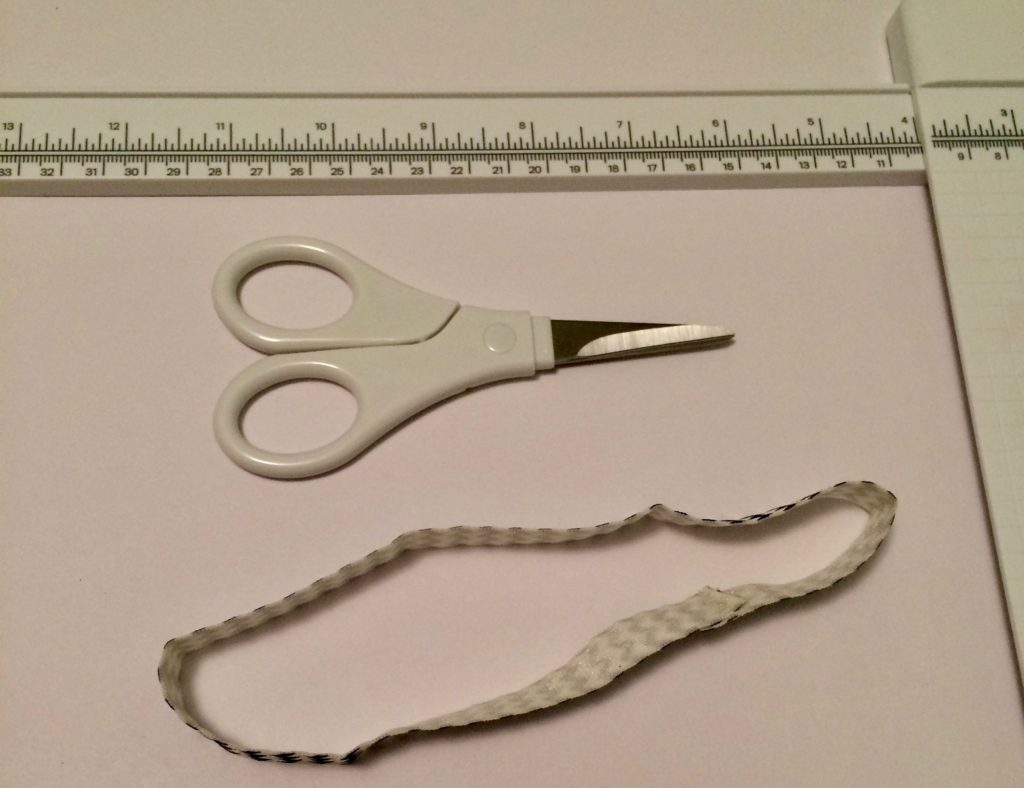
I started by measuring and cutting my elastic band for the waistband and then (using my sewing machine) Then, I sewed together the ends. I used three stitches to make sure it held the test of time. There a no-sew option for this, but the skirt will stay together longer if you make a few stitches and sew this part.


After I had my waistband complete, I started on the no sew tutu. The directions are pretty simple. You cut your cardboard to a rectangle wider than your tulle and half an inch longer than your desired tutu length. Then you wrap the tulle around the cardboard. I did this approximately 40 times for the size waistband I was making (14 inches). Then I cut along the edges of the cardboard to make tulle pieces.
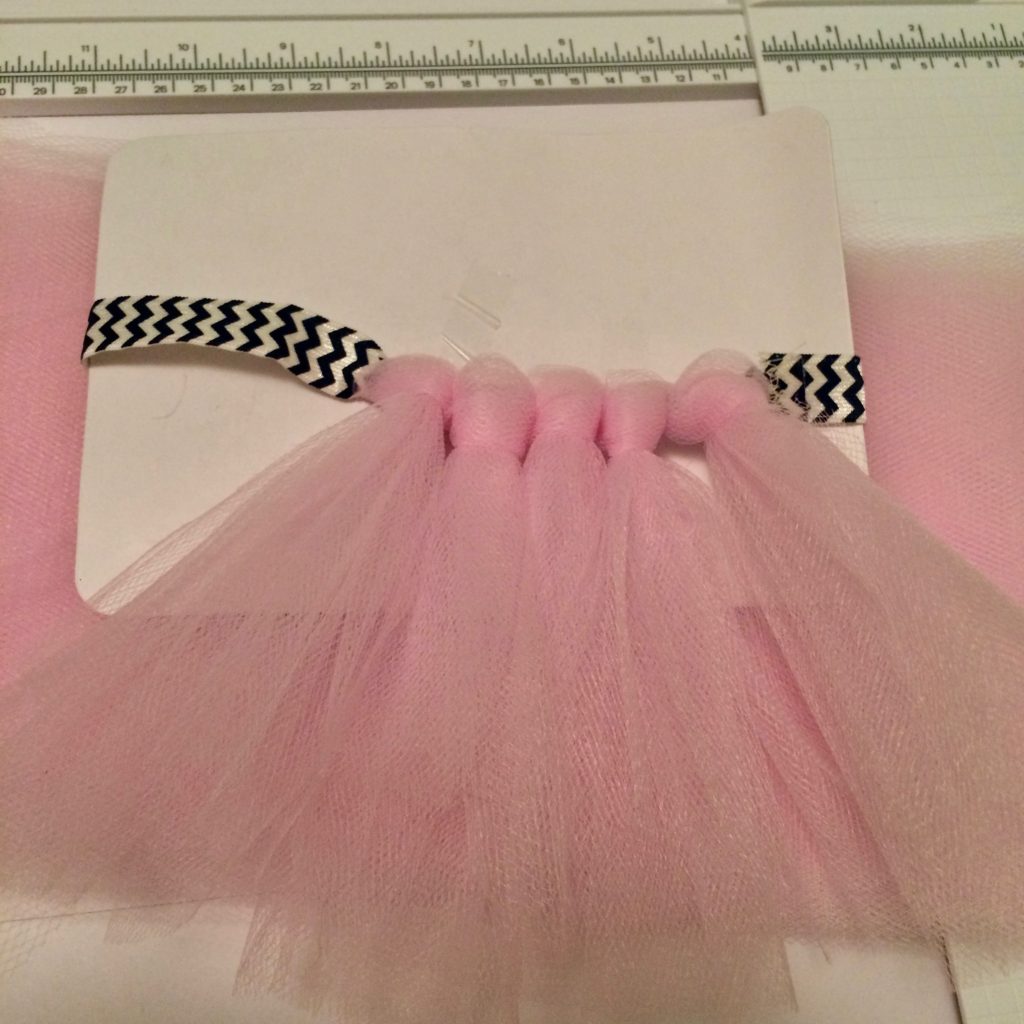
The no sew tutu is super simple to put together. You stretch the elastic waistband over the piece of cardboard. Lay three layers of tulle on top of each other and fold them in half. Place the folded part about one inch under the elastic and loop the layers of tulle together under the folded part to form a knot and tighten. See the photo above. Repeat those steps until you have a completed and full tutu! Then fluff it up. Seriously the easiest DIY project I’ve probably ever done! A little time consuming, but so simple!
Onesie Tutorial
For the onesie, I used my Cricut machine to make an adorable vinyl one and ironed it on to a baby onesie. This is an extremely easy vinyl project and it would be a great first-time vinyl project if you are new to using a Cricut machine or vinyl. If you don’t have a Cricut or die cut machine you can always purchase a premade onesie or just vinyl ready to iron on off of Etsy.
Here are some Cricut deals!
Free Shipping to U.S. and Canada on orders of $99+. Use code APRSHIP.
Flash Sale: Save 40% off Select Materials! Valid through 4/14/2020
Save 50% off Select Machine & Rolling Totes! Valid through 4/14/2020
EasyPress Machines Starting at $49! Valid through 4/14/2020
If you are not a fan of Cricut or want to get a comparison price on other machines? That’s okay! Check out the new *Expressions Vinyl Cameo 3 Bundle to compare.
Creating The Designs
- Start this project by measuring your onesie and decide how large you’d like your design to be.
- Next, open up Cricut design space or your design program and start a new project.
- Add one text box. In the box type One. I chose a very girly font.
- Now your are ready to cut.

Cutting and Assembling
- Place your HTV shiny side down on a cutting mat.
- Set your die cut machine to cut vinyl.
- On your Cricut design space or design, program click GO to move to the cut screen.
- Make sure your image is set to MIRROR on your computer screen. You must do this in order to cut HTV or the word will be backward when you apply it.
- Click cut on the computer and load your mat into your machine per instructions on the computer.
- When you are ready to cut, press the cut button on your machine.
- Once it’s finished cutting, remove the mat and load your next mat and repeat the process above to cut the second design.
- Preheat your iron to 325°F for Expression Vinyl Glitter HTV. Do not use steam! I use setting 5 on my iron since it doesn’t give degrees.
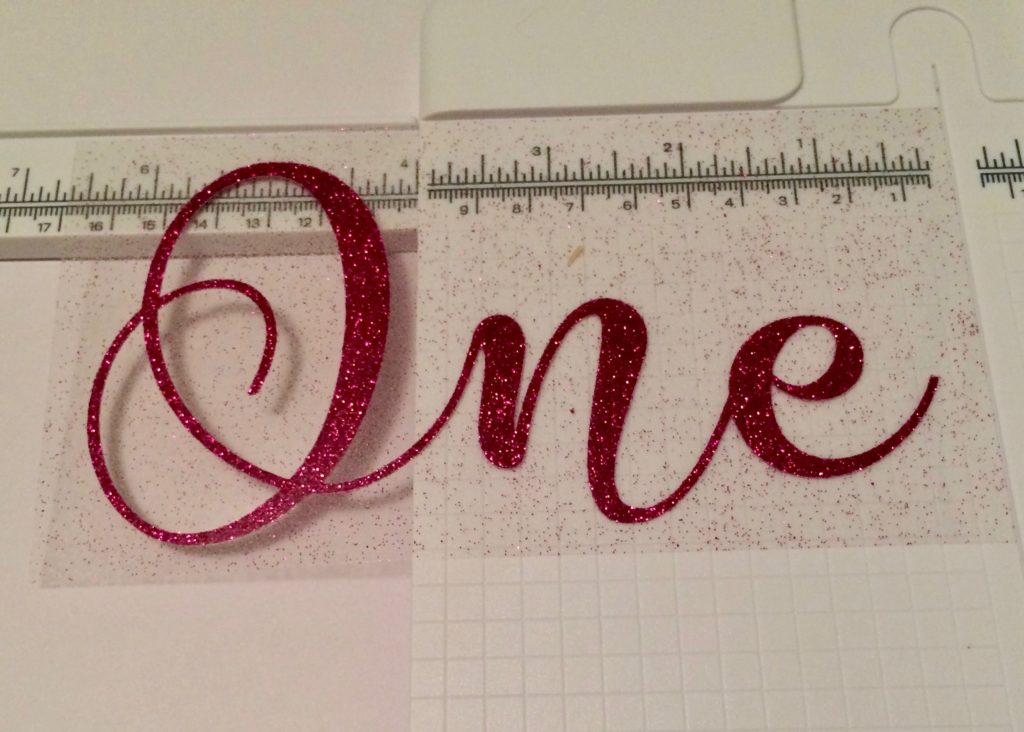
- Using any tools necessary to weed the excess HTV and middles of your word from the clear carrier sheet. Cut away the excess vinyl as remove it. You want only the word left on the clear carrier sheet.
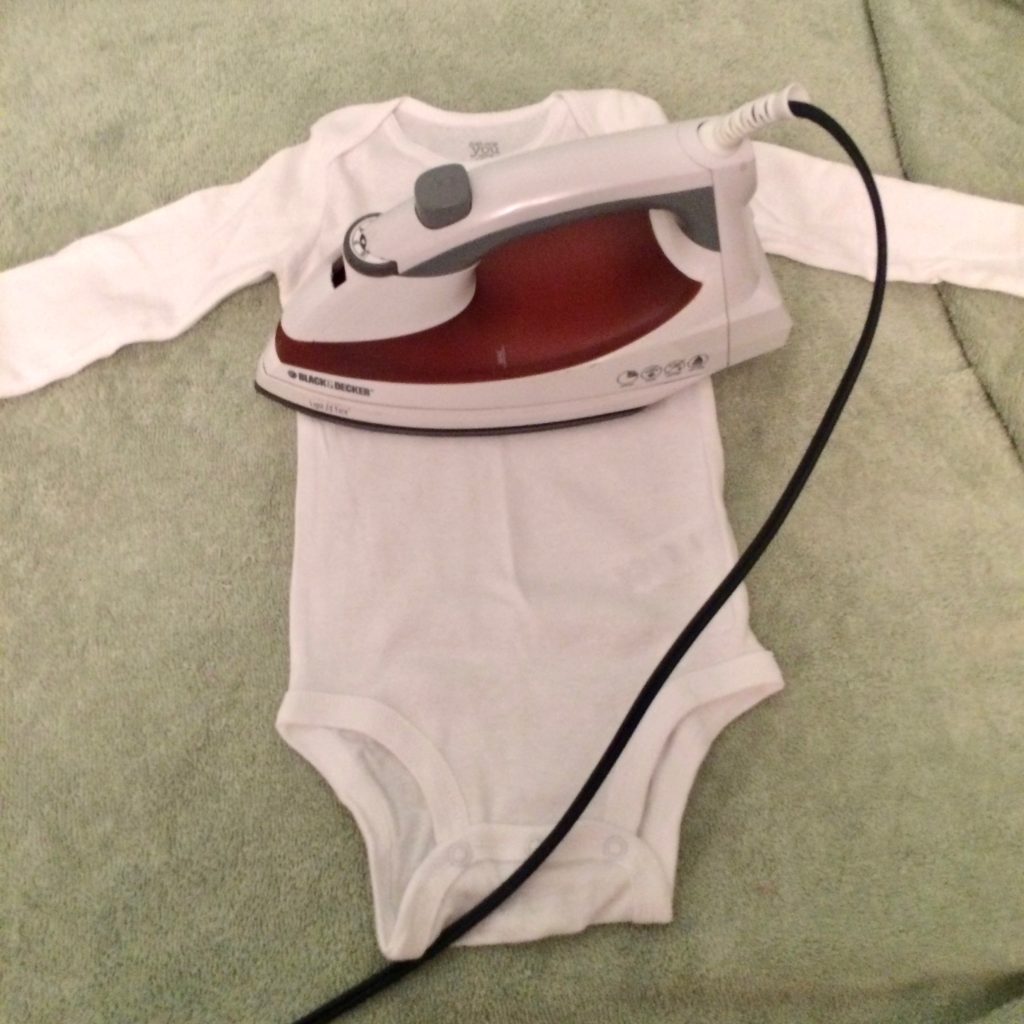
- Lay out your onesie on a flat surface to iron on and preheat the onesie with the iron for 3 seconds.
- Place the word on top of the onesie where you want the finished product to sit and press them down firmly.
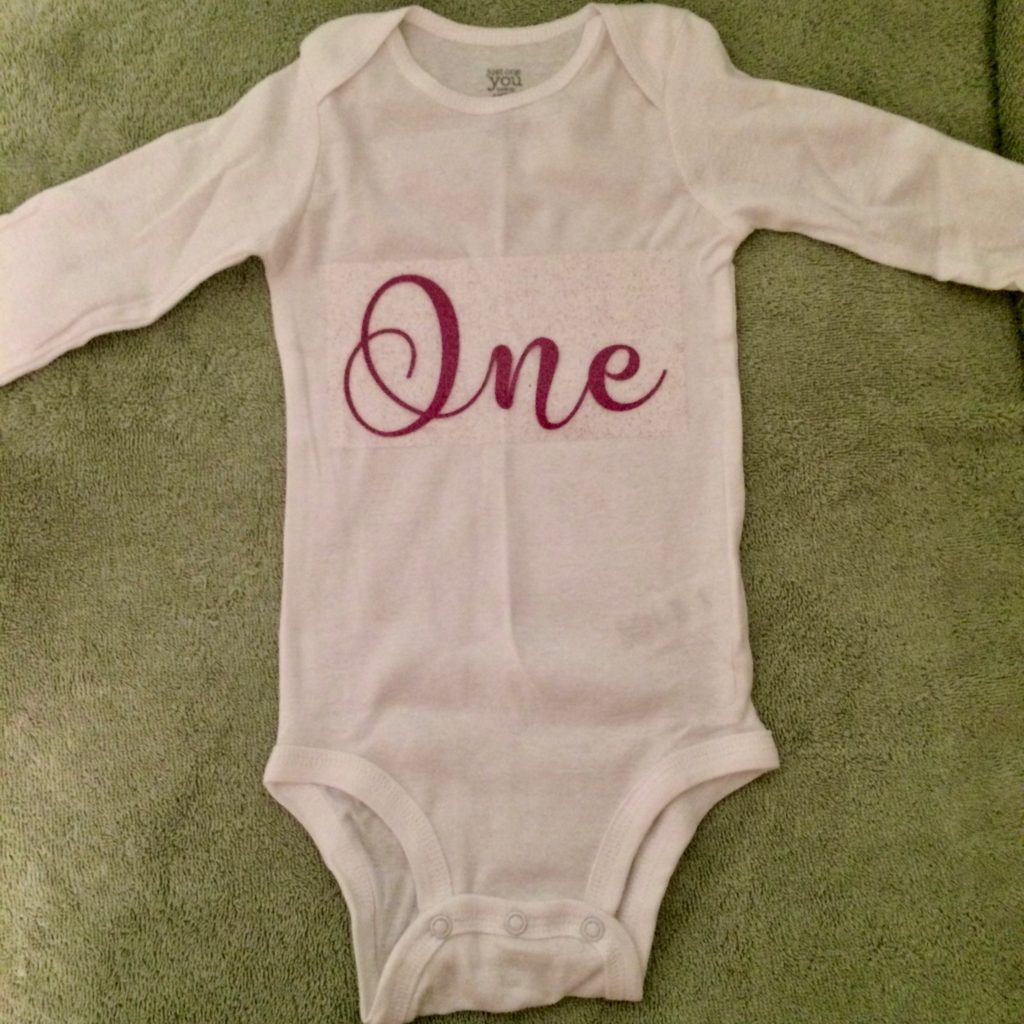
- Use a Heat Transfer Cover Sheet to cover the clear carrier sheet to act as an extra barrier from the iron. (I’ve also used a bed sheet or pillow case)
- Take your iron and apply firm pressure on top of the clear carrier sheet at 325°F for 10-15 seconds. NO STEAM
- Peel the carrier sheet off the pillow while it is HOT. If the letters do not look like they are sticking as you pull off the backing, repeat step 13.
Now you have an adorable first birthday outfit! Stay posted to see how I made the cute little birthday crown to go with it. We’d love to see your designs too! Comment below on how your project turned out and follow us on Instagram, Pinterest and Twitter.
![]()