
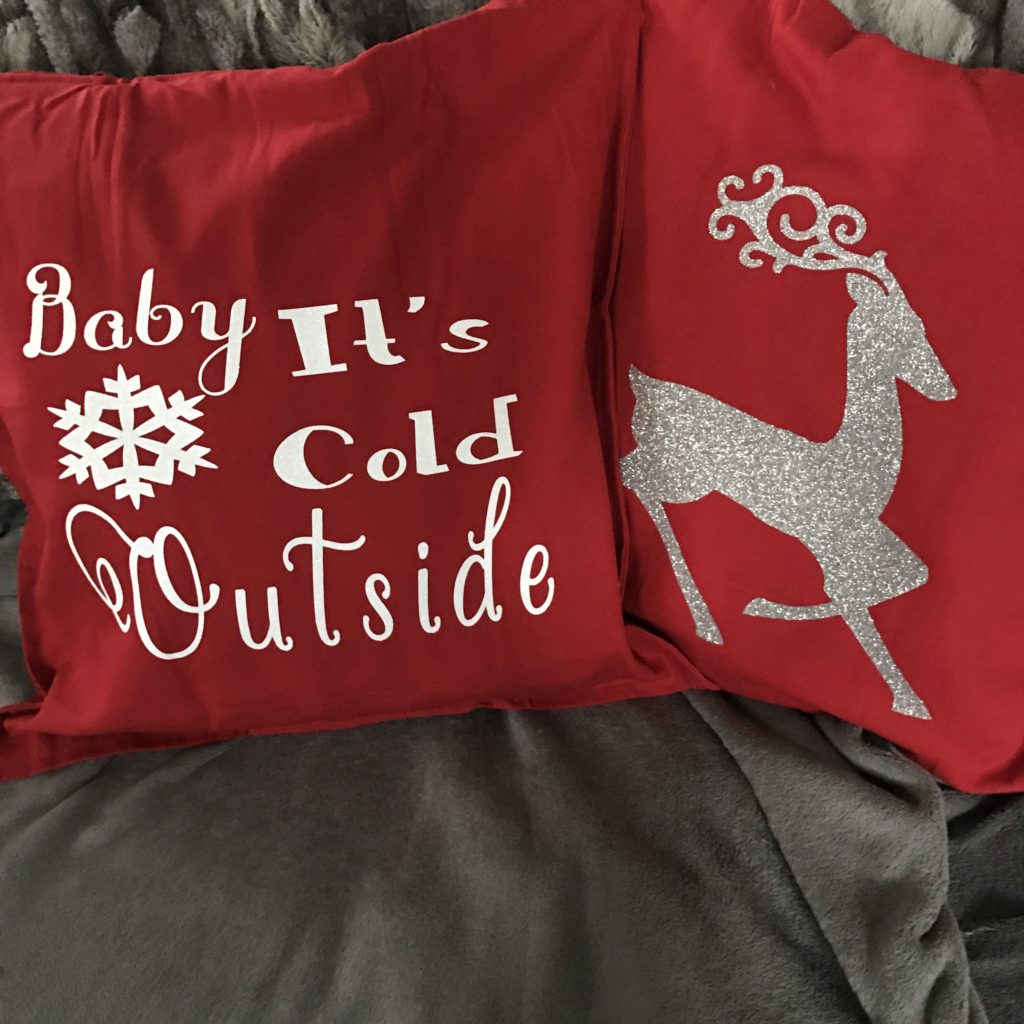
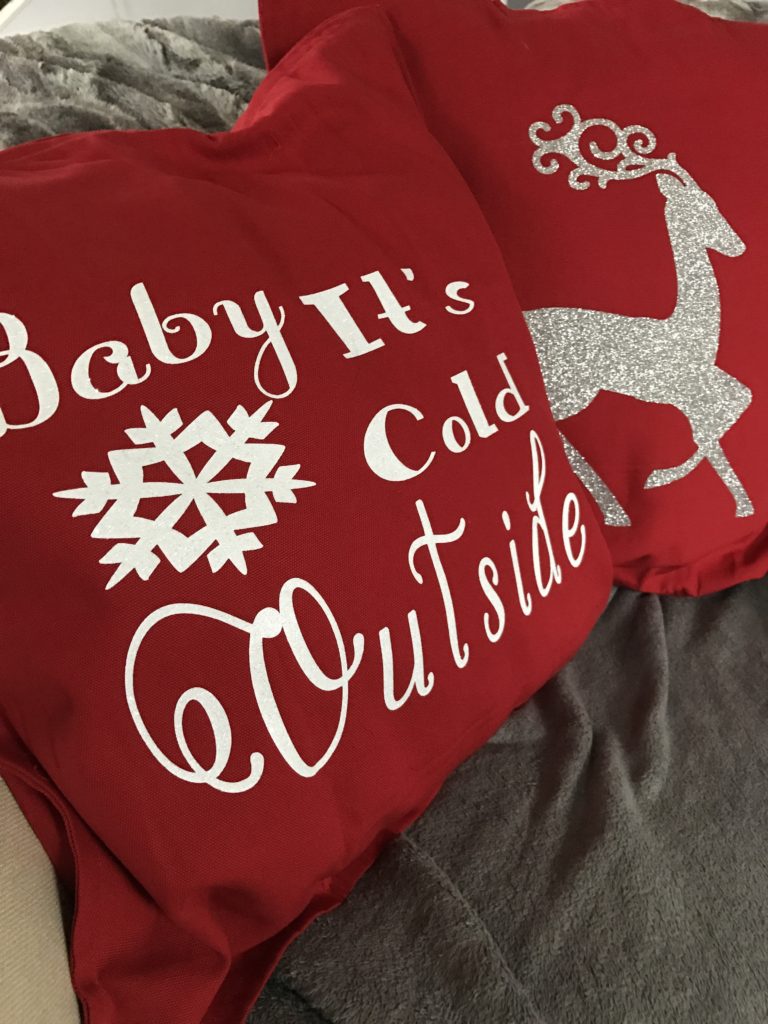
An easy way to update your winter decor without spending a fortune is with pillow covers. You can cover existing pillows for less than $20.00 and have a new look for the winter season. Create your own covers or purchase new ones in a style you like. I decided to save myself some time and not sew new covers. On a trip to IKEA, I found some plain red covers that would perfectly fit my couch pillows for less than $10.00 each! They are perfect for an iron-on vinyl overhaul. I made both designs at the same time with a die cut machine and design program. This allowed me to make both the exact same size and save design time.
*This post contains affiliate links. If you make a purchase after clicking these links we will be compensated. All opinions are our own.*
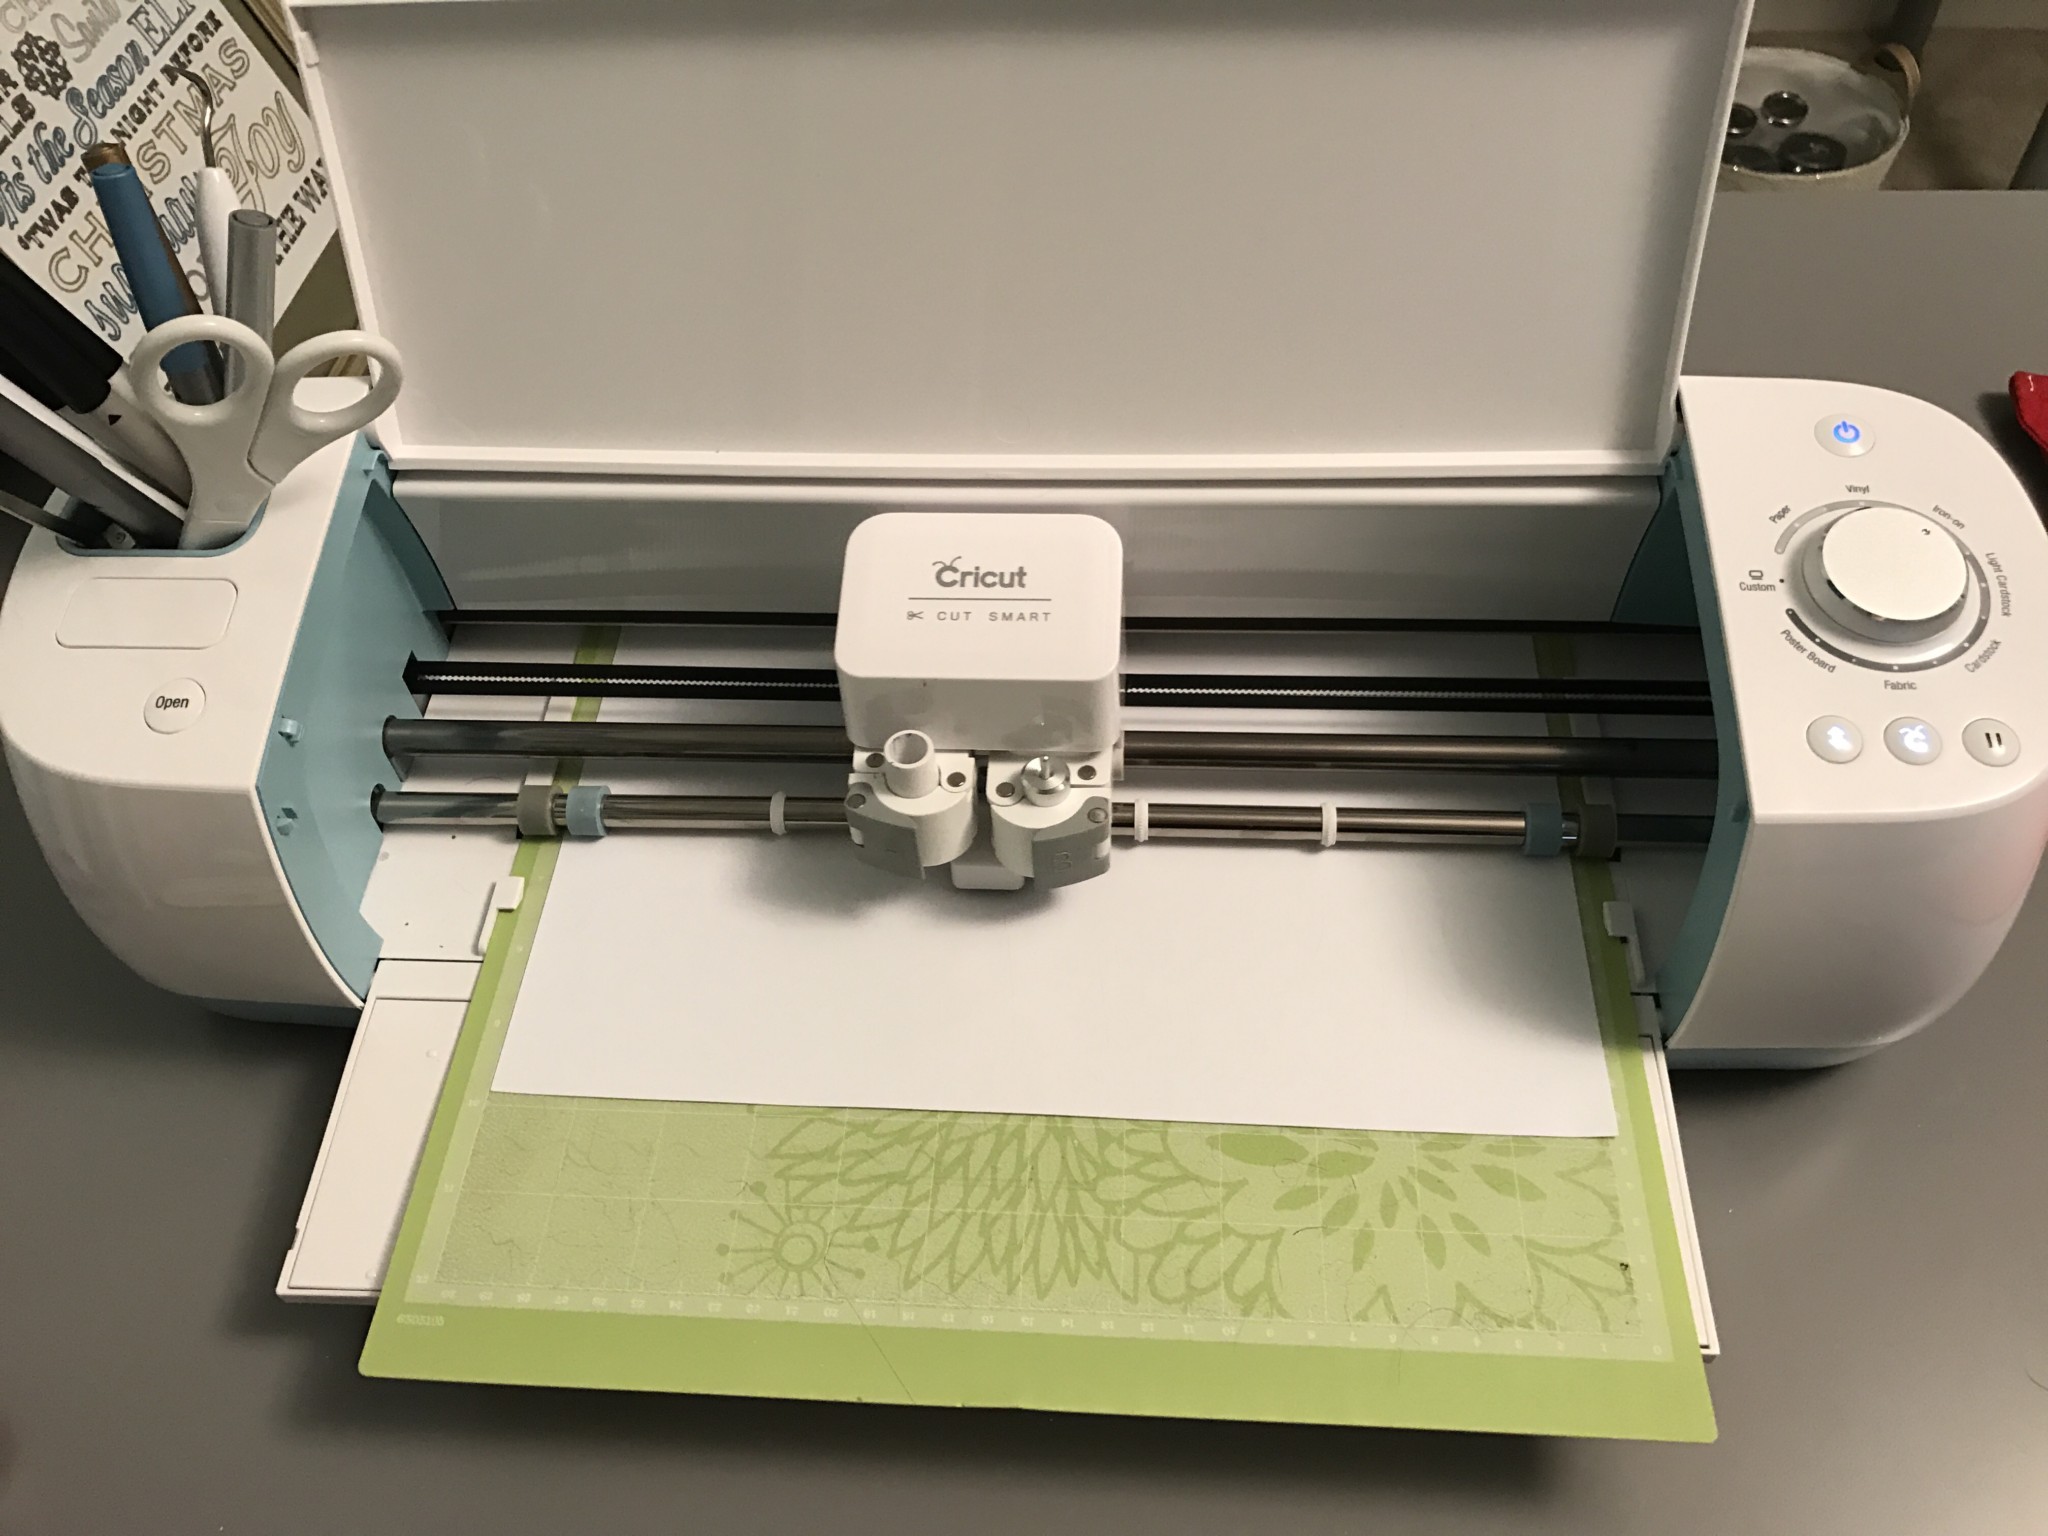
I used a Cricut for this project. If you have another die cut machine you can still make this project, but will need to adjust the directions and supplies accordingly.
Supplies Needed:
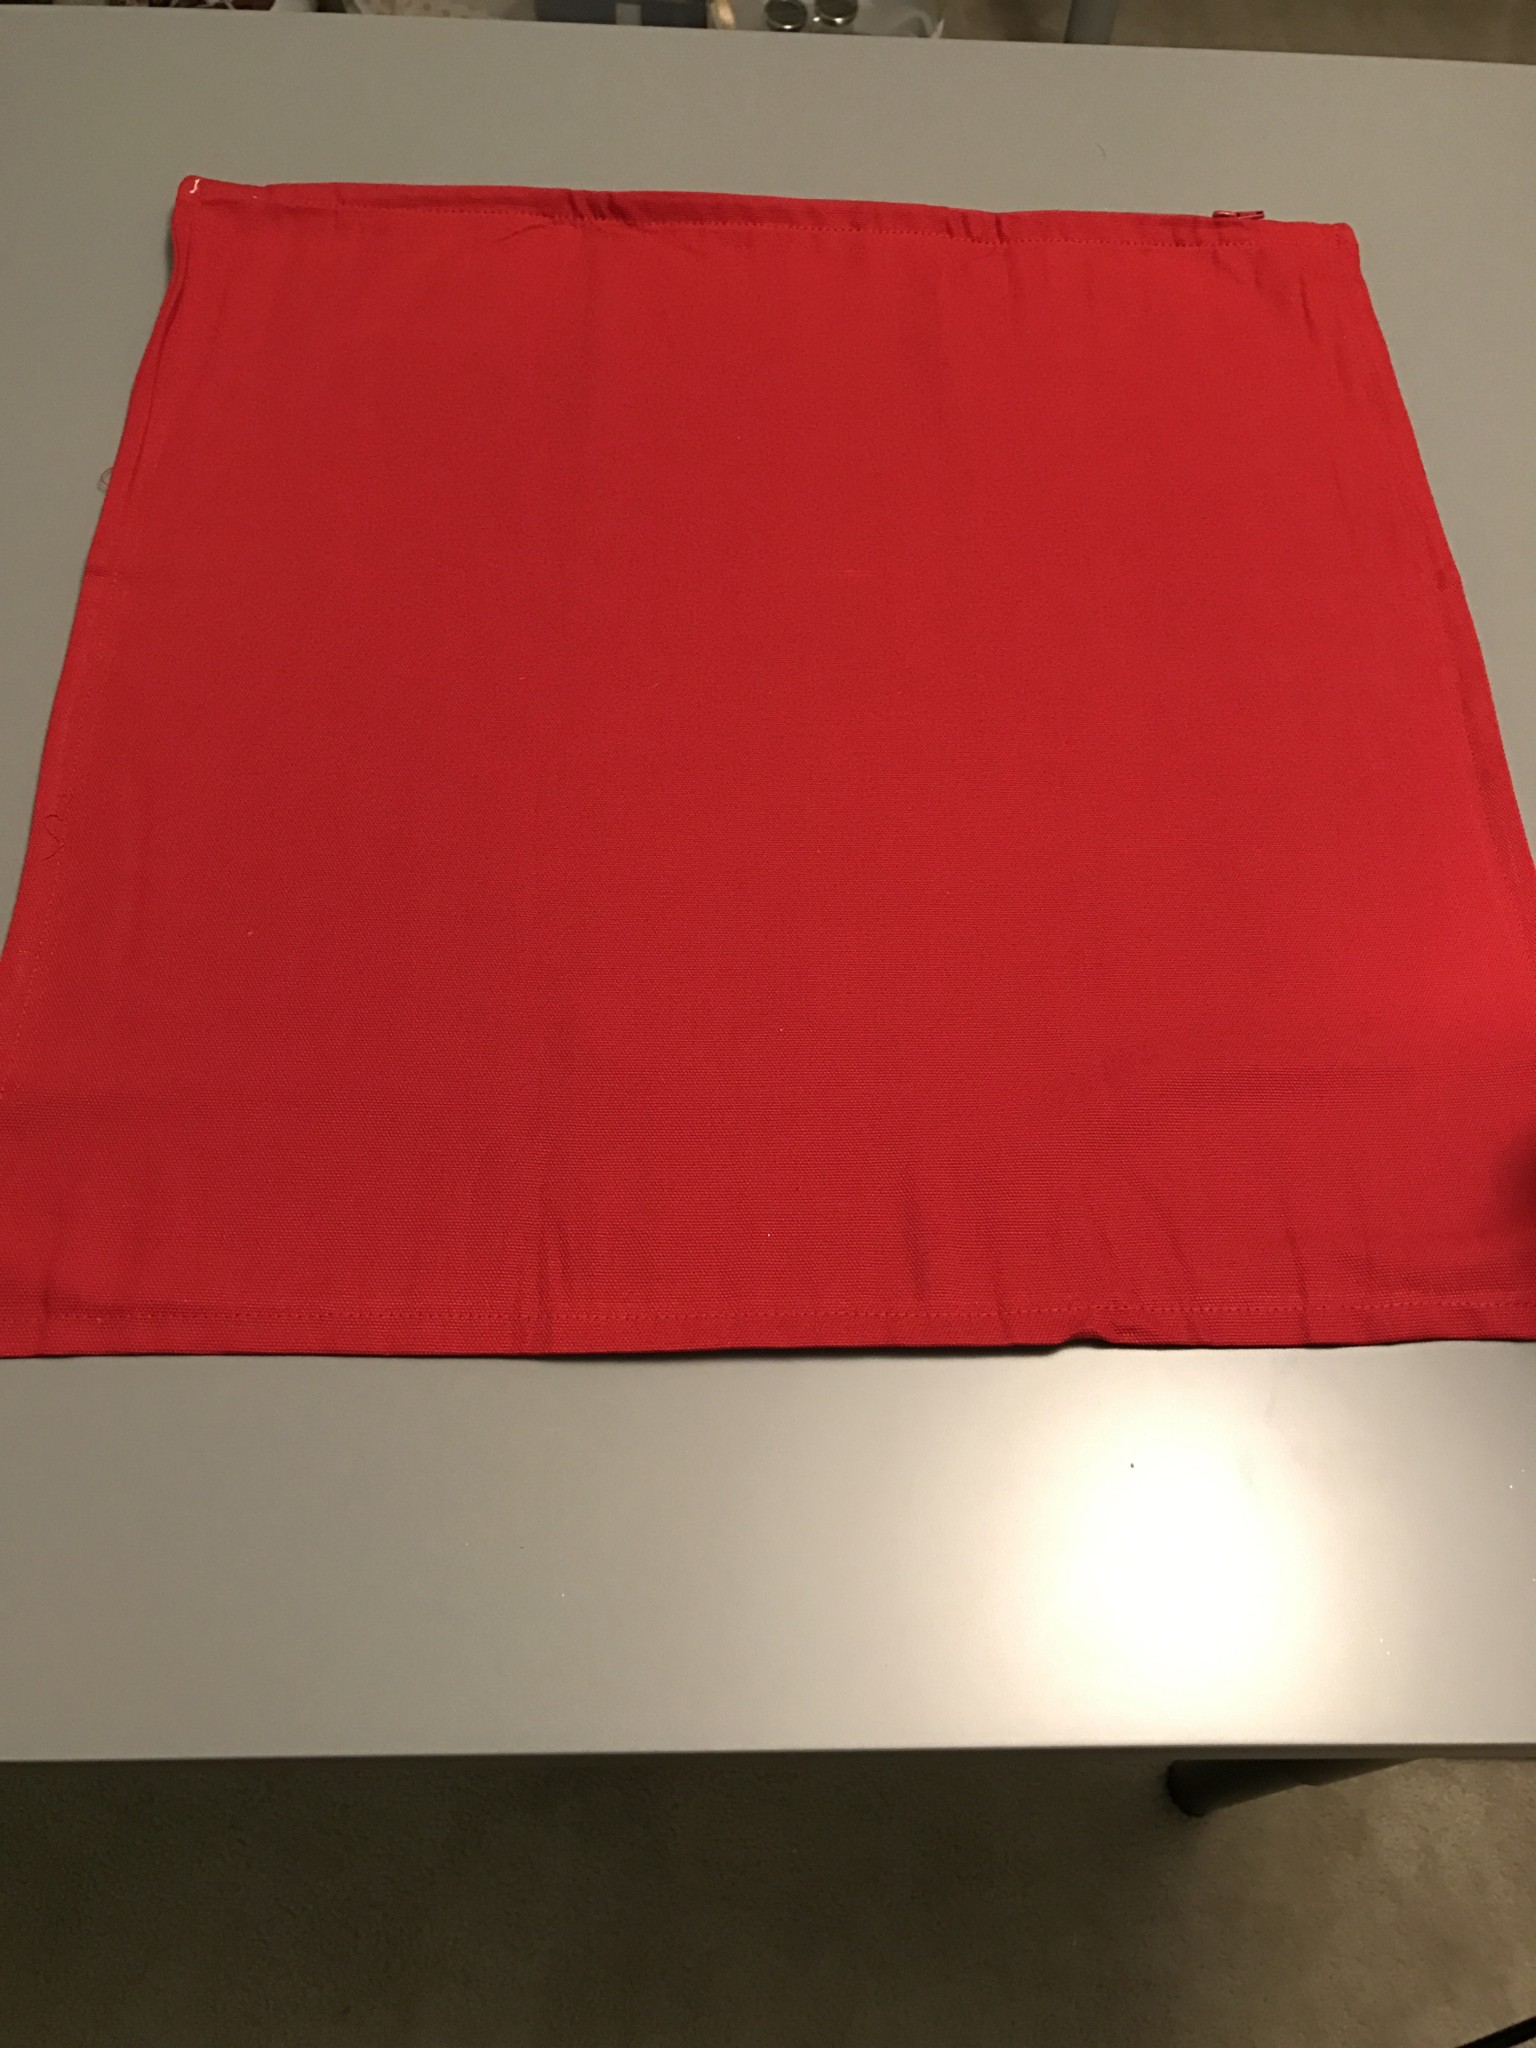
- 2 Pillow covers pre-washed (Cotton, Uncoated Polyester, Cotton/Poly Blend)
- 2 Pillows or inserts – Joann.com
- White and Silver HTV – *Expressions Vinyl
- *Cricut Explore Air™ 2 machine
- Iron
- 2 Cricut cutting mats – *30% off 2016 supplies at Cricut.com
- Cricut access (optional) – *Sign up for Cricut Access™ and get 10% off all orders on Cricut.com and in Cricut Design Space™
- Cricut design space
- Weeding tools (optional) – 3*0% off 2016 supplies at Cricut.com
- Heat Transfer Cover Sheet, pillowcase or bed sheet (optional)
If you are not a fan of Cricut or want to get a comparison price on other machines? That’s okay! Check out the new *Expressions Vinyl Cameo 3 Bundle to compare.
Instructions:
Creating The Designs
- Start this project by measuring your pillow cover and decide how large you’d like your design to be.
- Next open up Cricut design space or your design program and start a new project.
- Click on add image and search for the reindeer design and snowflake designs. Add both to the project.
- Resize the deer to the maximum size you want for your design. Make a large square around the deer. You’ll use this as a template for the words on your other design.
- Select just the deer and weld the image. This will make sure the machine only cuts out the silhouette. Your deer is done and ready to cut, so set it aside on your board.
- Now add three text boxes. In the first box type Baby, in the second box it’s cold and in the third outside.
- I chose three different fonts, one for each text box. Make it’s and cold on two separate lines and center align them.
- Use the square box you made earlier to resize and line up the text boxes and the snowflake so that it reads Baby It’s Cold Outside.
- Delete the square box.
- Select everything besides the deer design and attach them together. Make sure you have both designs set to two different colors.
- Now your are ready to cut.
Cutting and Assembling
- Place your silver HTV and white glitter HTV shiny side down on 2 different cutting mats.
- Set your die cut machine to cut vinyl.
- On your Cricut design space or design, program click GO to move to the cut screen.
- Make sure your image is set to MIRROR on your computer screen. You must do this in order to cut HTV or the image will be backward when you apply it.
- Click cut on the computer and load your first mat into your machine per instructions on the computer.
- When you are ready to cut, press the cut button on your machine.
- Once it’s finished cutting, remove the mat and load your next mat and repeat the process above to cut the second design.
- Preheat your iron to 325°F for Expression Vinyl Glitter HTV. Do not use steam! I use setting 5 on my iron since it doesn’t give degrees.

- Unload the second mat and peel off the vinyl from the mats.
- Using any tools necessary to weed the excess HTV and middles of your designs from the clear carrier sheet. Cut away the excess vinyl as remove it. You want only the design left on the clear carrier sheet.
- Lay out your pillow covers on a flat surface to iron on.
- Preheat the pillow covers with the iron for 3 seconds.
- Place each design on top of each pillow cover where you want the finished product to sit and press them down firmly.

- Use a Heat Transfer Cover Sheet to cover the clear carrier sheet to act as an extra barrier from the iron. (I’ve also used a bed sheet or pillow case)
- Take your iron and apply firm pressure on top of the clear carrier sheet at 325°F for 10-15 seconds. NO STEAM
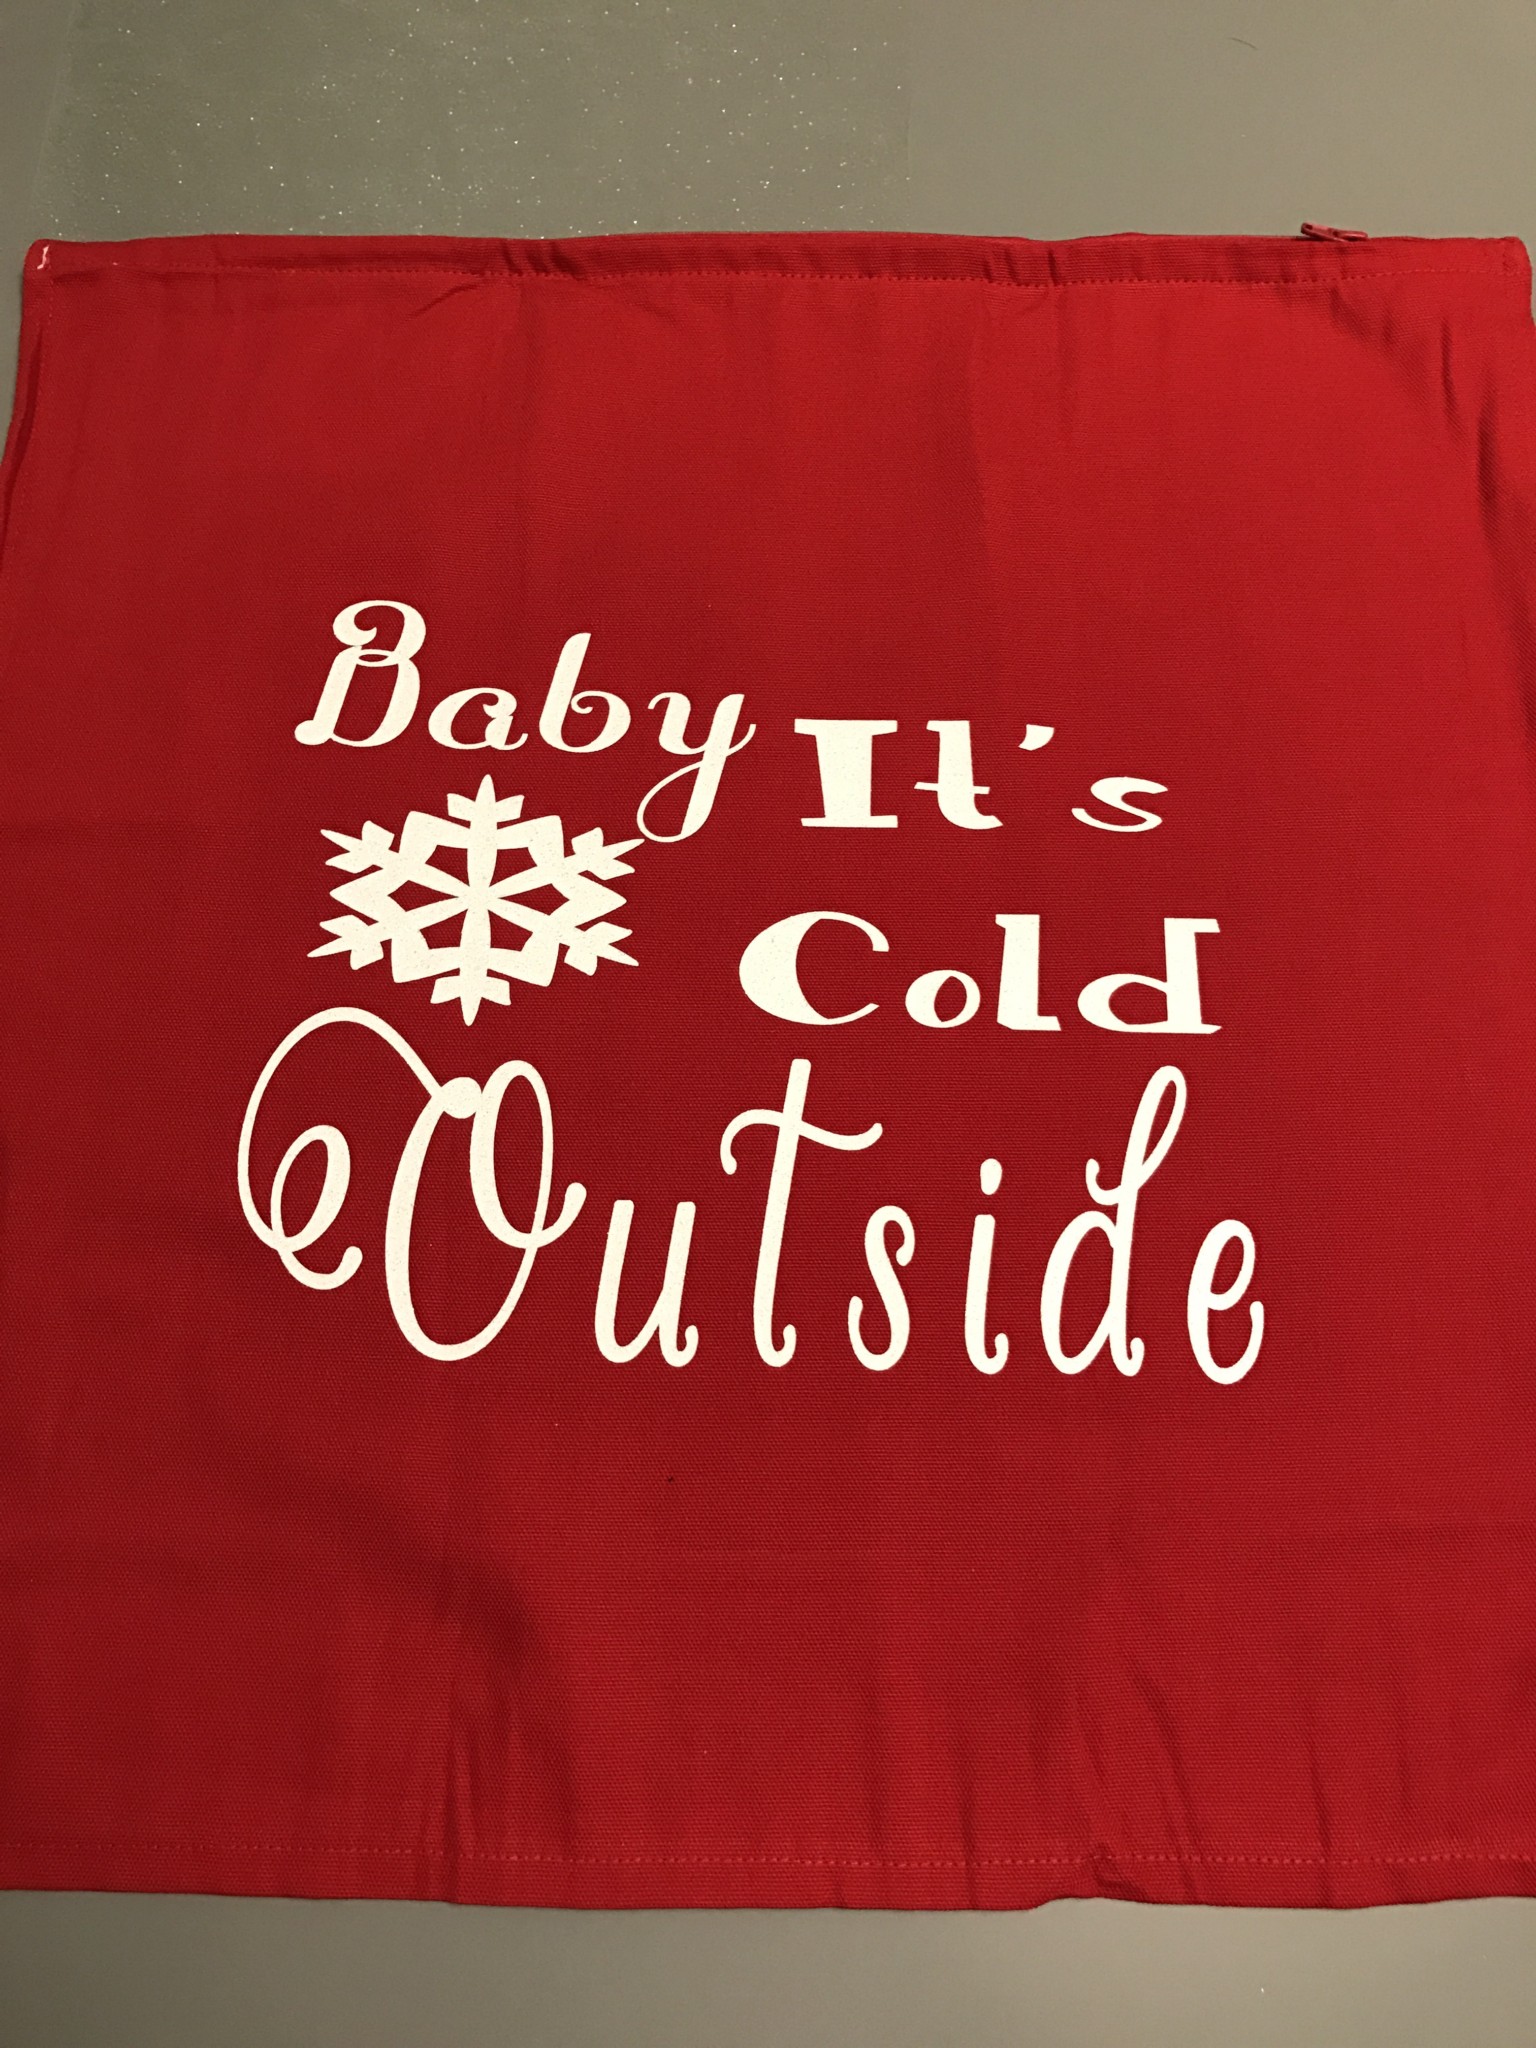
- Peel the carrier sheet off the pillow while it is HOT. If the design does not look like it is sticking as you pull off the backing, repeat step 13.
- Let your pillow covers cool and then place over your pillows or pillow inserts.
Wash the pillow covers inside out and hang dry. If you didn’t get a proper seal and the vinyl starts to come off, you can iron back over it to reseal the edges. Remember to cover them with a cover sheet before ironing again.
We’d love to see your designs! Follow us on Instagram & Twitter or comment below to share your projects!
