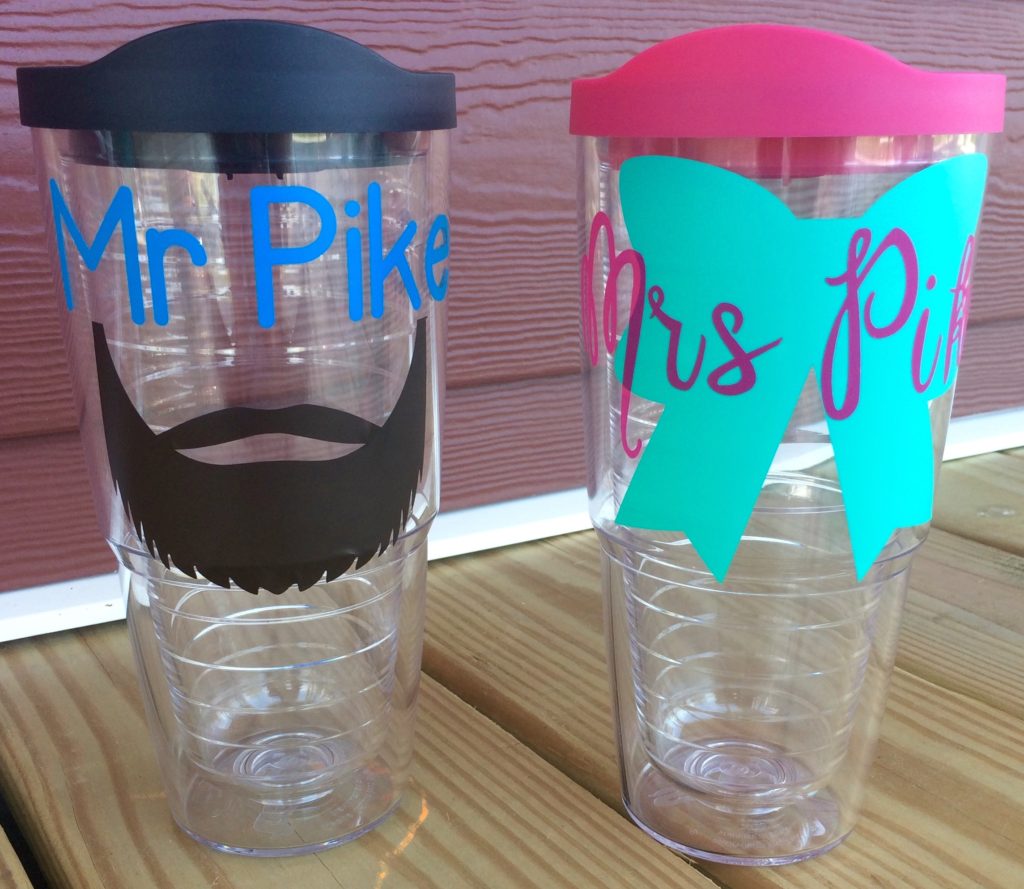
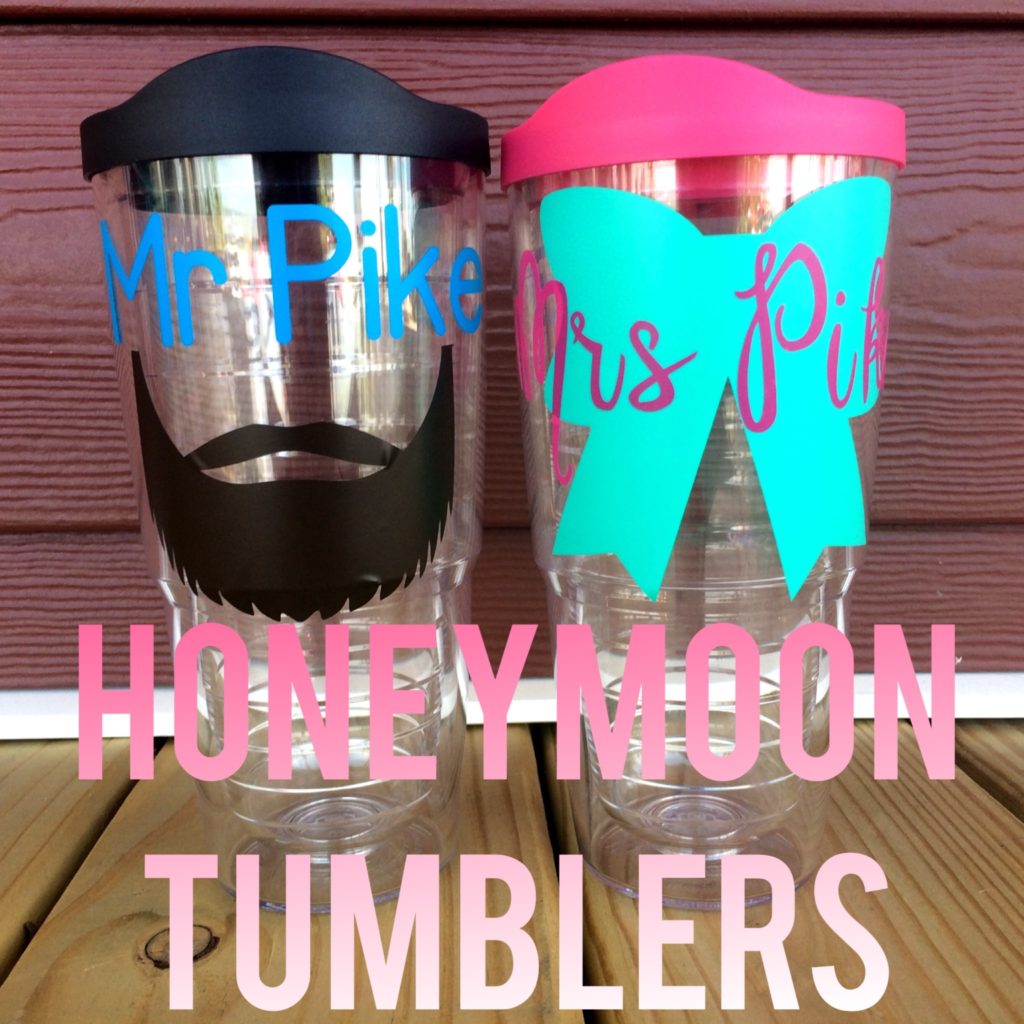
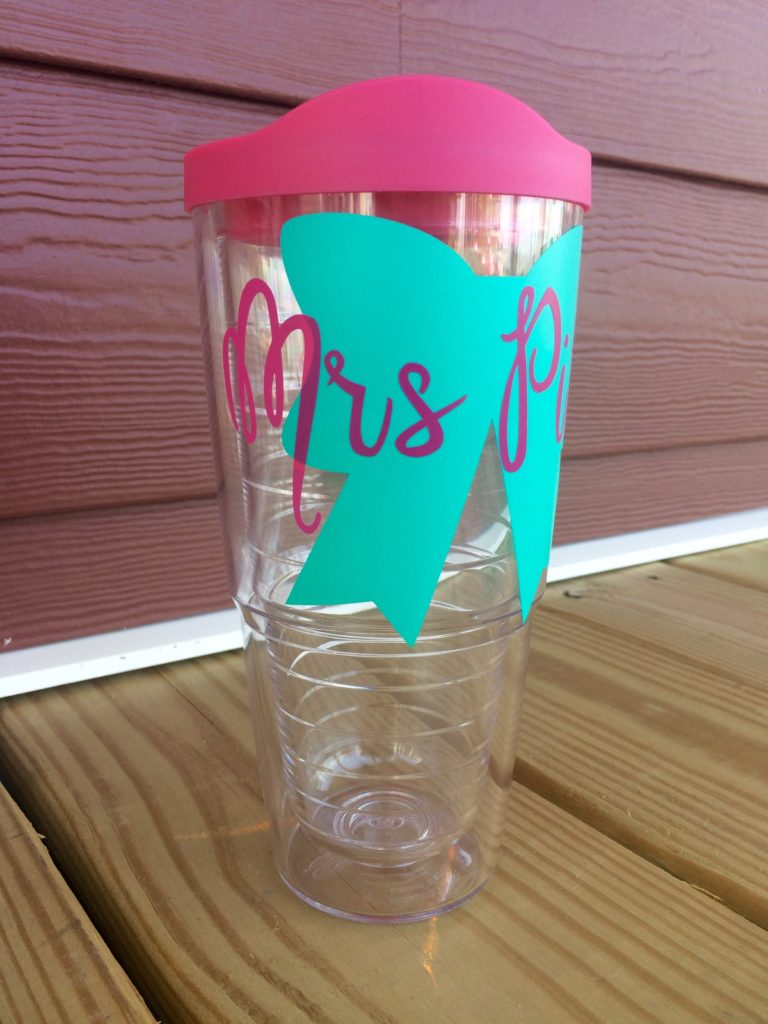
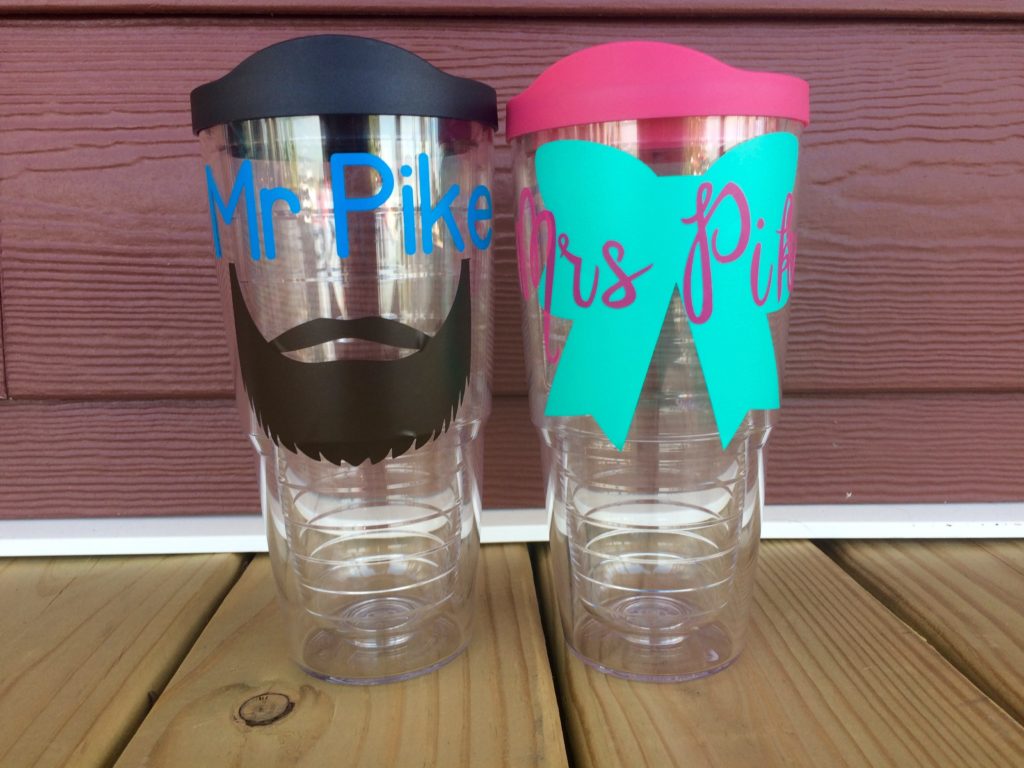
The honeymoon is almost here and we are heading to an All Inclusive resort in Mexico! I can’t wait to lay out on the beach with my hubby margarita in hand! After reading tons of reviews about all inclusive resorts, I decided it was a good idea to bring along a tumbler to keep beverages cold while laying poolside/beachside at the resort. I’m a big water drinker, but I hate warm water. If I needed to order 10 cups of water at once and fill up my tumbler to keep it cold in the sun, I would do so in heartbeat. I decided custom tumblers were a must! *This post contains affiliate links. If you purchase after clicking on one of these links, we will be compensated.*
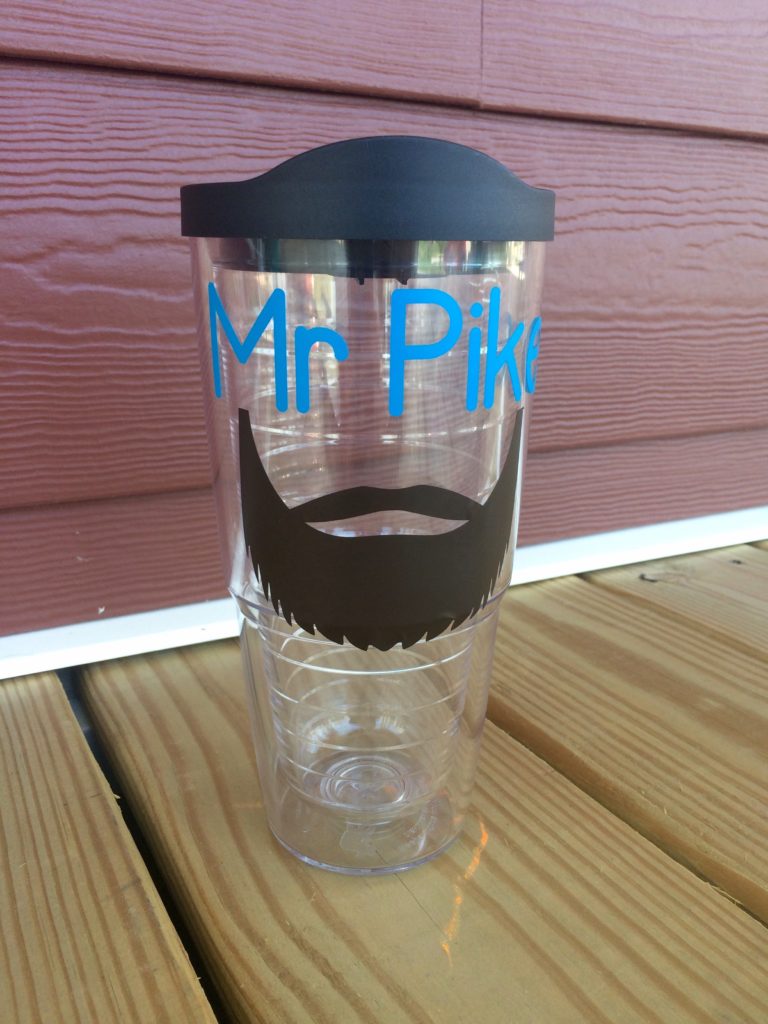
These tumblers may be my favorite designs I’ve made with my Cricut! You can customize the design to anything you like. (Mr/Mr, Mrs/Mrs, names/ monograms, etc.)
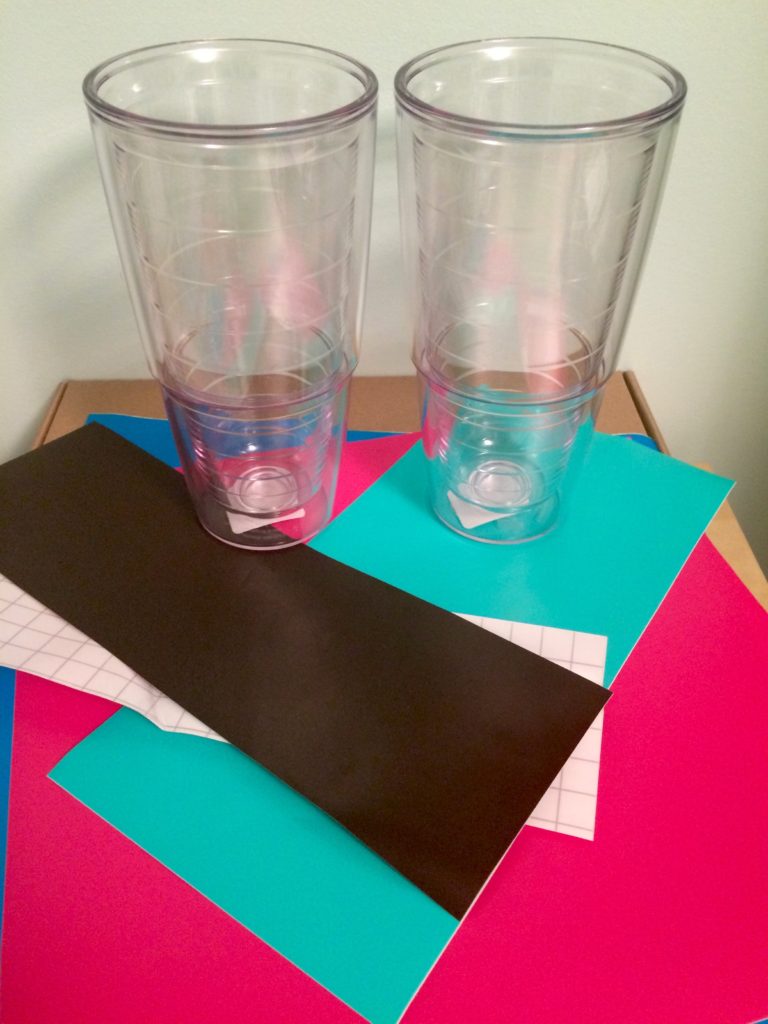
Supplies you’ll need:
- Two large tumblers
- Two tumbler lids
- 4 pieces of colored vinyl – Expressions Vinyl
- Transfer Tape – I used Cricut, but Expressions Vinyl is my favorite
- Cricut or Die Cut Machine
- Cricut Design Space or software to create your design
- 12 x 12 Cricut Cutting Mat
- Weeding Tools
Instructions:
- Start off by designing your tumblers. Open a new project in design space and add an image. Find a bow design and a beard design and add them the project. Both the designs I used are currently available with Cricut Access.
- Add two text boxes. Type Mr and Mrs, or Mr/Mr, Mrs/Mrs in a font you like. I used block letters for my husbands and script for mine.
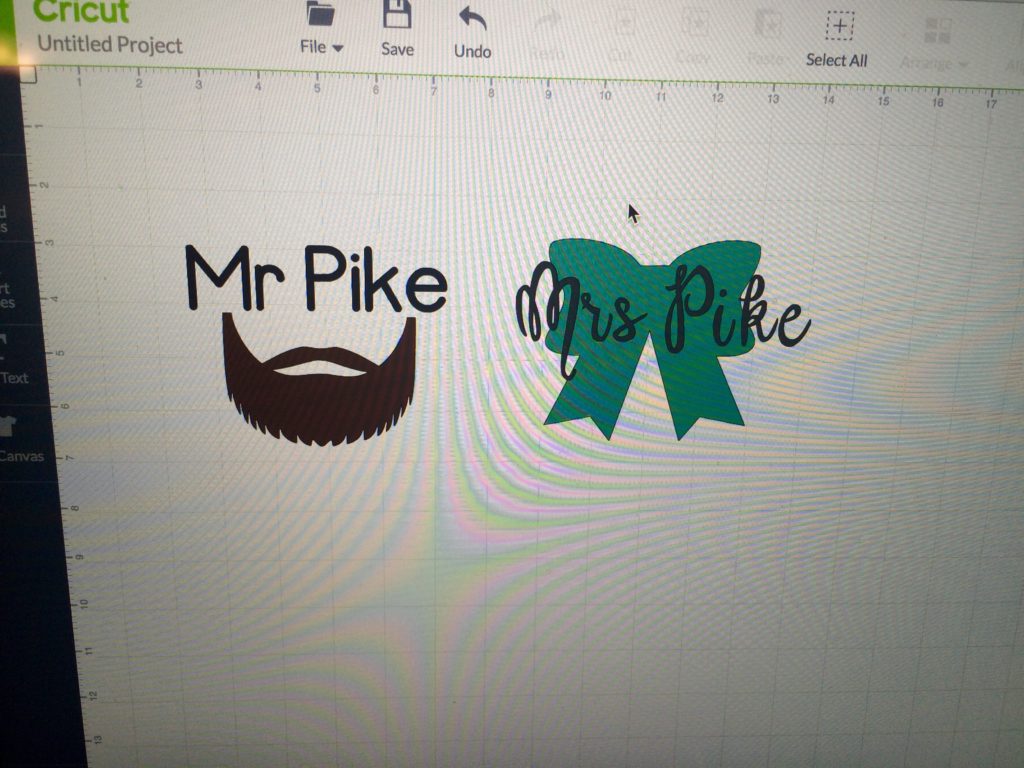
- Align your text with the designs, group together and then size to fit your tumblers.
- Get your mats ready and click go on your computer and then follow the prompts to cut. Set your machine to vinyl before you start the cut.
- Remove the vinyl from the mat and peel away the vinyl parts you are using from the backing. It’s really important to remove the vinyl you won’t be using including the center of letters!
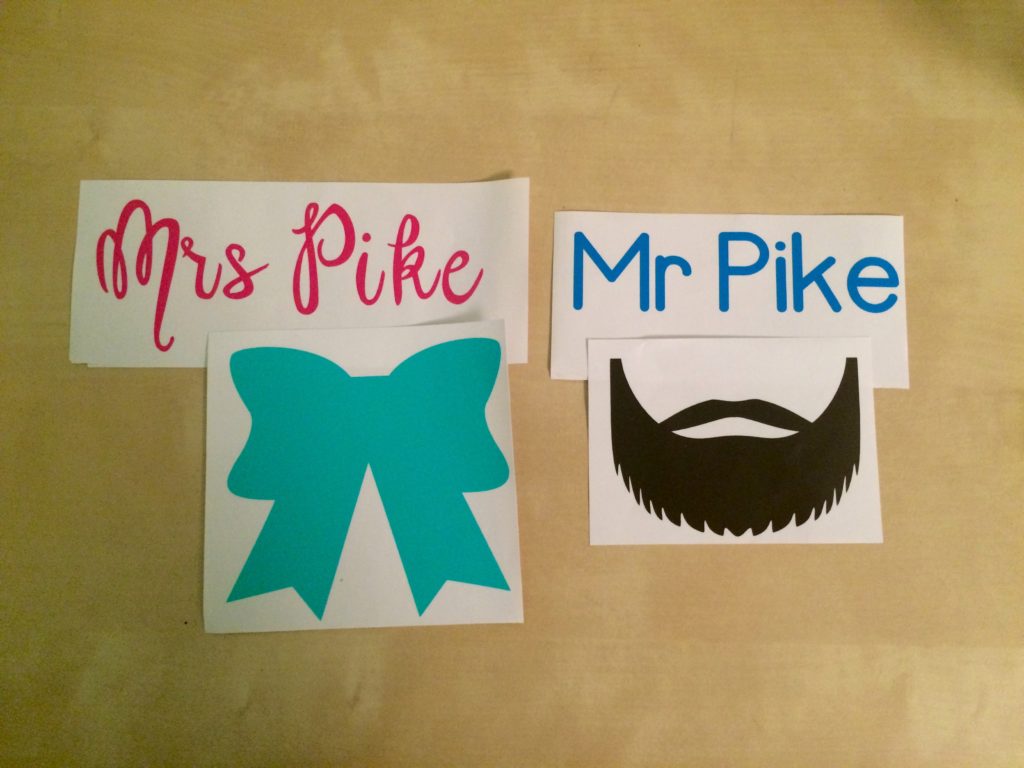
- Place a piece of transfer tape about the size of your full design over the cut vinyl that will be the top layer first. In my case that was the text first. Gently peel the vinyl text off the backing. It should be stuck to the transfer tape.
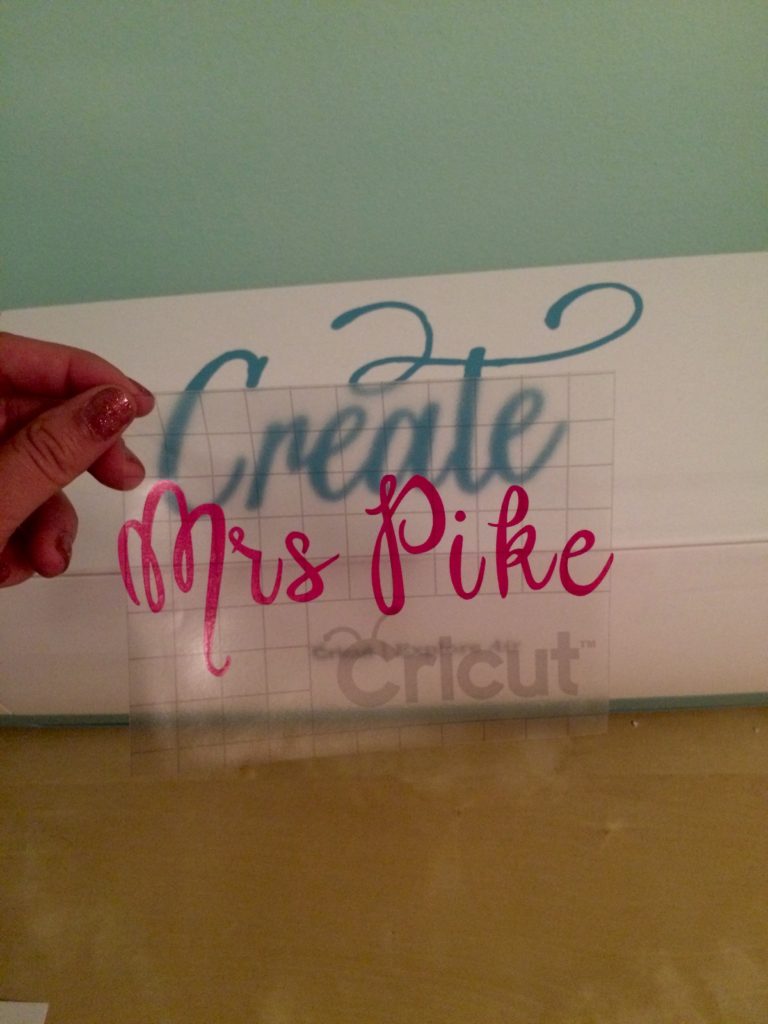
- Then place the transfer tape on top of the second design (bow or beard). Gently pull the whole vinyl design off the backing. It should be stuck to the transfer tape.
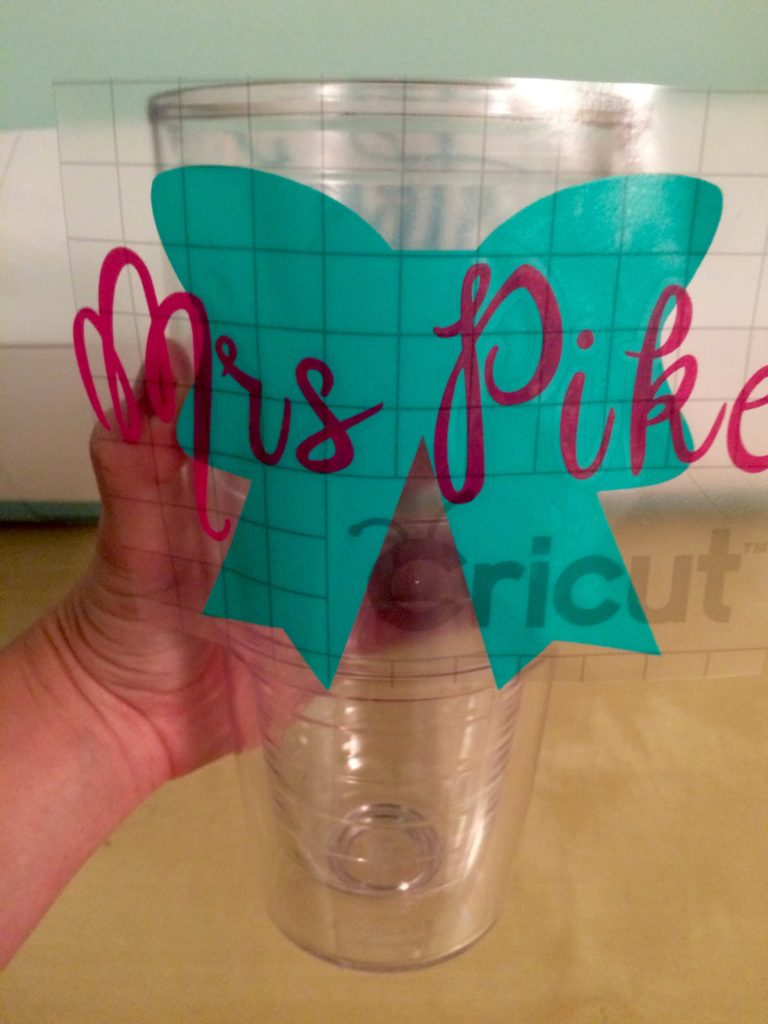
- Now get your tumbler and using the grid lines on the transfer type line up the design to where you want it centered. Stick the center of the design on the tumbler first. Working outward press on to the tumbler.
- Gently pull away from the transfer tape. Make sure the full design and text adhere to the tumbler!
I can’t wait to use our tumblers on our honeymoon! The tumblers are hand wash only. They will hold up to soap and water. These also make a great engagement gift, wedding or anniversary present.
Follow these affiliate links for products used to make this project and get inspiration for other projects!
10% off + free standard shipping with code LOVECRICUT (EXCLUDES AIR 2 and CRICUT ACCESS)
Cricut Explore Air $199 and under
Expressions Vinyl Cameo 3 Bundle
