Even though I no longer live in Tennessee, it will always have my heart. I recently moved desks at my office and needed some new wall art. I’ve seen tons of these fun wall art using states and a heart for your city. I think showing a little state pride is a super fun piece of art for your home or office and it can be easily customized. This DIY project was clearly for Tennessee with a heart for my hometown, Nashville, but you can adapt this project for any city or state if you aren’t as TN proud as I am. **This post contains affiliate links. If you make a purchase after clicking on these links, we will be compensated. All opinions are our own.**

DIY Supplies
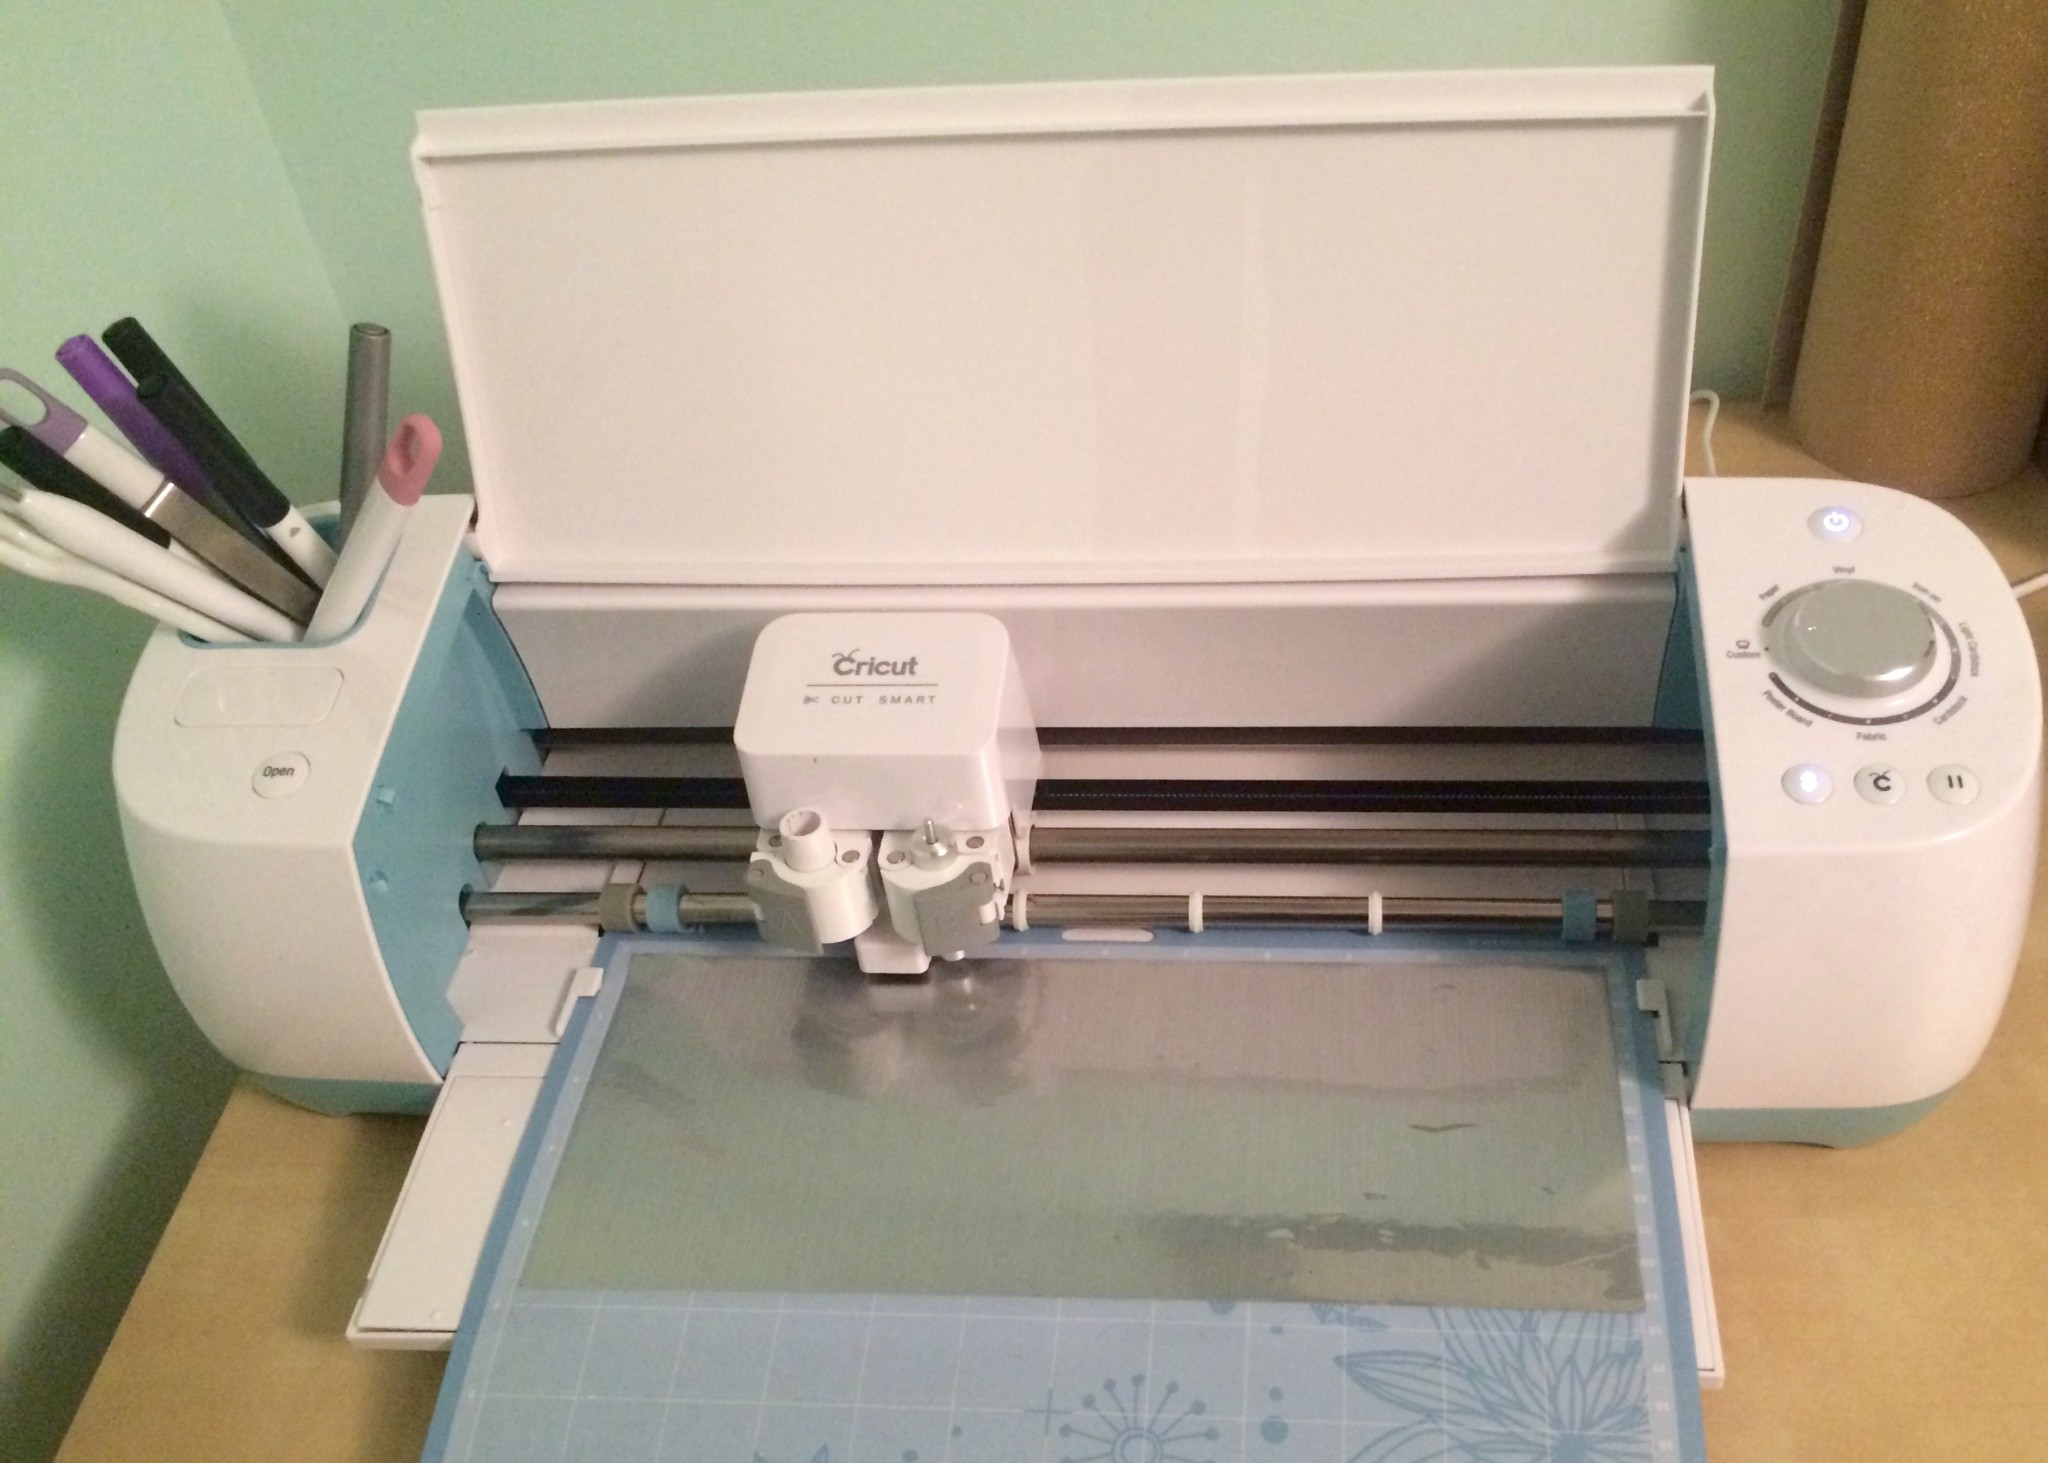
I try and use as many supplies as I already have on hand. Luckily, I had an 11 x 17 canvas already, some mint acrylic paint and extra silver vinyl foil so that’s what I used. I happen to be slightly obsessed with gray and mint at the moment, so this is probably why that is what I had on hand. A fun idea would be to use your favorite team colors. If you don’t have everything on hand and need to pick up supplies get a simple stretched canvas, it needs to be an unprimed one or the vinyl will not stick easily. You will also want to pick up a small bottle of acrylic paint, mine was a pearl colored mint, a brush, piece of card stock for a stencil and vinyl foil. I used a Cricut die cut machine for this project. That is what I own, if you have another die cut machine you can likely adapt my steps and use whatever machine you have.
Products I Used For This DIY Project
- Cricut Explore Air – See below for a coupon code
- Card Stock
- 11 x 17 stretched canvas
- Pearl Mint Acrylic Paint
- Paint Brush
- Cricut Design Space
- Cricut Adhesive Foil
- Font – FontBundles has amazing free fonts!
- SVG cut file of Tennessee
- Cricut Tools
- Cricut Cutting Mat
Cricut.com Coupon – I love a deal! Follow this link for an extra 10% off (excludes Access and Explore 2) + free standard shipping with code HOLIDAYDEALS
Directions:
This project is a very simple Cricut project. Start by getting a state SVG cut file. I downloaded a free for personal use file offline and then uploaded it to my design space. In a new project I added the new uploaded image and expanded the state shape to match the size I needed for my canvas. Then I added a heart to the and moved it over the state image and placed it over where my home town, Nashville, is. I highlighted the entire state and heart shape and sliced the images. Then I deleted the heart leaving behind the perfect image of Tennessee with a heart cut out for Nashville. The stencil was now ready to cut. After getting my card stock on the cutting mat and loading the machine, I set my Cricut dial to light card stock and then pressed the magic Cricut cut button! The machine did it’s thing and I had a perfect Tennessee stencil.

Painting The Canvas
Now it was time to start painting! Place some old newspaper down to protect the surface you paint on. I put a little pearl mint acrylic paint on a dish and held down the stencil while I painted the entire canvas. Be extra careful when painting the heart cut out. Tip: If you are worried about the stencil moving or paint bleeding under it, you can spray a little spray adhesive to lightly stick your card stock down while painting over it. If this is your first time stenciling I highly recommend doing that. After I was done painting, I let the paint dry and then VERY carefully pulled away the stencil.
 Designing The Foil Tennessee
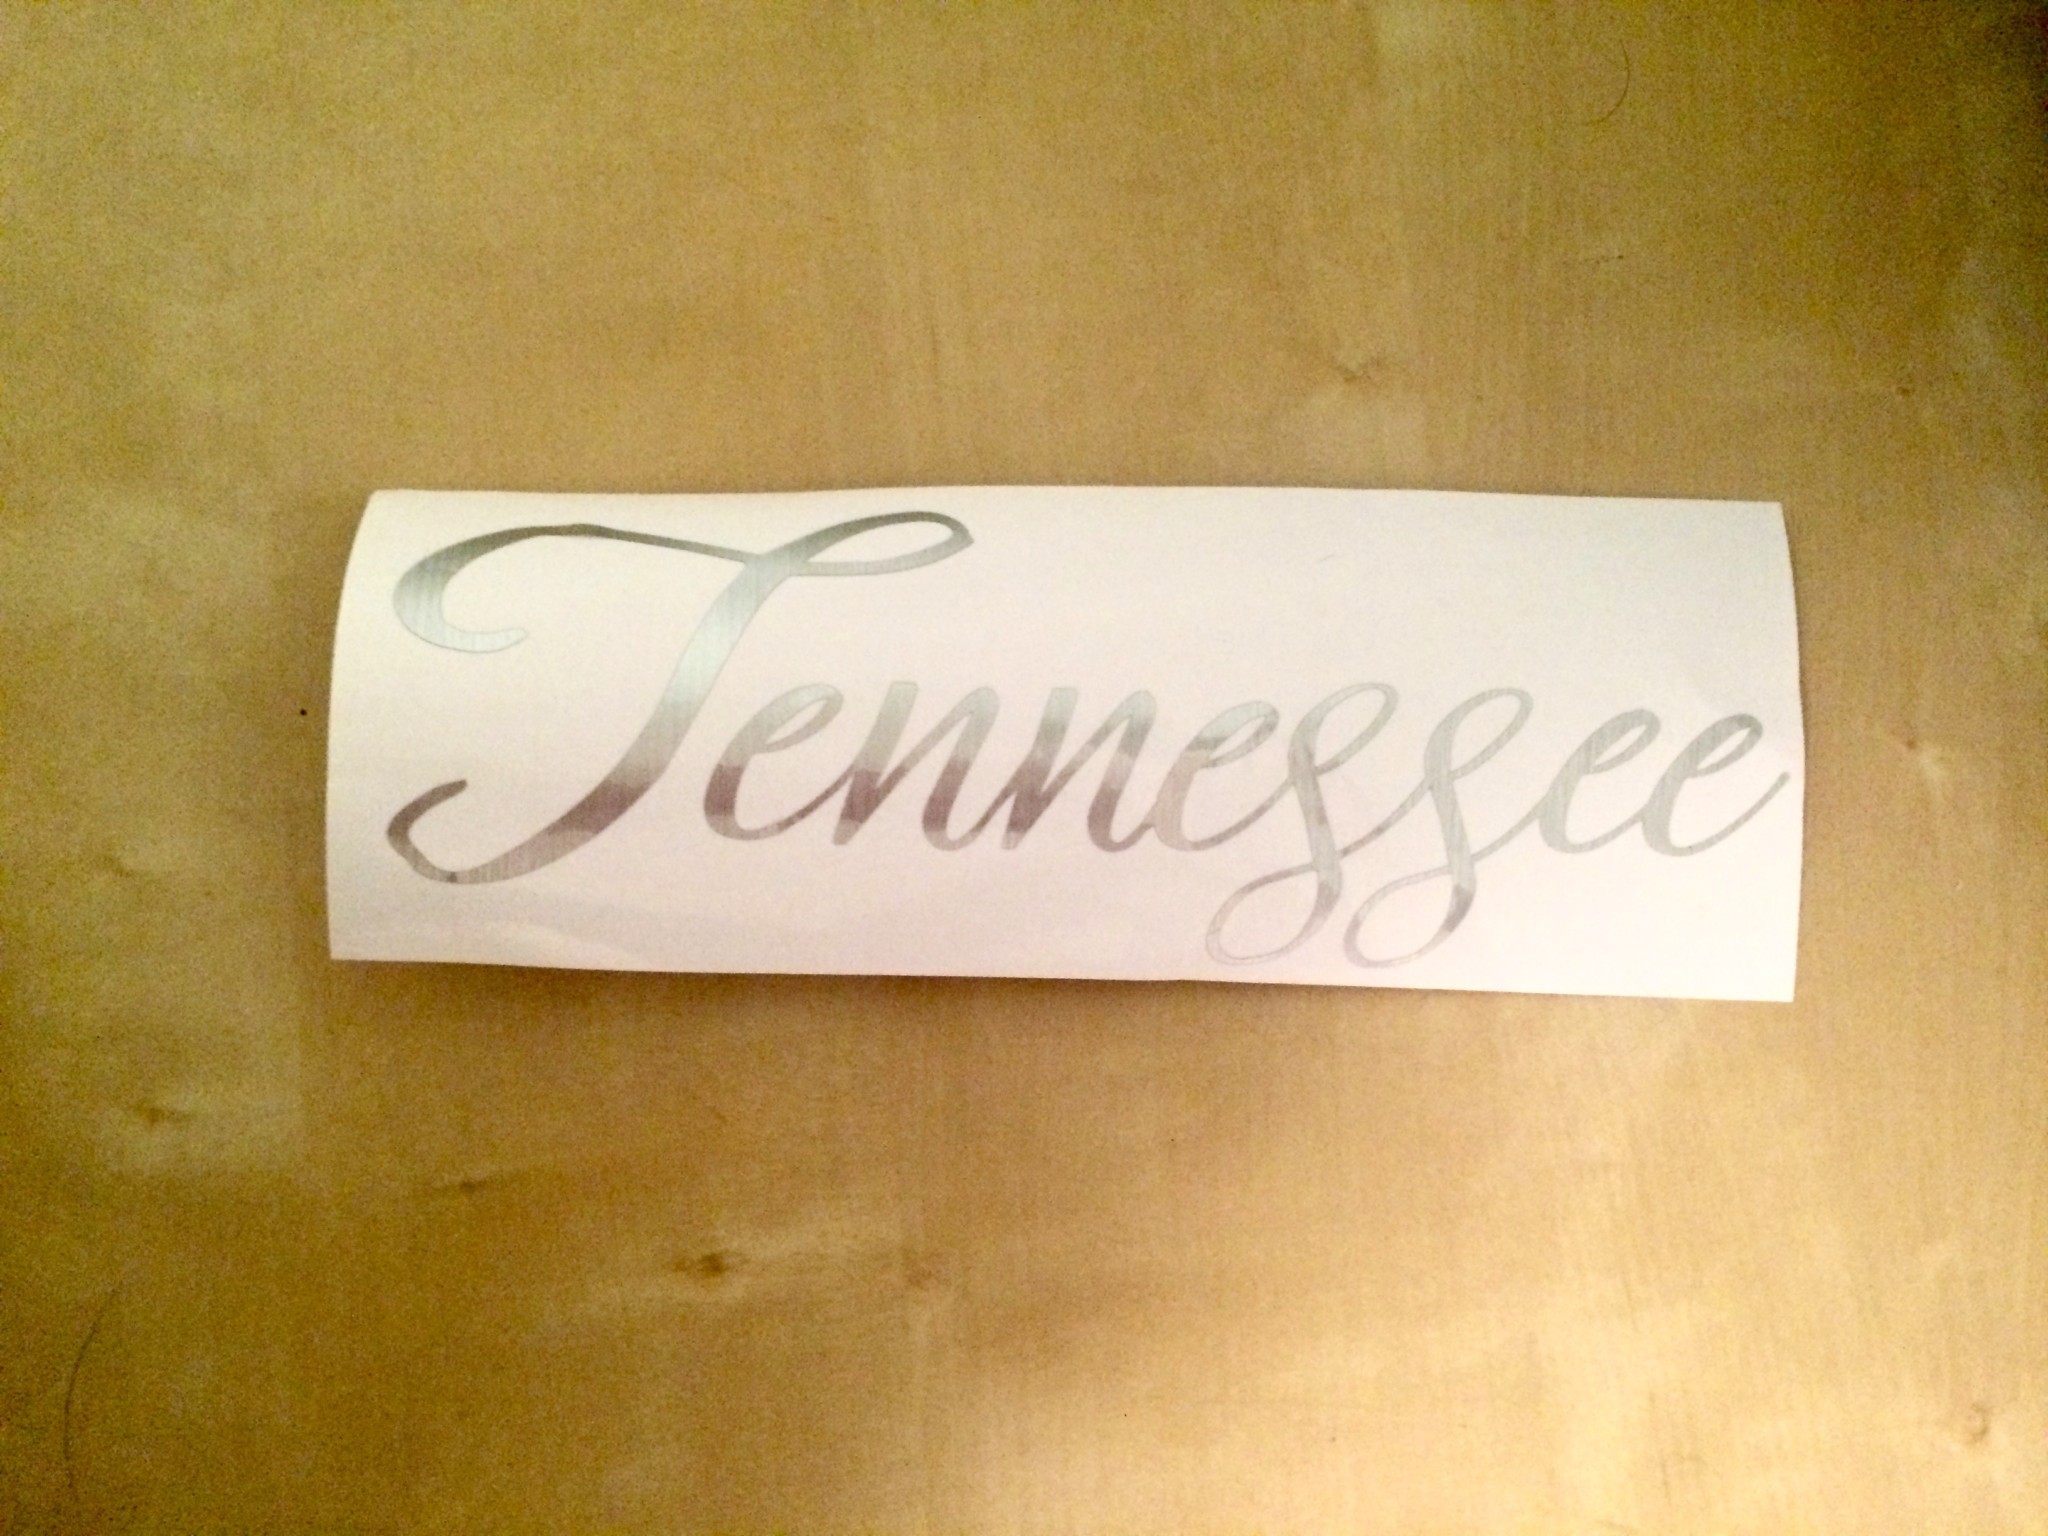
While I was waiting for the paint to dry, I designed my foil Tennessee. Open back up design space and in the same project type the word Tennessee. Recently, I got a new font from FontBundles. I used this project to test that out. If you want to use a script font, script letters won’t come out attached. You will need to detach the word and rearrange the letters to make them touch. Then weld the word together for an attached script word. Use the state image you made early to figure out how large the word Tennessee should be. I ended up making mine about as wide and just slightly smaller than the state design.
Cutting The Foil
When the design ready measure a piece of foil and cut it just slightly larger then the finished product should be. I placed that on my cutting mat and loaded it into my Cricut. I hid my state design (click the little eye on the right side, the image should disappear) so the Cricut wouldn’t try to cut it and then I hit go. In order to cut the foil you need the dial on your Cricut set to custom. Use the drop down menu under Dial Position on design space and select foil, adhesive back. Then hit the cut button and the watch the machine do its work!
Attaching the Foil
After removing the foil from the cutting mat, I carefully removed all the foil I wouldn’t be using and tossed it. The centers of all letters need to be removed, as well. I normally use transfer tape, but for this project I did not. Then I carefully removed the letter T and lined it up on the canvas when I wanted it to go and used that as a base as I gently removed and attached the rest of the word. The last step was to use my Cricut scraper to smooth over the entire word and make sure it was adhered fully to the canvas.
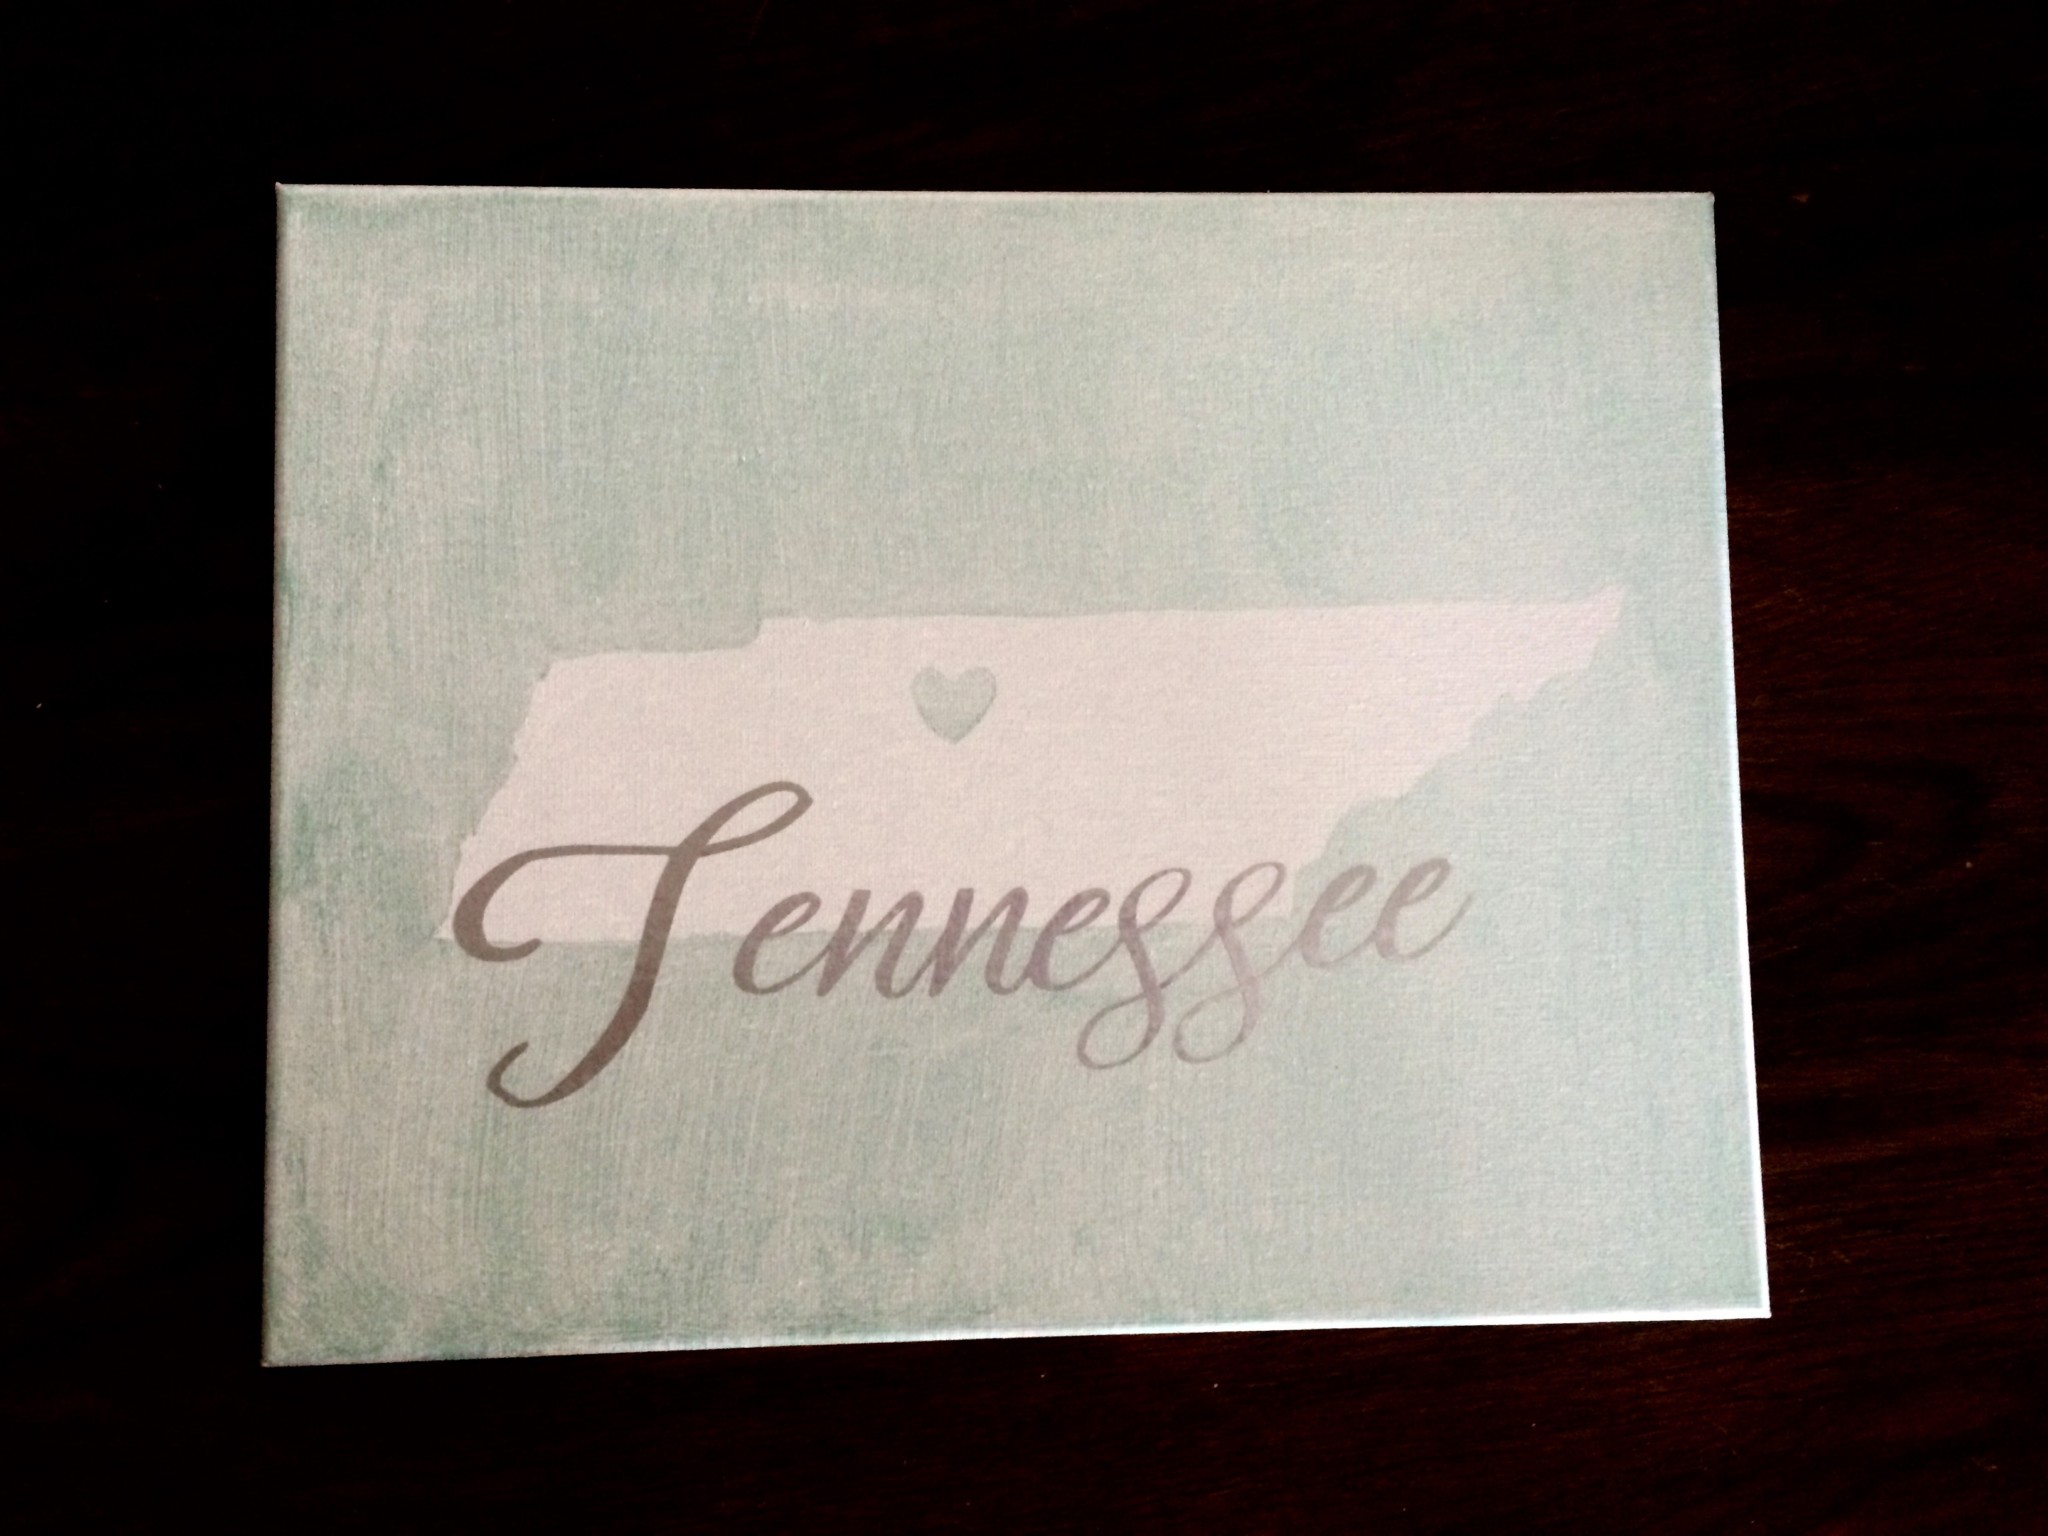
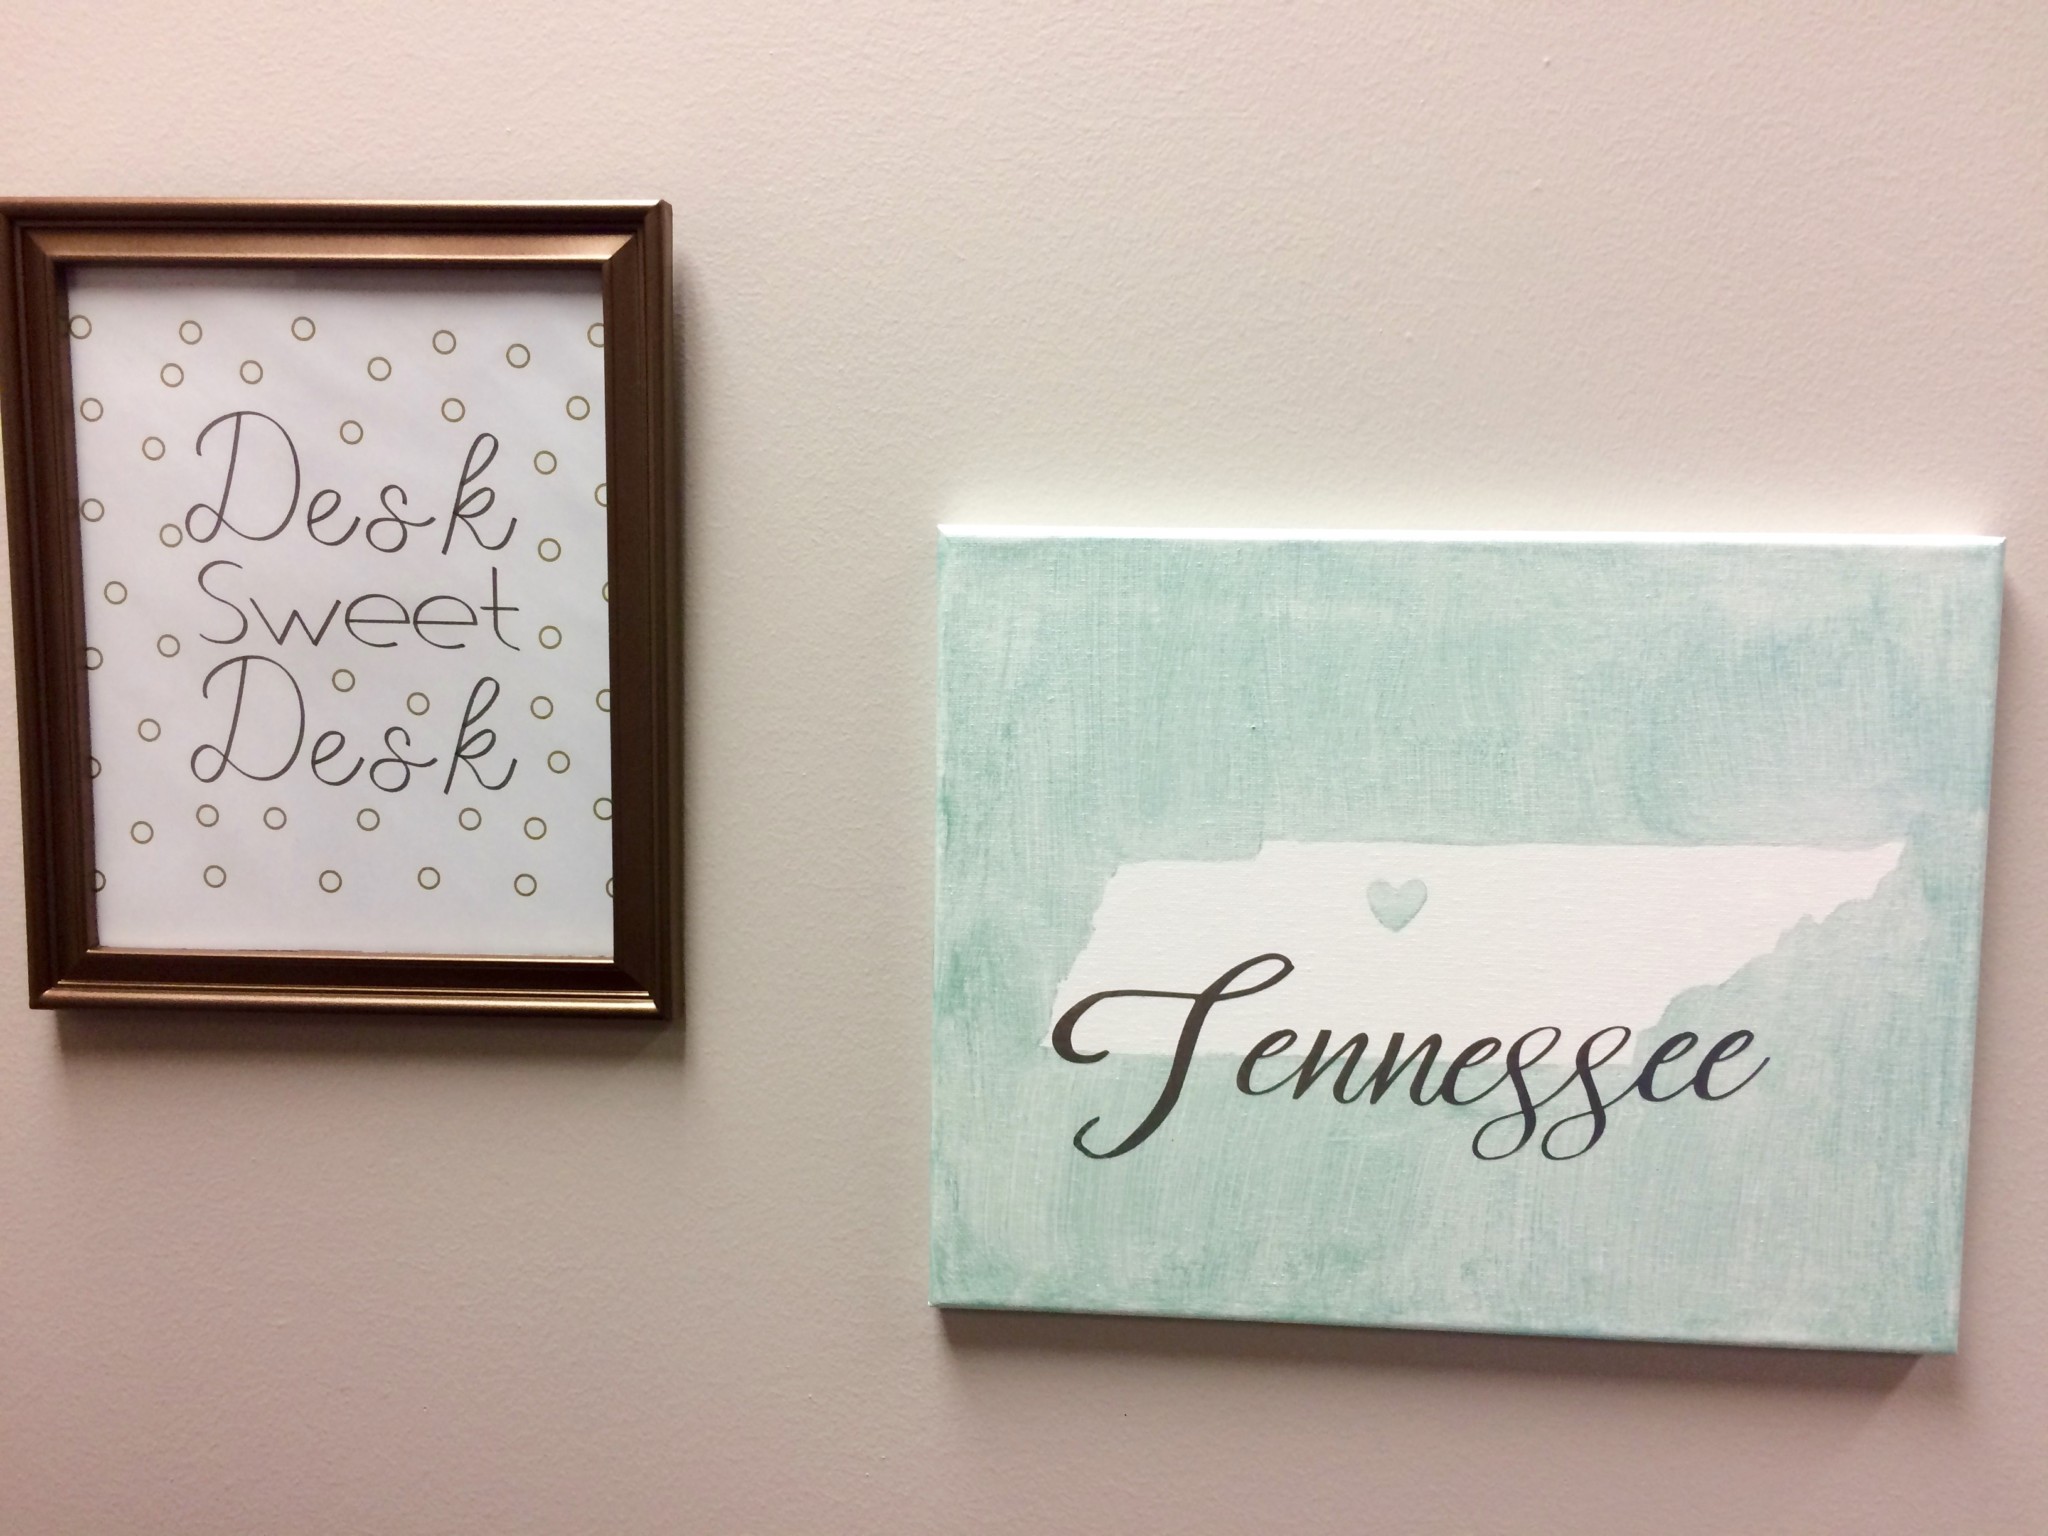
Finished Wall Art
I am more than obsessed with my finished canvas! I paired my new office painting with a little print I used my Cricut to draw. The Cricut drawing function is great. Currently, I am working on another piece to go on the other side of my canvas. My Tennessee wall art gets so many compliments that I’m already thinking about making more for my house. My husband is from Michigan and I am from Tennessee. I’m planning to make two more and put them over our bed!