I recently purchased a new cricut machine to take my DIY projects to the next level. While card crafting is not impossible to do without a die cut machine, the new cricut design space makes it extremely easy to make cards and envelope fast. There are hundreds of designs, some at little to no cost on the design space. This tutorial is the second card I make with my cricut and it turned out very cute. This card showcases three things that a cricut can do cut, score and write.If you don’t have a die cut machine you may want to skip this tutorial. **This post may contain affiliate links. We receive compensation if you purchase using the affiliate links provided. All opinions are our own**

What you need:
-
- Cricut machine
- Cricut Design Space
- Cricut Access or the cut file for this card
- 3 pieces of colorful card stock – Blush Black & Gold Designer Cardstock Paper
from Paper Source
- Craft glue or adhesive – Elmers Scrapbook Glue Set-4 Pack from JoAnns
- 12 x 12 Cricut cutting board
- Cricut Pen of your choice
- Cricut Scoring attachment
- Scrapper or other cricut tools to remove the cardstock
Directions:
The Card Design
- First log in to your cricut design space.
- Pick out the Thank You card design in cricut design space by searching under categories and you guessed it, Thank You.
- You can then choose to customize your card or cut.
- I always like to customize my designs first, just to make sure everything is lined up the way I want it and I usually tweak the pre-made designs a little.
- After you have everything laid out the way you like, click go.
- The machine will walk you step by step through the cutting and writing process.
Cutting the Card
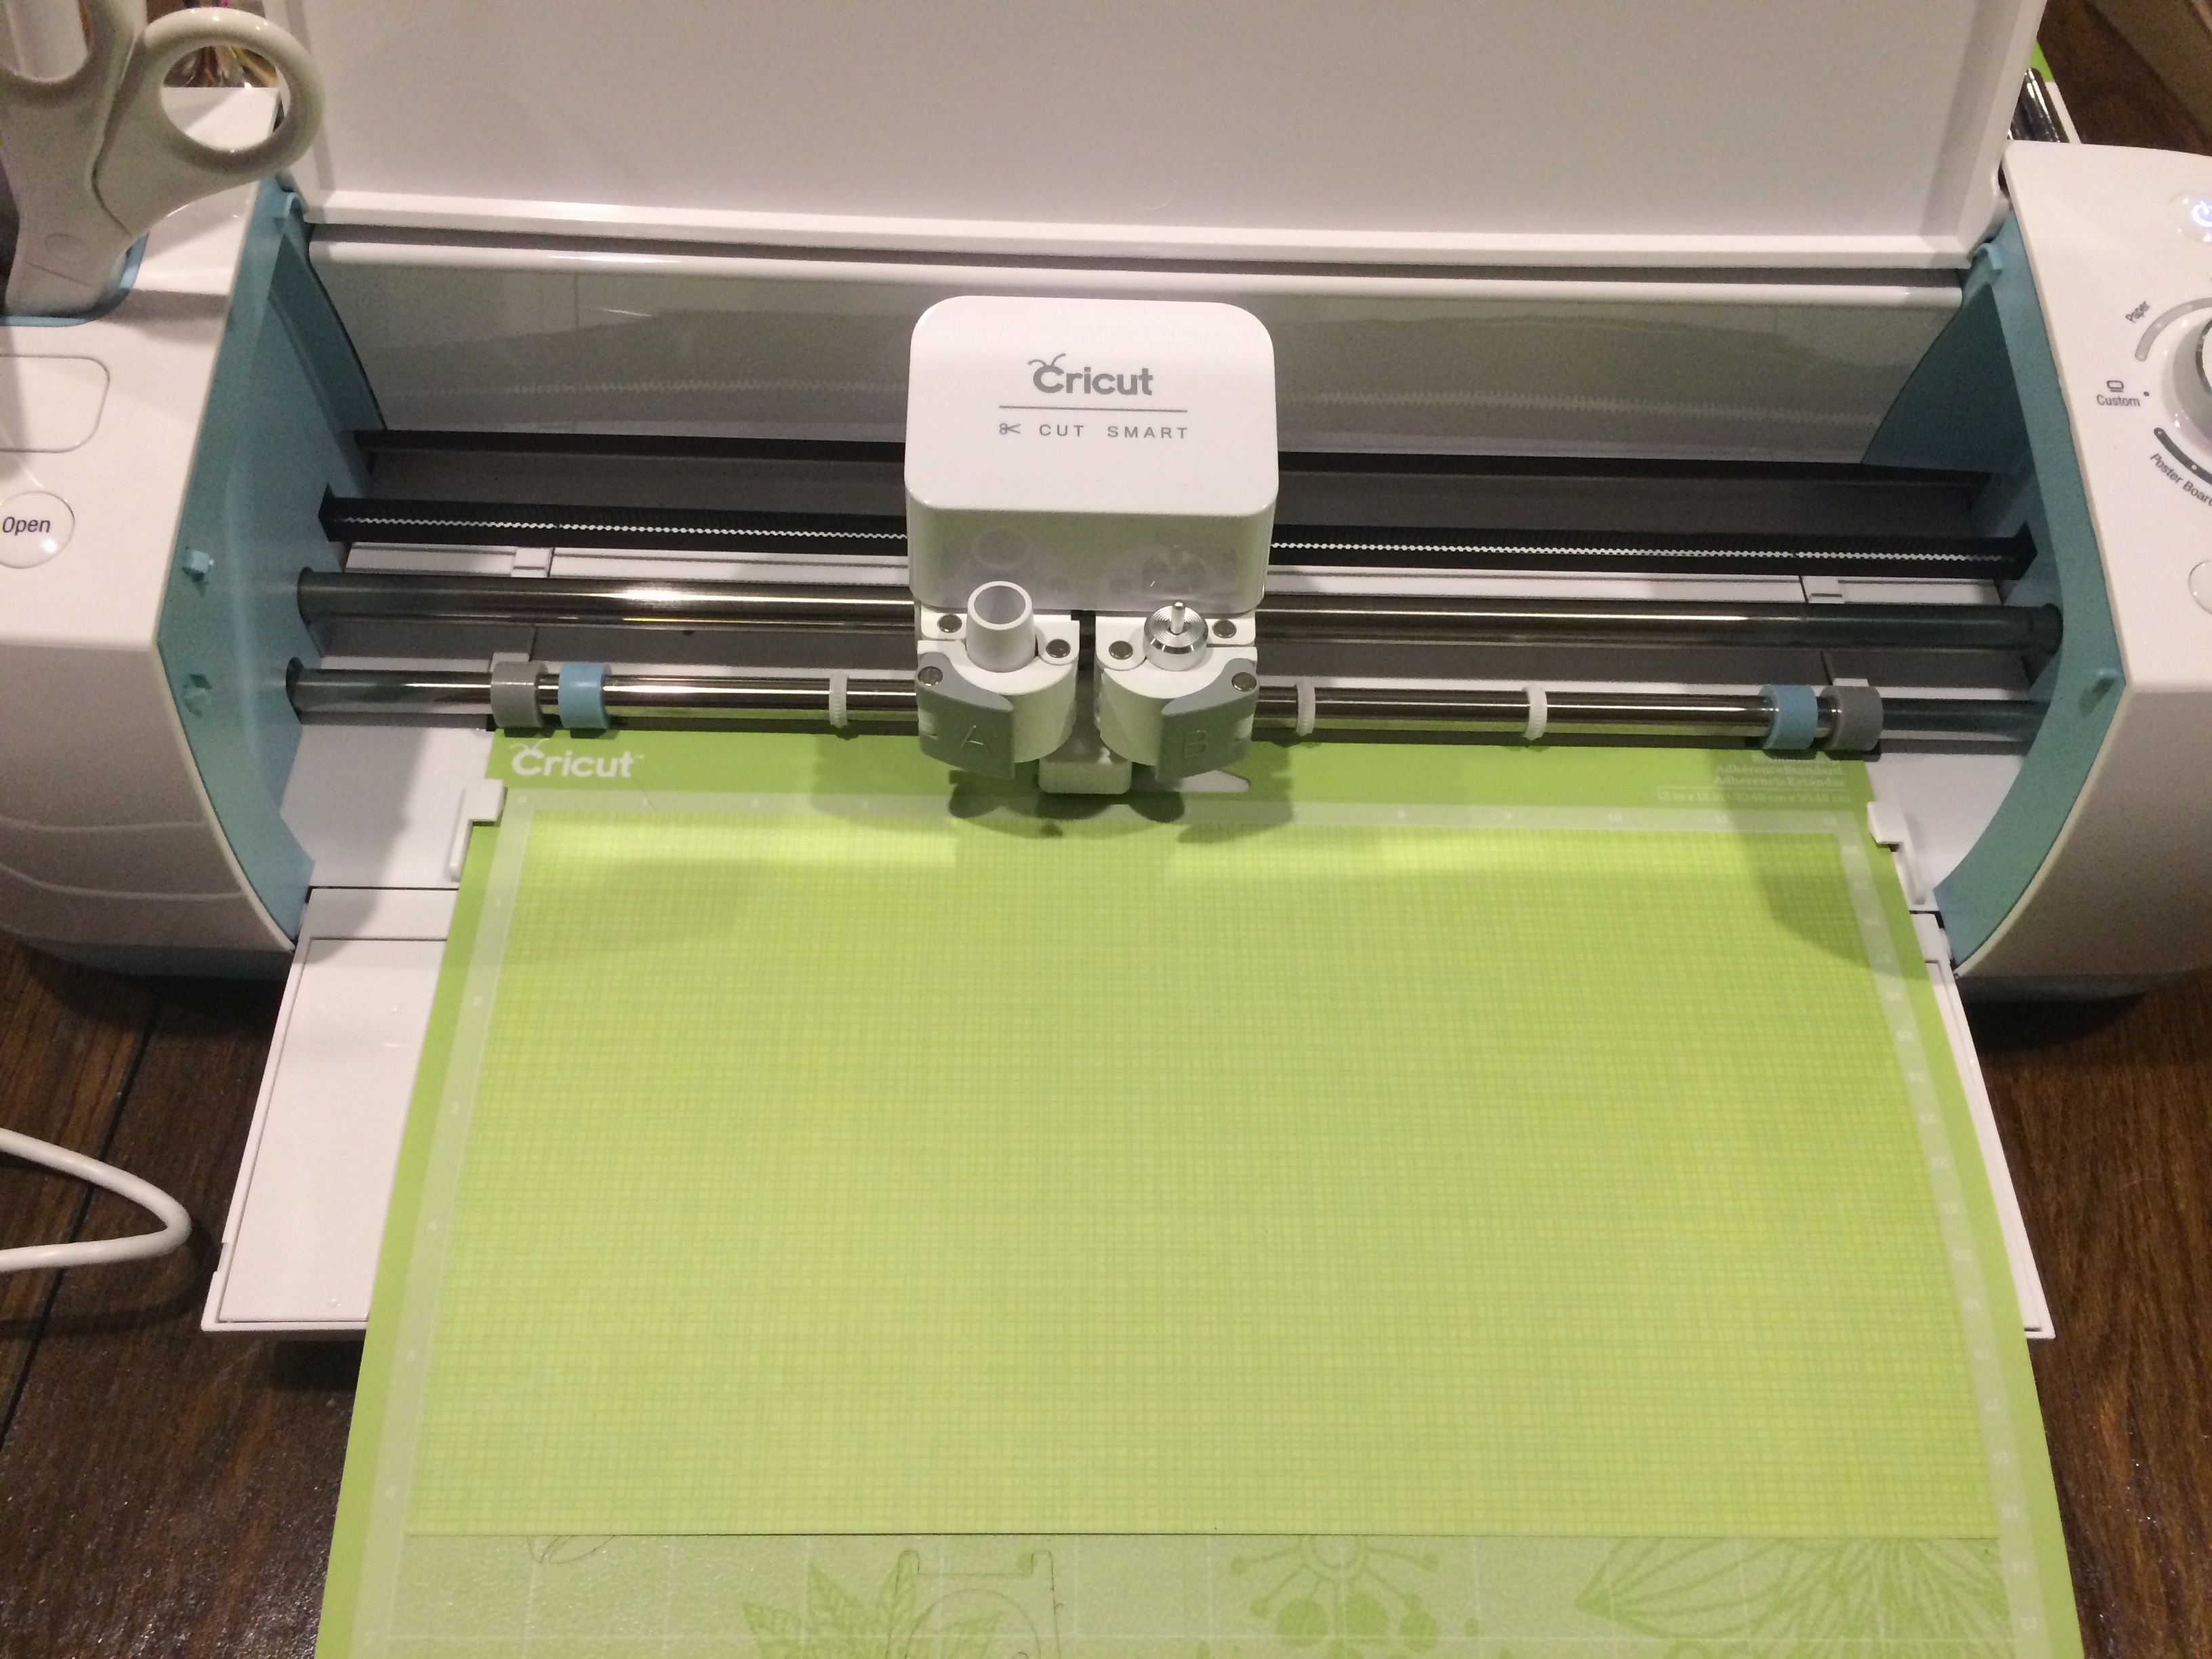
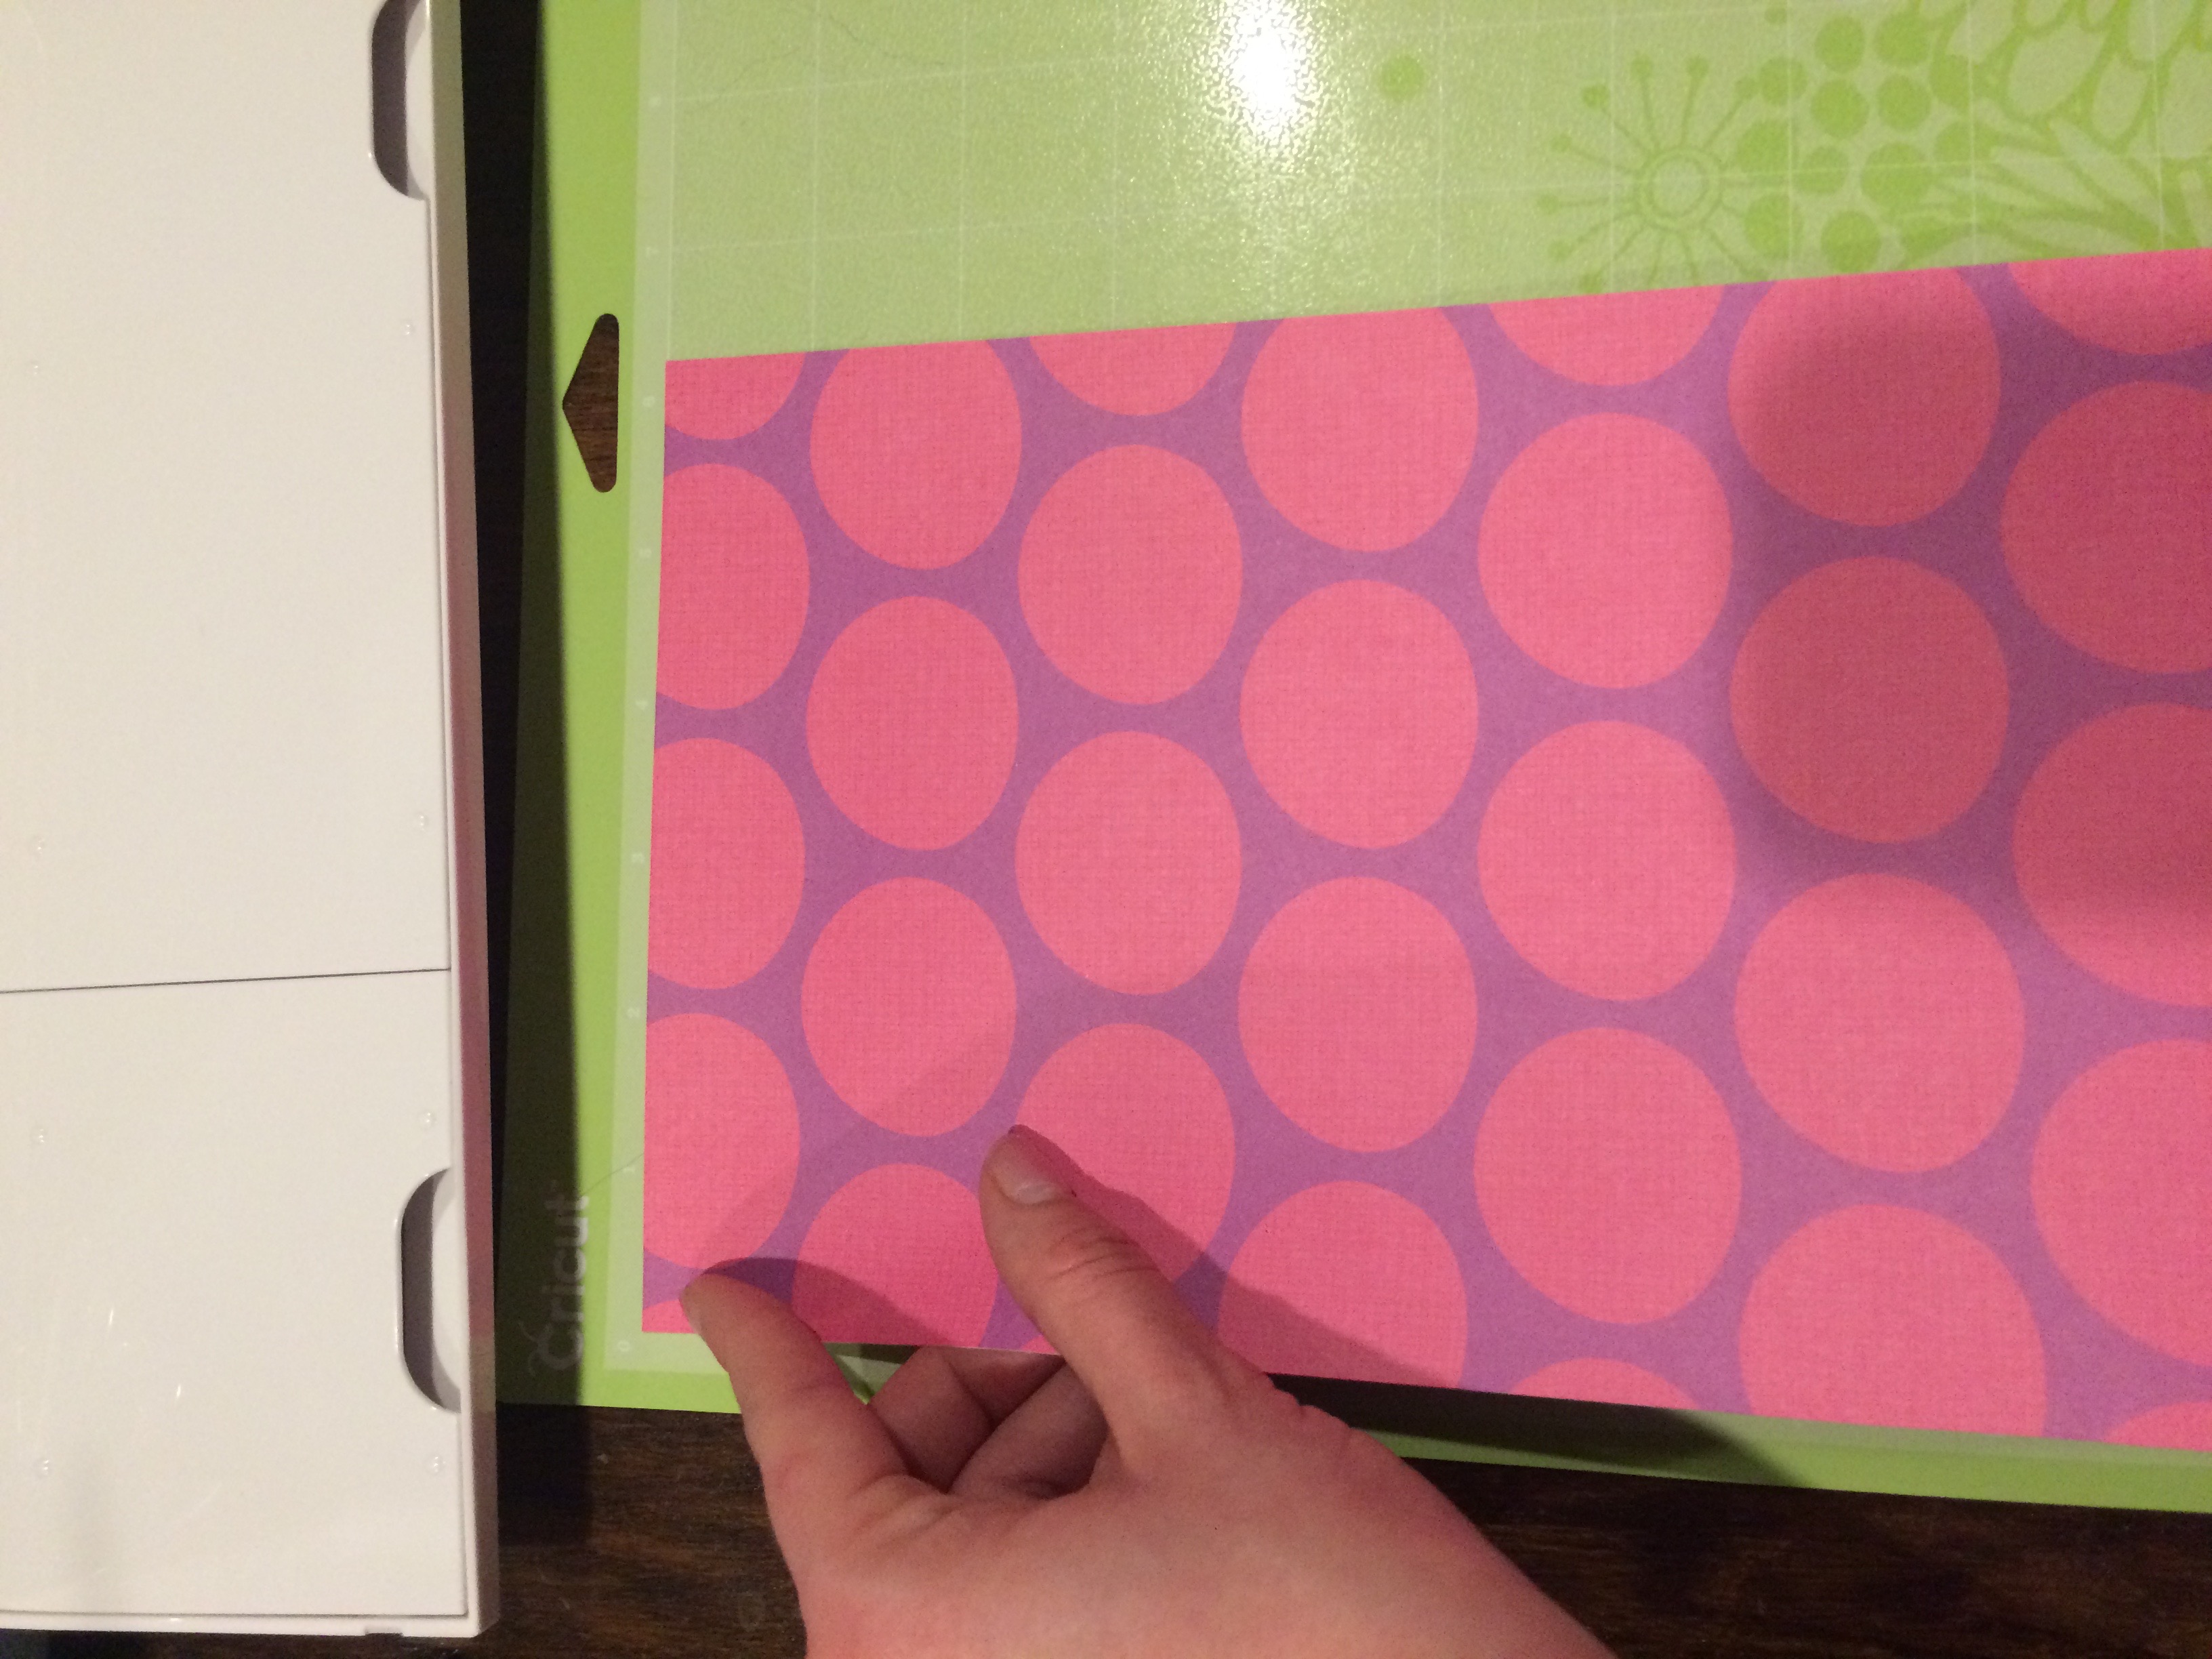
- Stick your first piece of cardstock to the cricut cutting board and line it up on the machine.
- Make sure your pen attachment is inserted in the machine correctly and the dial is set to the correct cardstock.
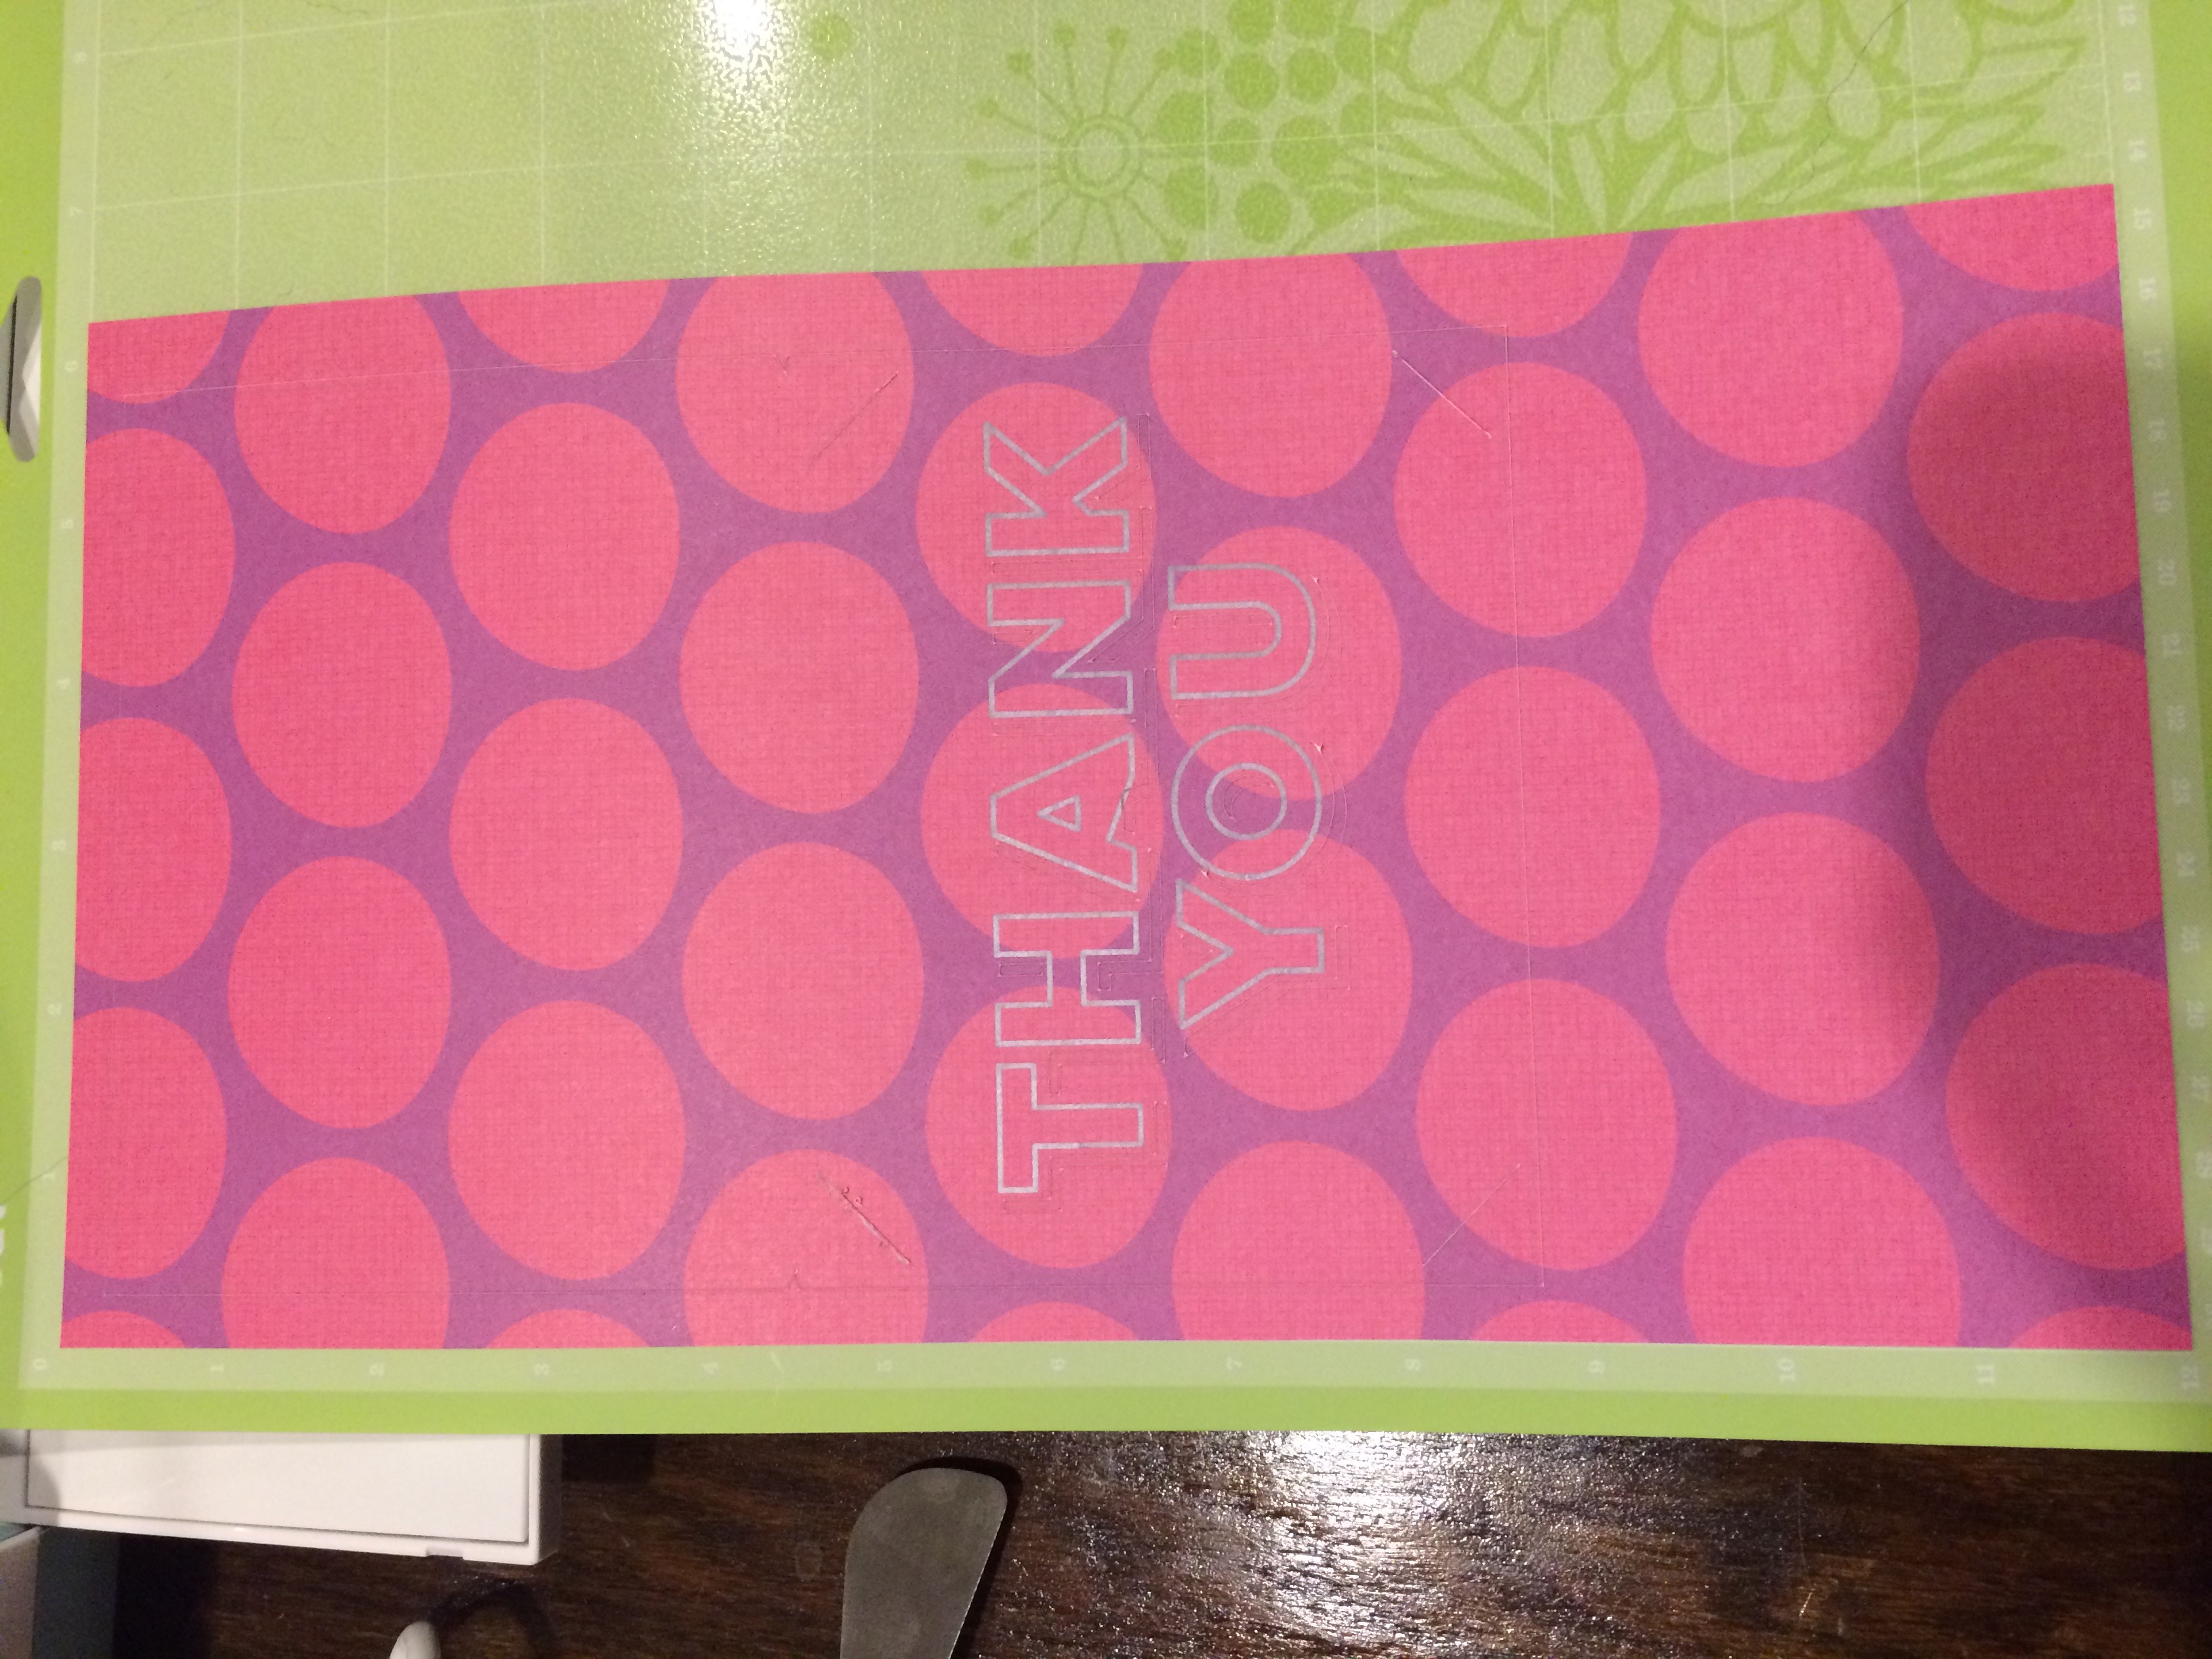
- Press the arrow button to load the cutting board and then the cricut go button to start the cut. Watch your machine get to work! This is the fun part!
- After your first piece is cut, gently peal away the extra cardstock and place it aside.
- Use any cricut tools you need to gently get your finished thank you card piece 1 away from the sticky board. Then use the scrapper to get any left over pieces off.
- Now place the second piece of cardstock to the sticky cutting board and load it in your machine.
- Press the go button again and watch piece 2 get cut.
Assemble The Card
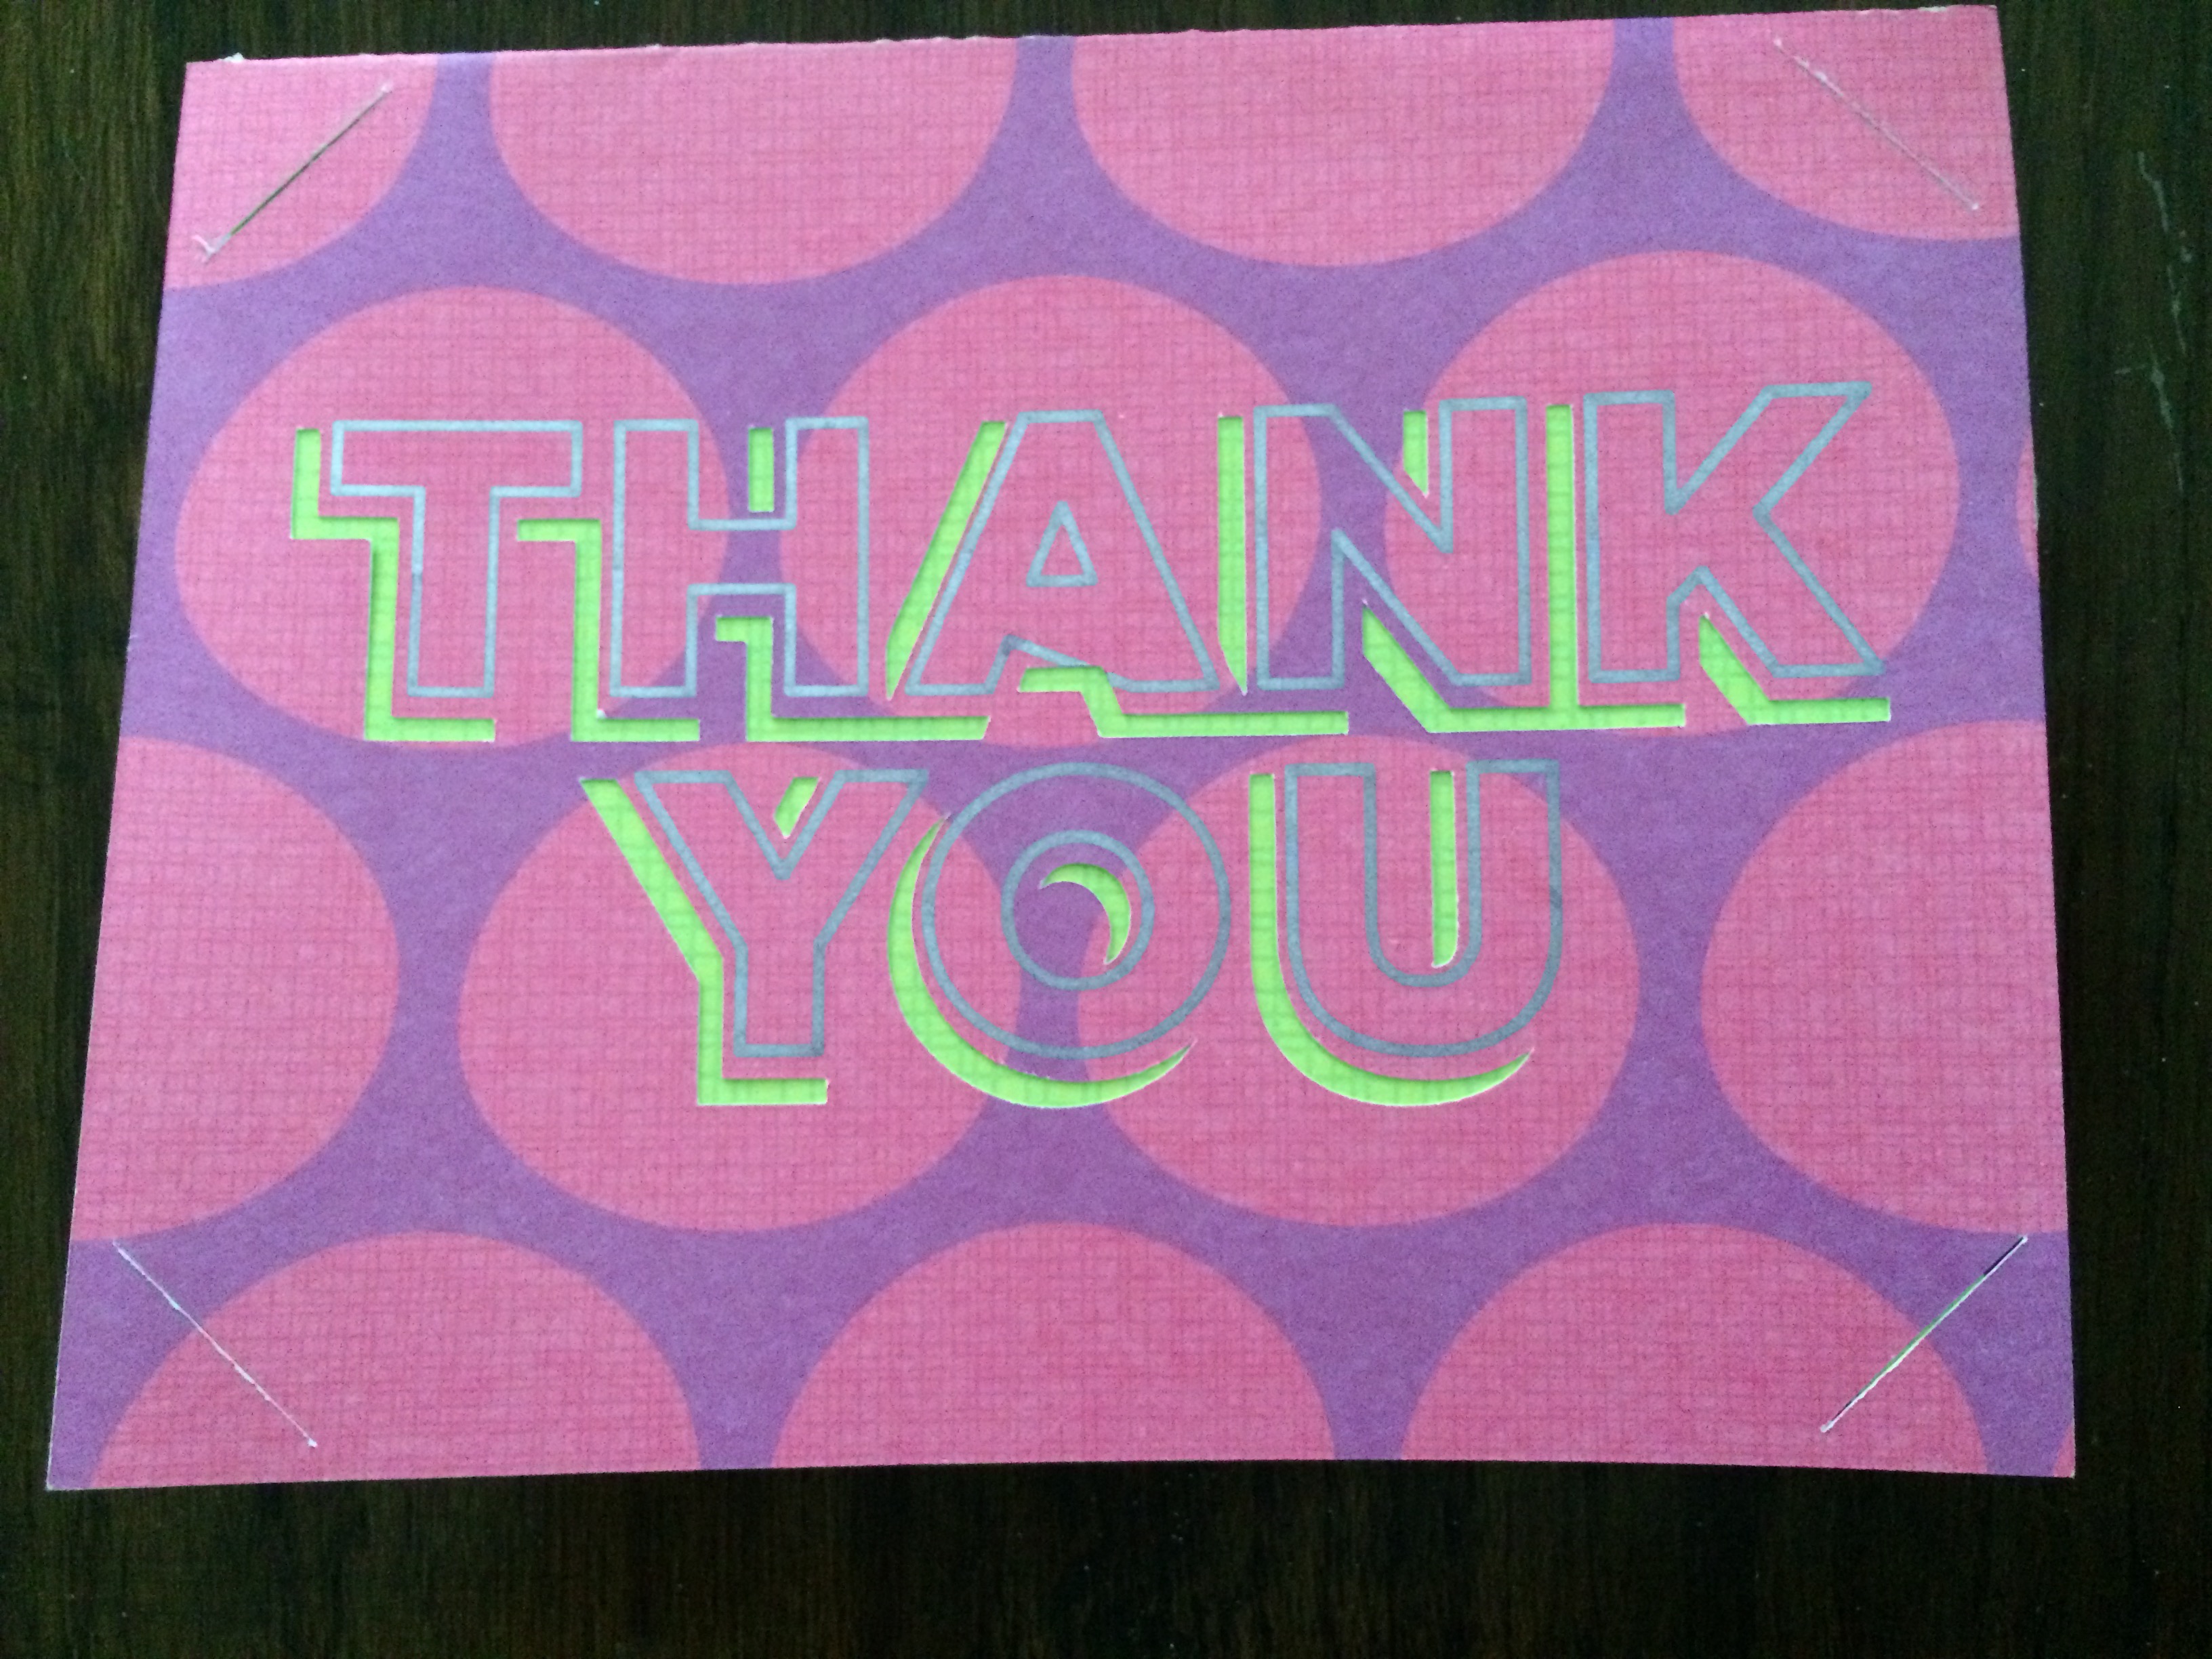
This is a very simple card, so there’s just two easy steps!
- Unload the board and use the same process as above to get piece 2 off the sticky board.
- Use the craft glue to adhere the two card pieces together and you’re done!
You have a beautiful handmade Thank You card. Stop here or see below to make an envelope.

Making an Envelope
Design The Envelope
- Next step is to design an envelope and write your receivers address on it.
- On the design space home page, click on new project.
- Once you have the editing page open you can add an image in the left hand corner. Here is where you can find any designs to create millions of projects.
- Search for envelope and tons of free and paid options will pop up. (Make sure you measured your finished card, so you know what size you need to make your envelope.) I used the rounded edge envelope design and it was 10 x 7 inches as a finished flat piece.
- When you find the envelope you like click on the image and then click insert image.
- Then resize the image to match the size you need for your card.
- Make sure the card will fit adequately in the middle of the envelope and not just the outside edges, because you will have to fold together the finished envelope.
Have Cricut Write The Address
- To add an address to the card insert a text box to the design and write out your receiver’s address.
- You can pick out whatever style writing font you’d like the address to be by clicking on the text box and then changing the cut symbol to a pen symbol.
- In the edit tab you can search fonts by “has a writing style”, to make easier to find a font that the cricut will be able to write, instead of cut, on the card. The Wanderlust writing fonts available to access users is one of my favorites.
- After you’ve picked out the font and style you like, resize the text box and place it in the location you’d like the address to be written on the envelope.
- Then use your cursor to highlight the entire design, envelope and text box, then click on the attach button. This will make it an attached set, so the machine will cut, score and write all on the same piece of cardstock.
- If you do not attach the set then the machine will cut and write separately and your address will not come out on your envelope.
Cutting The Envelope
- After you’ve made an attached set you are ready to go.
- Load your final piece of cardstock to the cutting board using the same directions as above.
- Press go on the design space.
- Follow the prompts on your computers and machine and watch the magic happen!
- Make sure you load the pen attachment and scoring pen attachment correctly when the prompts on your computer tell you to, otherwise you might wind up with a scored address or score lines written in pen.
Assemble The Envelope
- After the cut is complete, gently remove your envelope from the board.
- Fold and glue the edges together.
- Insert your finished thank you card into your envelope (after you have written your thank you note on the inside of course)
- Glue the envelope flap down.
Now you have just created a hand crafted card and envelope!
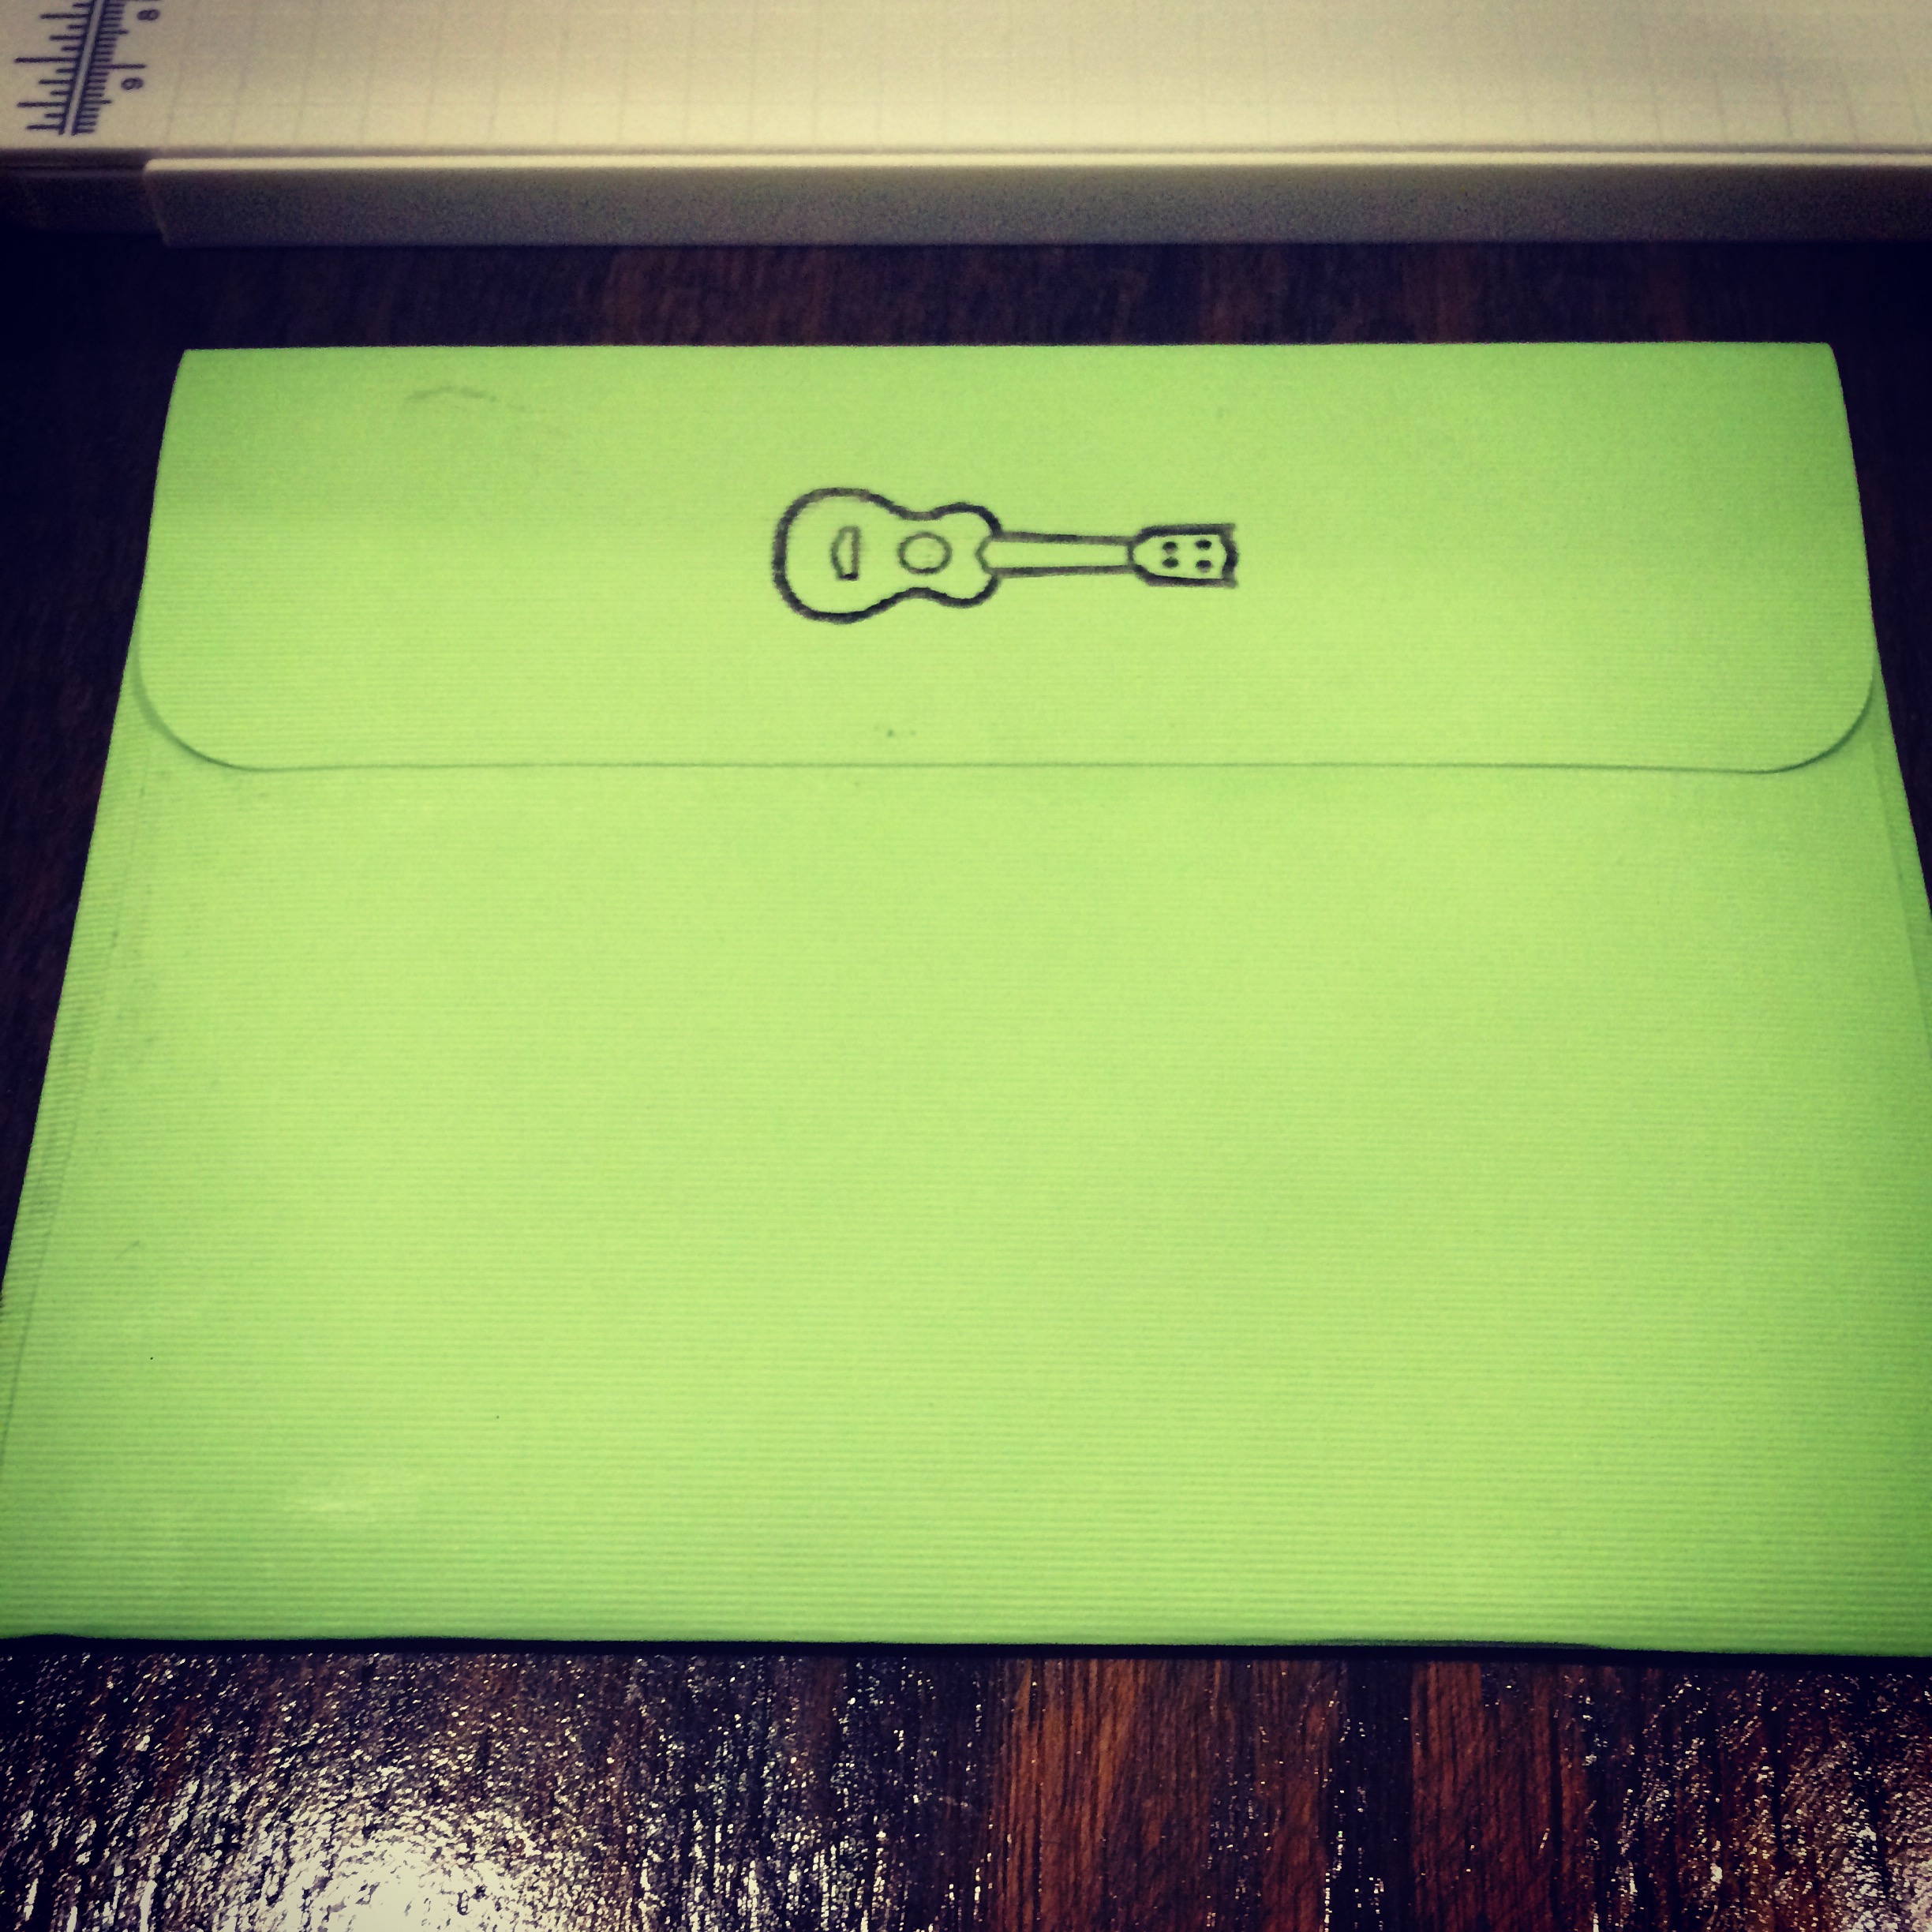
You can customize your envelope with your return address or another extra design if you like. The one I made was headed to my hometown, Nashville, TN. I just had to add a little guitar to the back. There are hundreds of items you can make with a Cricut or any other die cut machine. Check back for more ideas for crafts you can make with your machine!