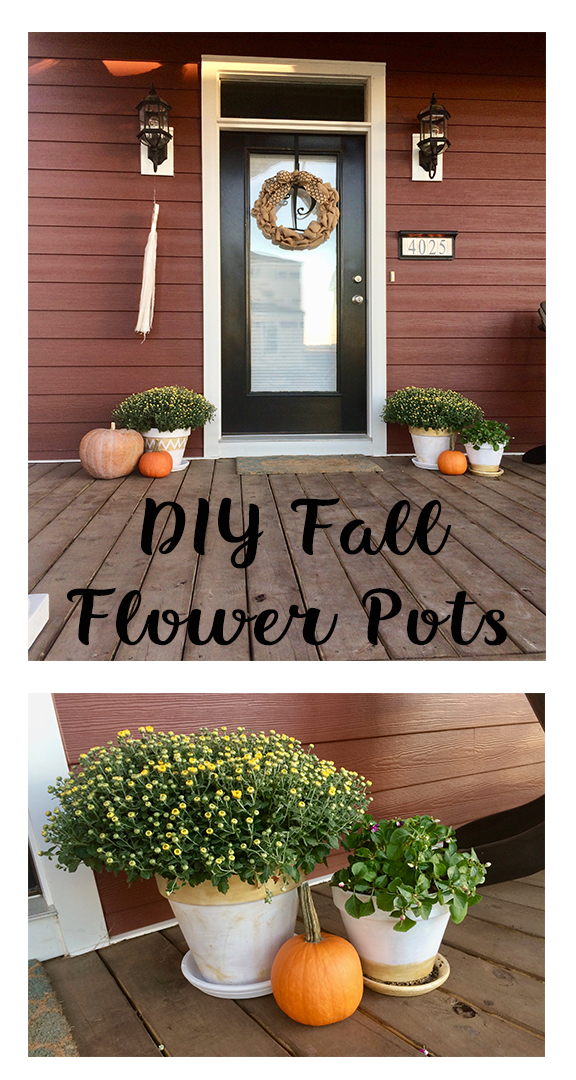
 Autumn is here. The leaves are changing colors, pumpkin flavoring has taken over everything, and cooler weather is right around the corner. For me that means it’s time to take away the bright colored pots and redo the summery wreath. I truly do love fall. There is something about the cozy weather and the gorgeous fall colors. This year I wanted a shabby chic looking porch. Our house is red and I decided to use gold, black and white as accents. I wanted good sized mums at our front door. Instead of getting fancy new planters, I decided to do a paint my own flower pots for a fun unique look. **This post contains affiliate links if you make a purchase after clicking on these links, we will be compensated**
Supplies:
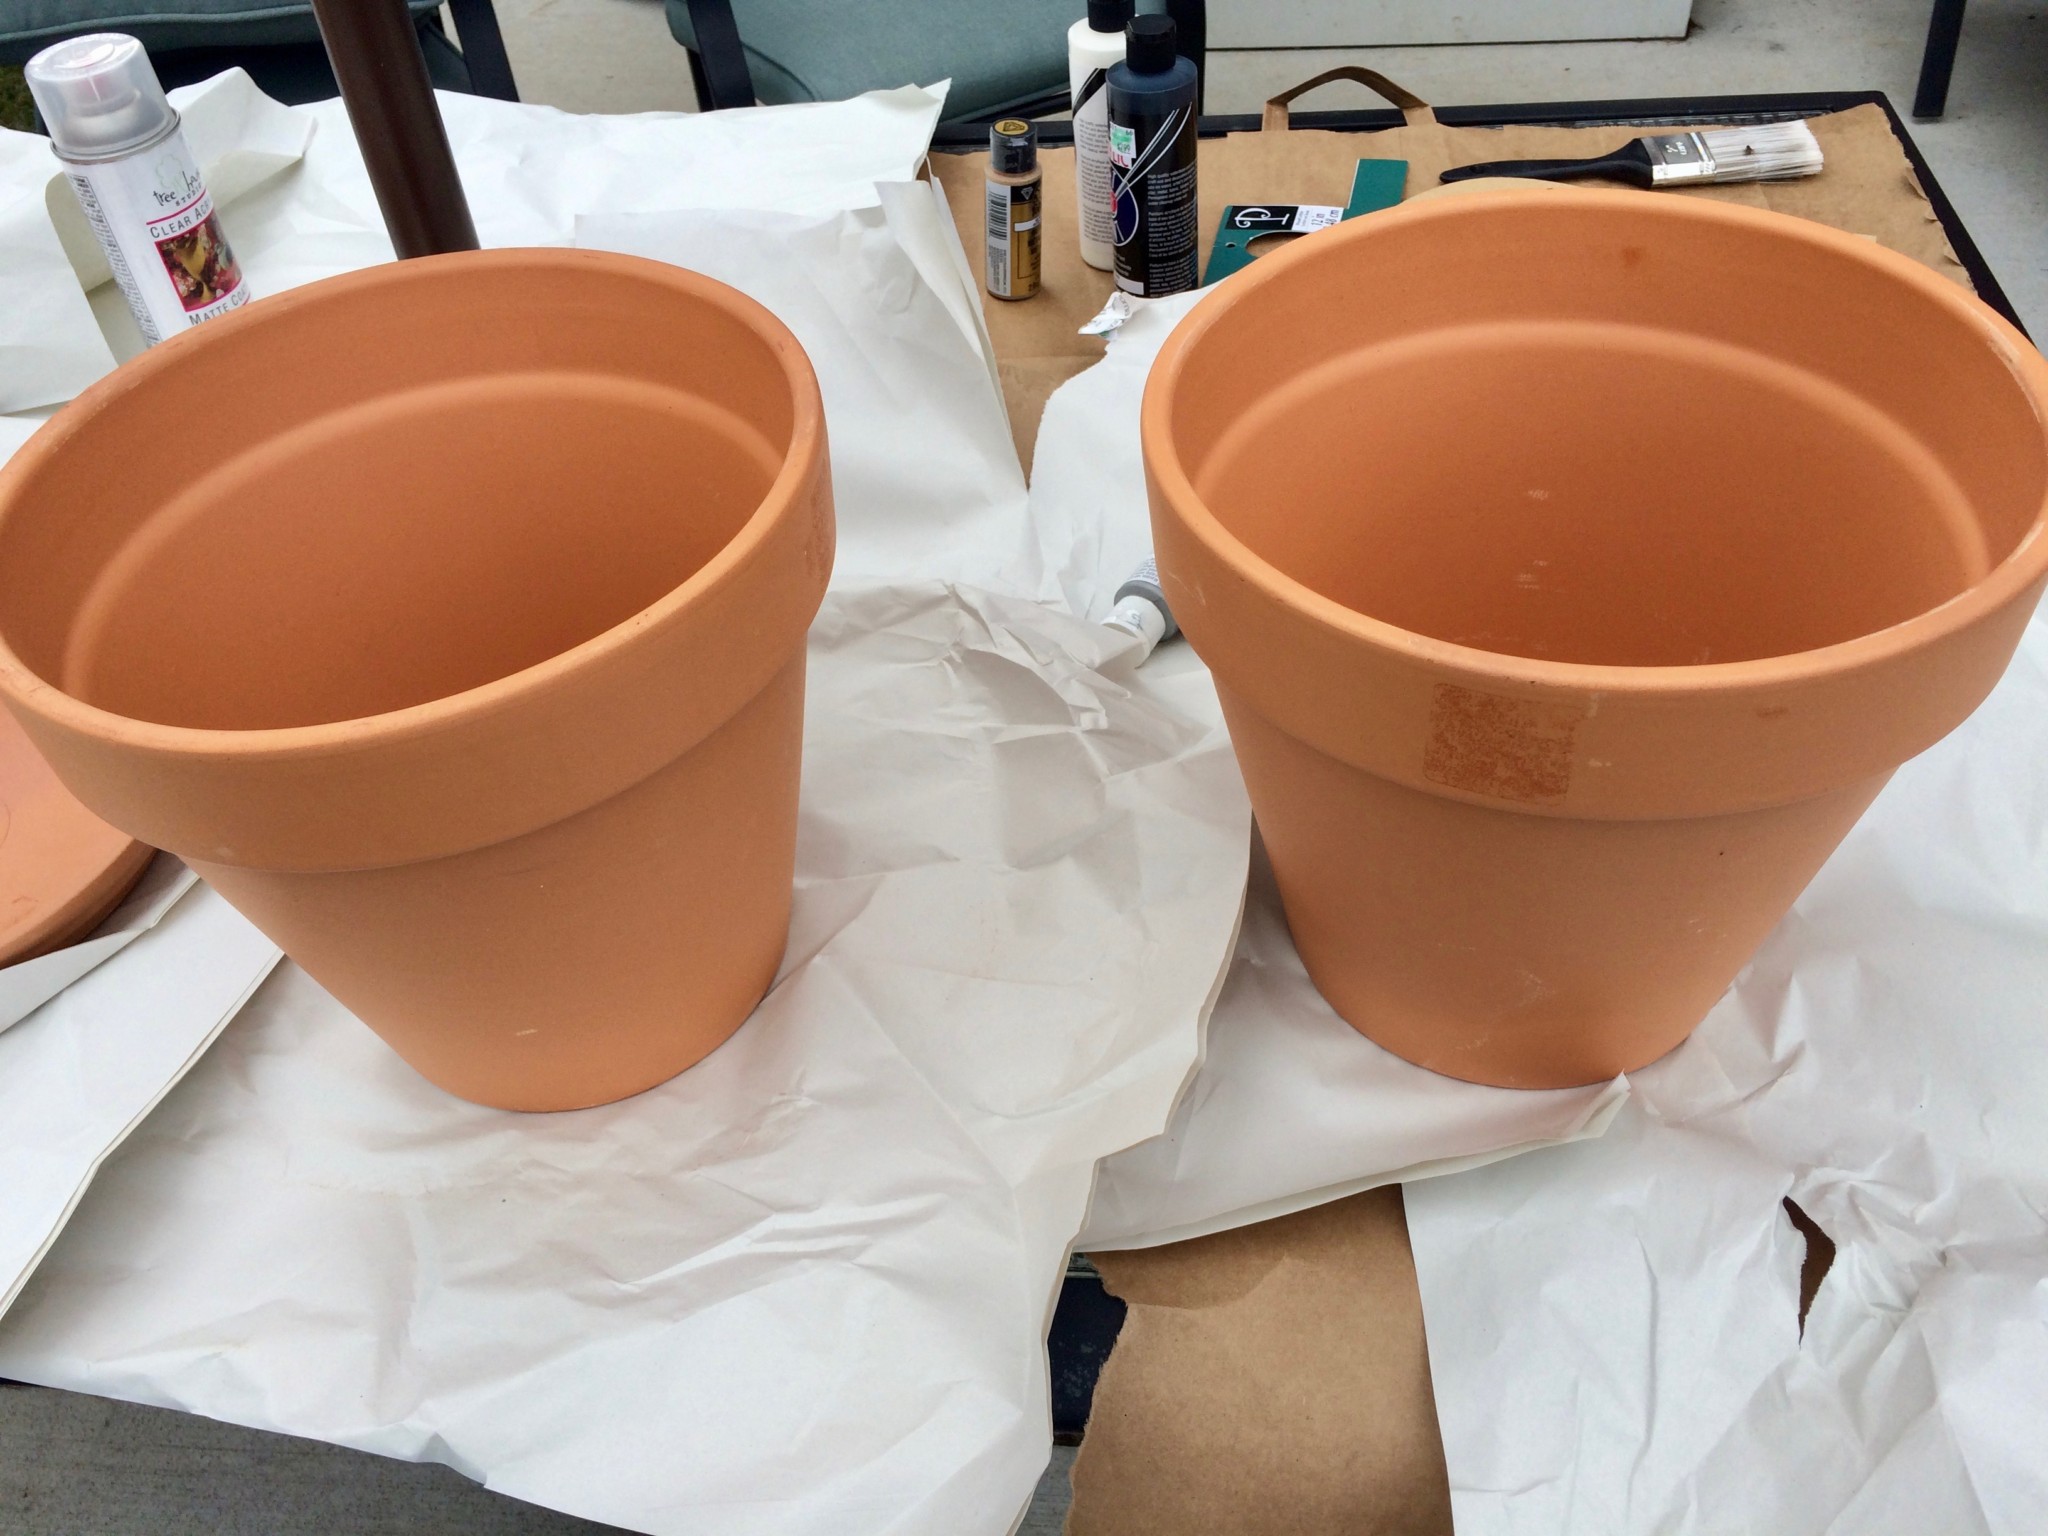
This is a fairly simple project that I did in one afternoon. You will need clay flower pots, white and metallic acrylic paints, matte acrylic sealant spray, paint brushes, stencil or tape, potting soil, mums and flowers. I started the project off my spreading newspaper over my entire outdoor table and getting together the paints and brushes. I used two medium sized pots and one smaller pot, all with bases.
- Two Large Clay Flower Pots
- One Medium Clay Flower Pot
- White Acrylic Paint
- Metallic Golf Acrylic Paint
- Matte Acrylic Sealant Spray
- Paint Brushes
- Cricut Stencil or Tape
- Cricut Die Cut Machine (unless you are using tape)
- Newspaper
- Potting Soil
- Two Medium Mums
- One Small Flower, Pansies
Painting the Flower Pots
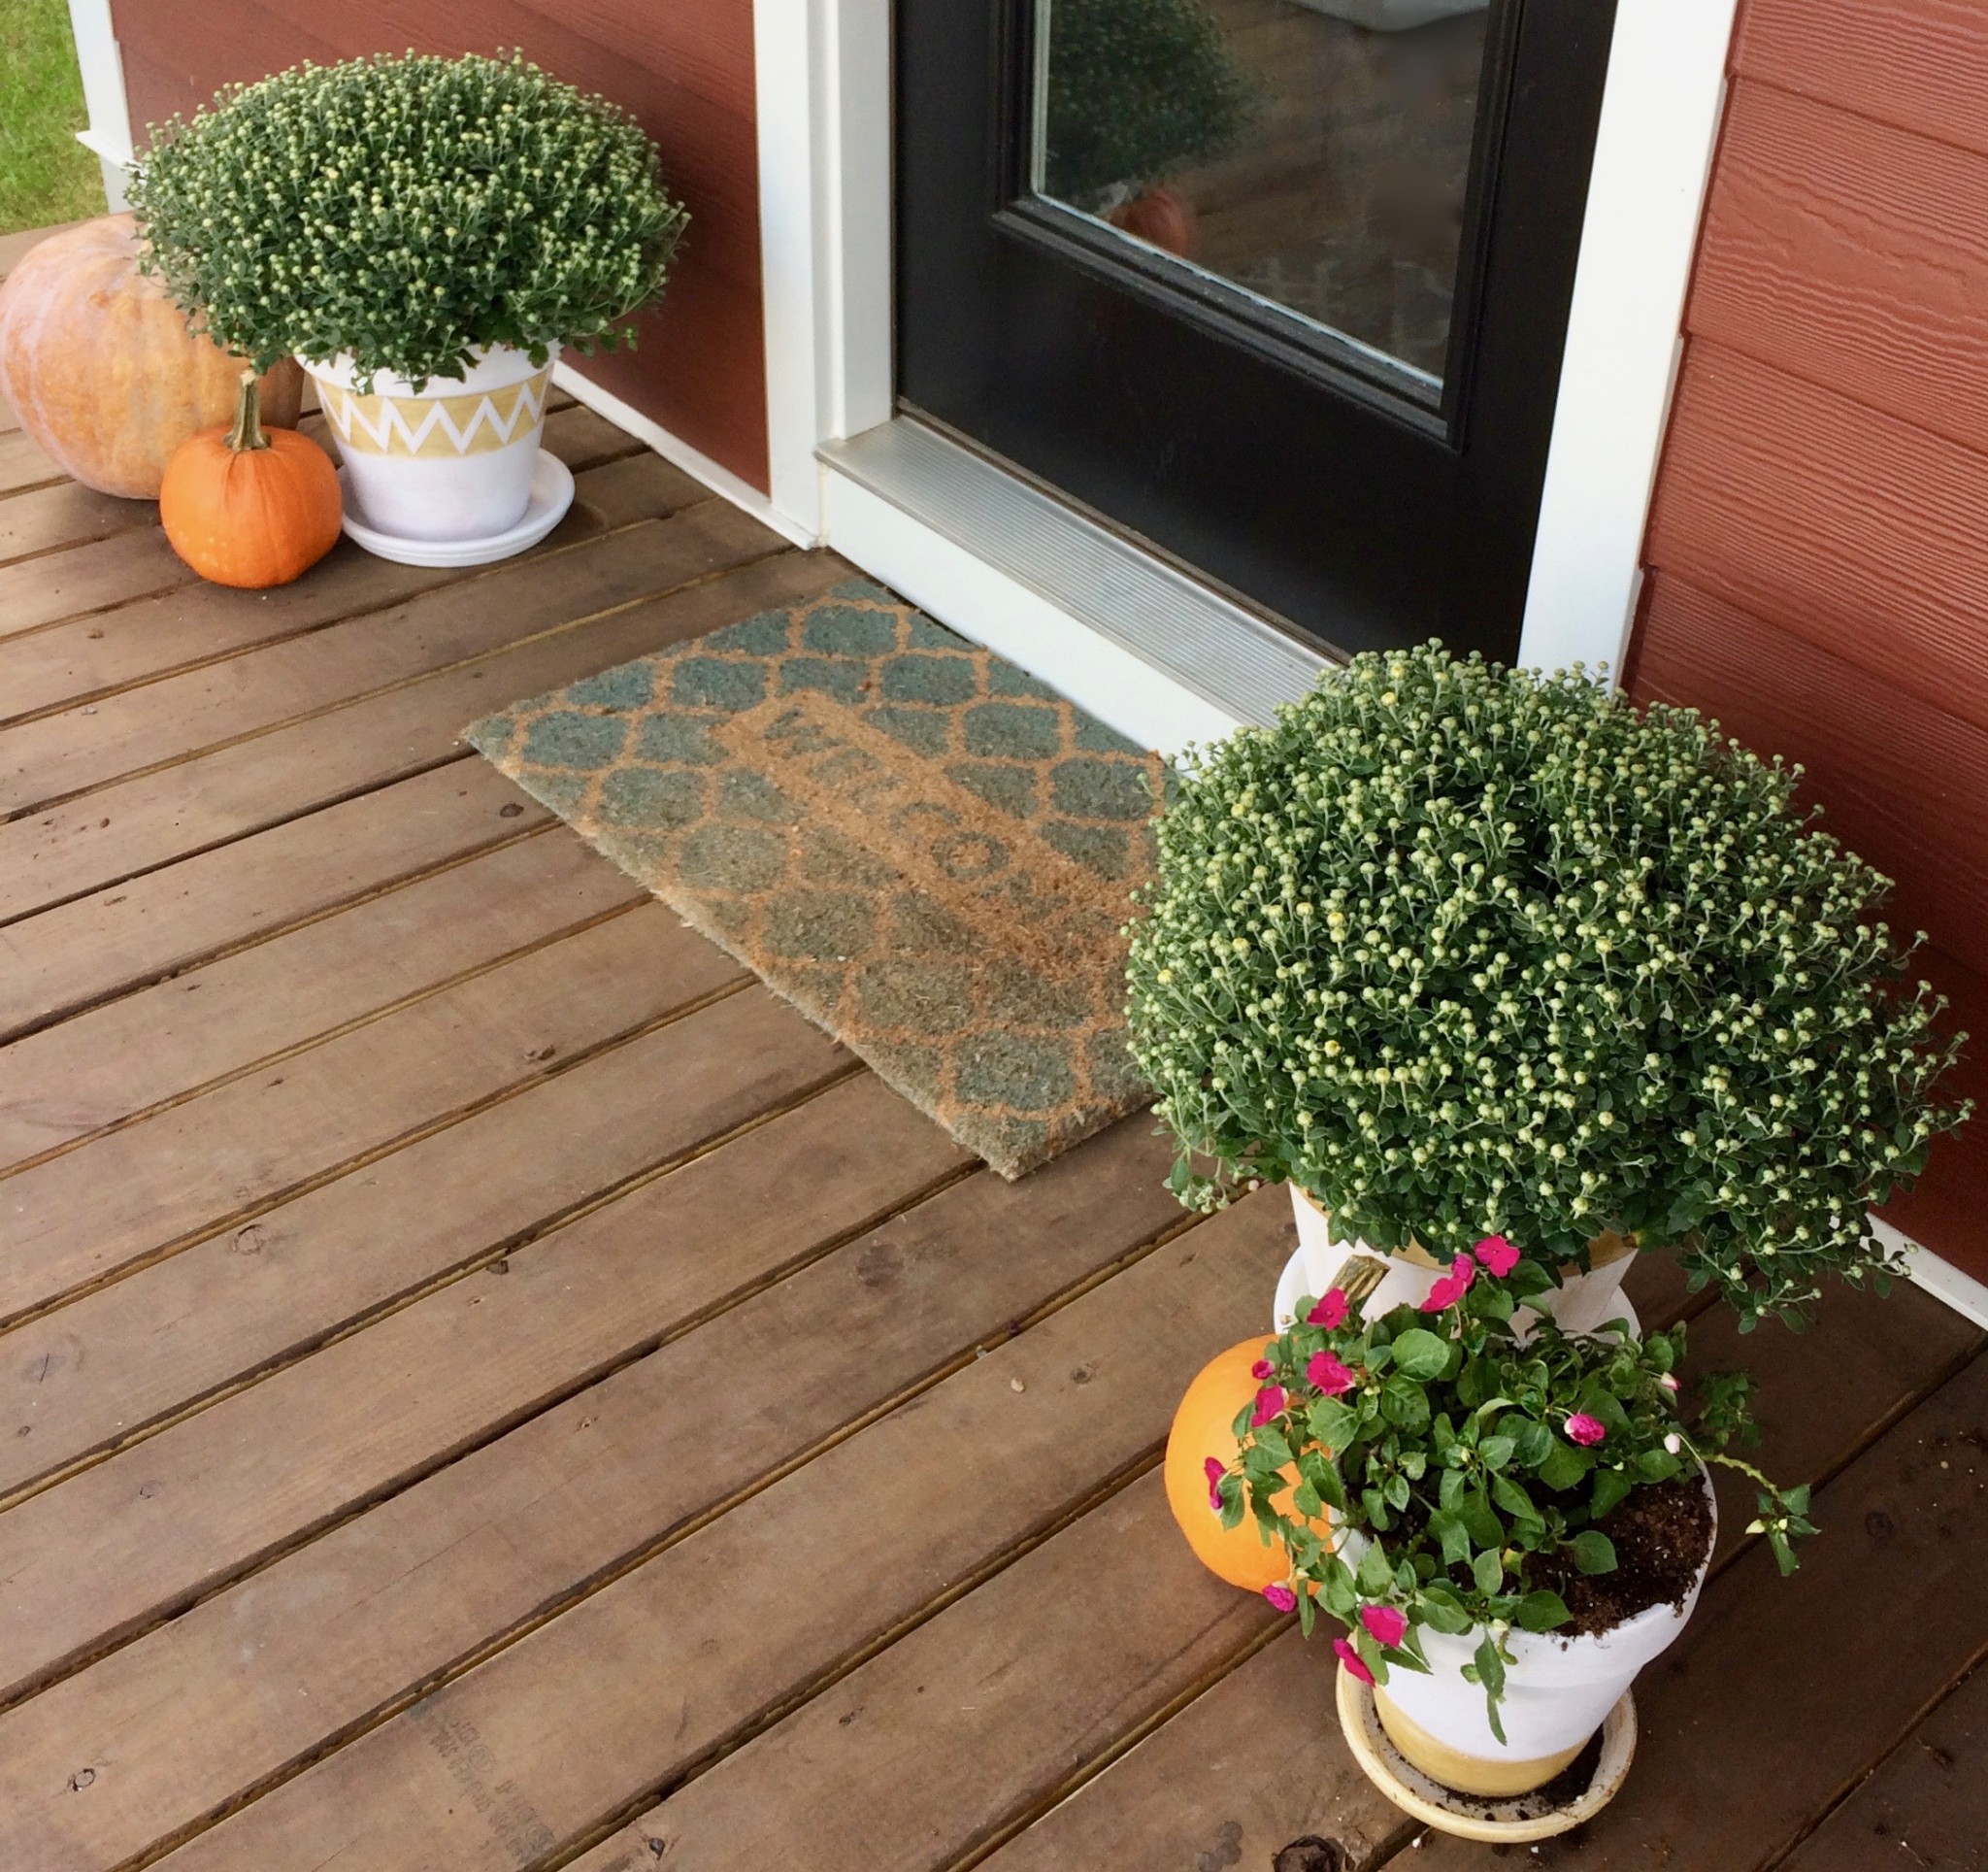
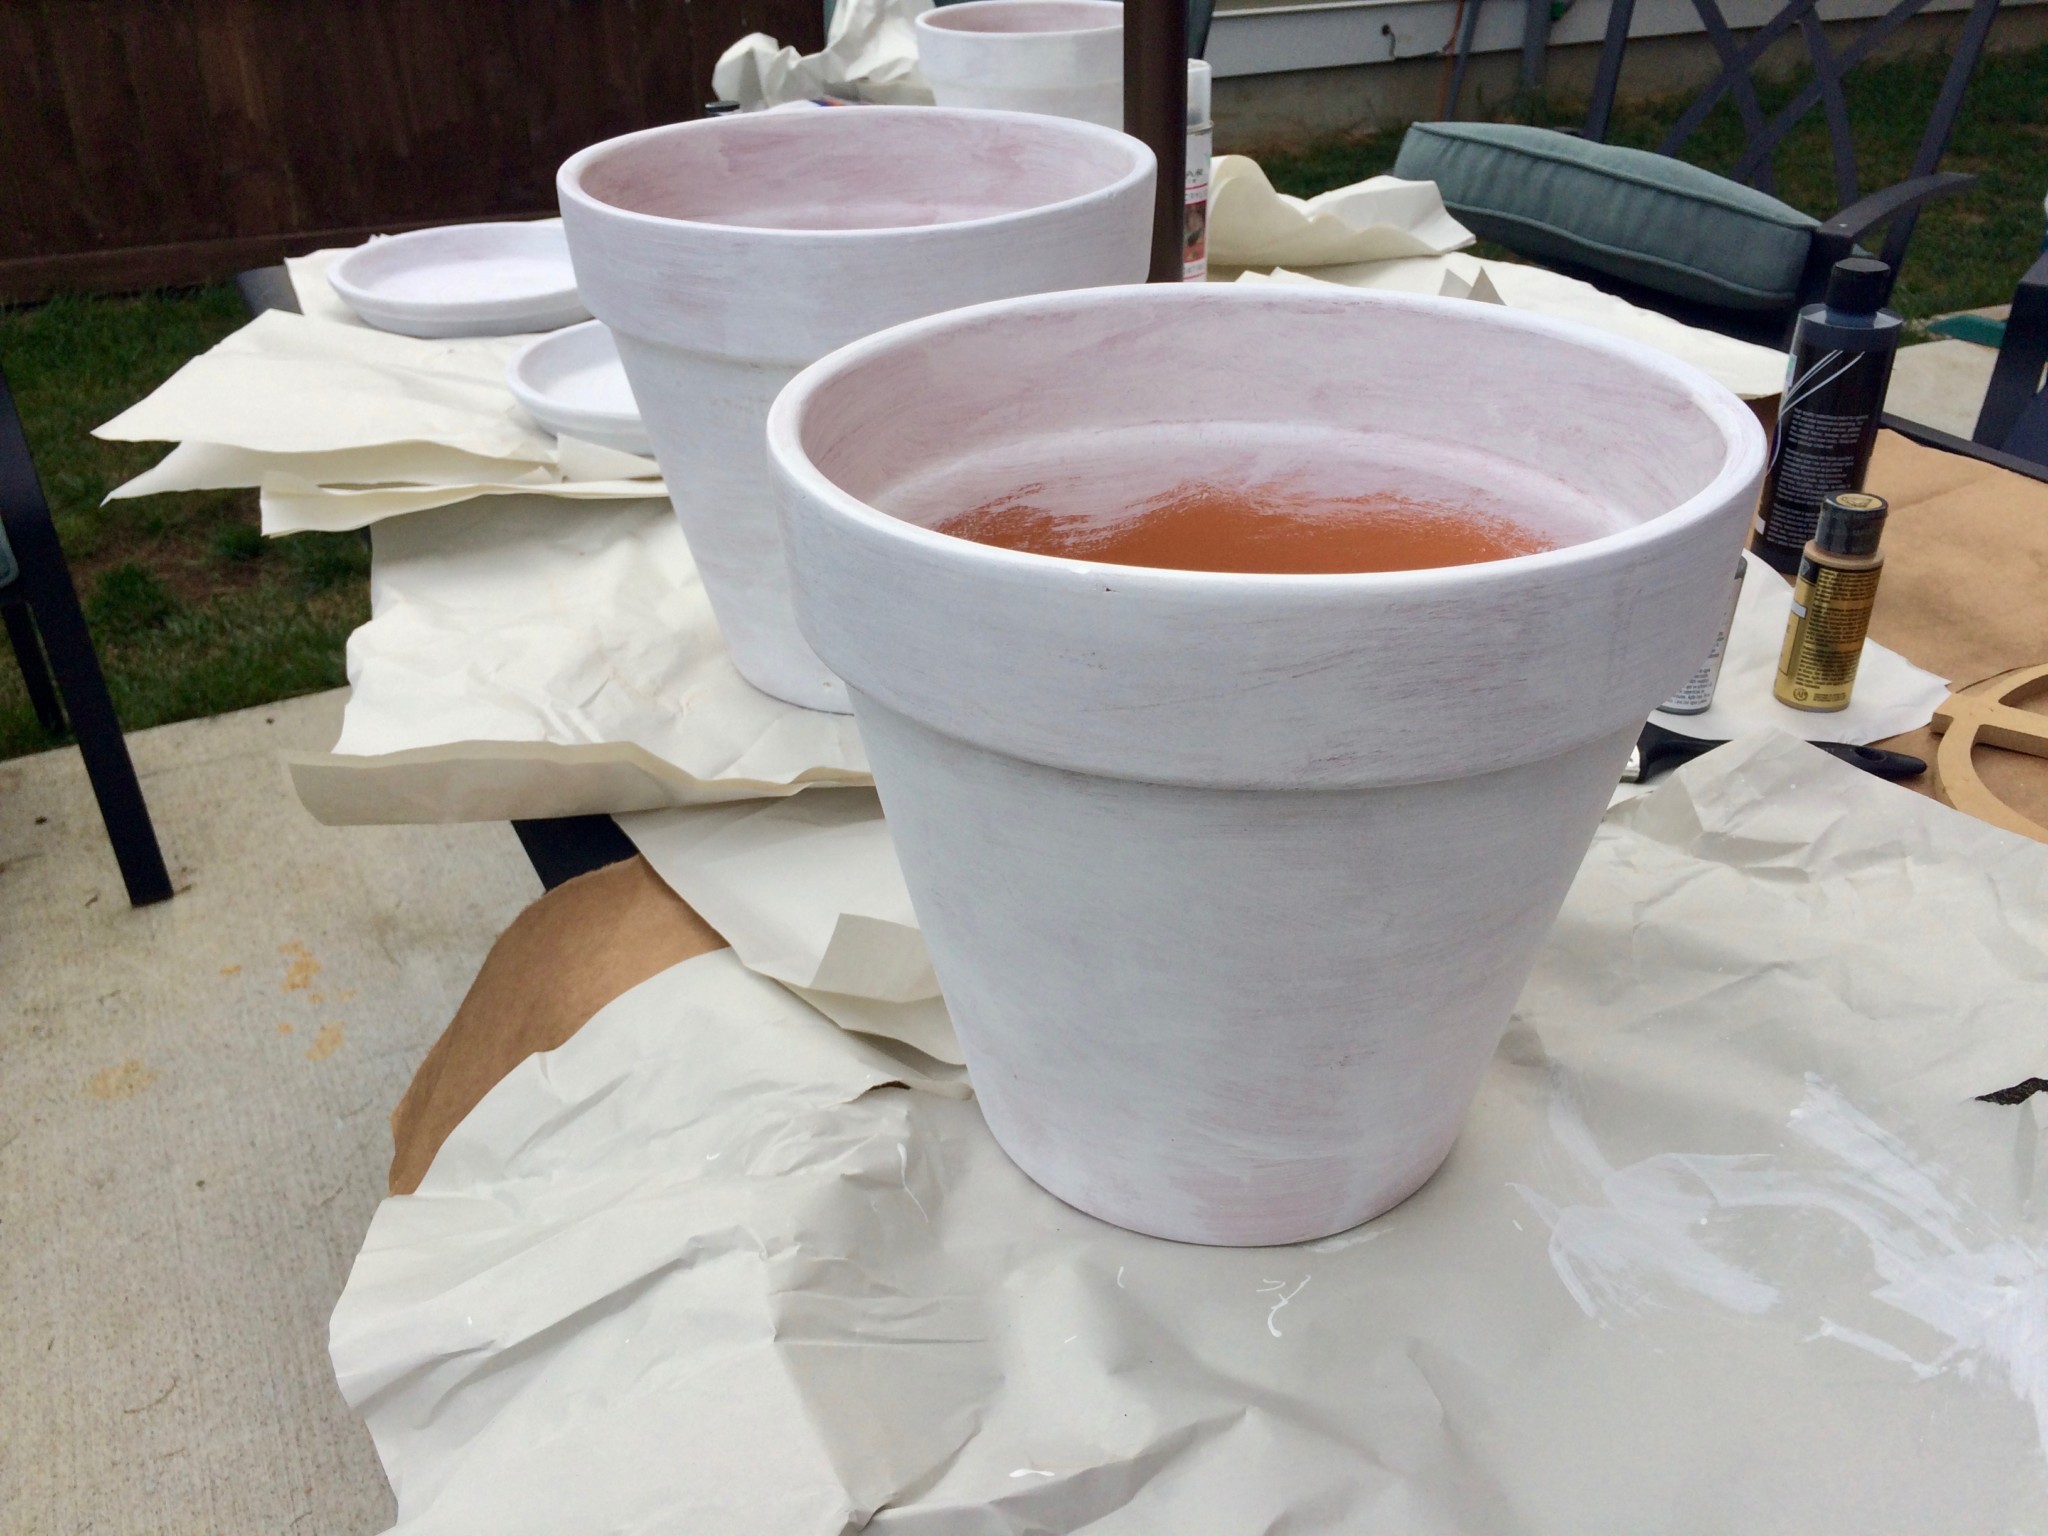
Painting the clay flower pots a shabby chic looking white is extremely easy. All you have to do is take white acrylic paint and cover the surface of the pot with it. It does not need to be even or perfect. The look you want is rustic. Let the white paint dry. Use painters tape or some sort of adhesive stencil to mark off the areas you want to remain white. I used my Cricut to cut a chevron style zig zag out of vinyl stencil and then taped/free handed the rest. Using vinyl stencil is extremely helpful for getting the stencil to stay in place and not bleed as much, but if you don’t have it, tape works too.
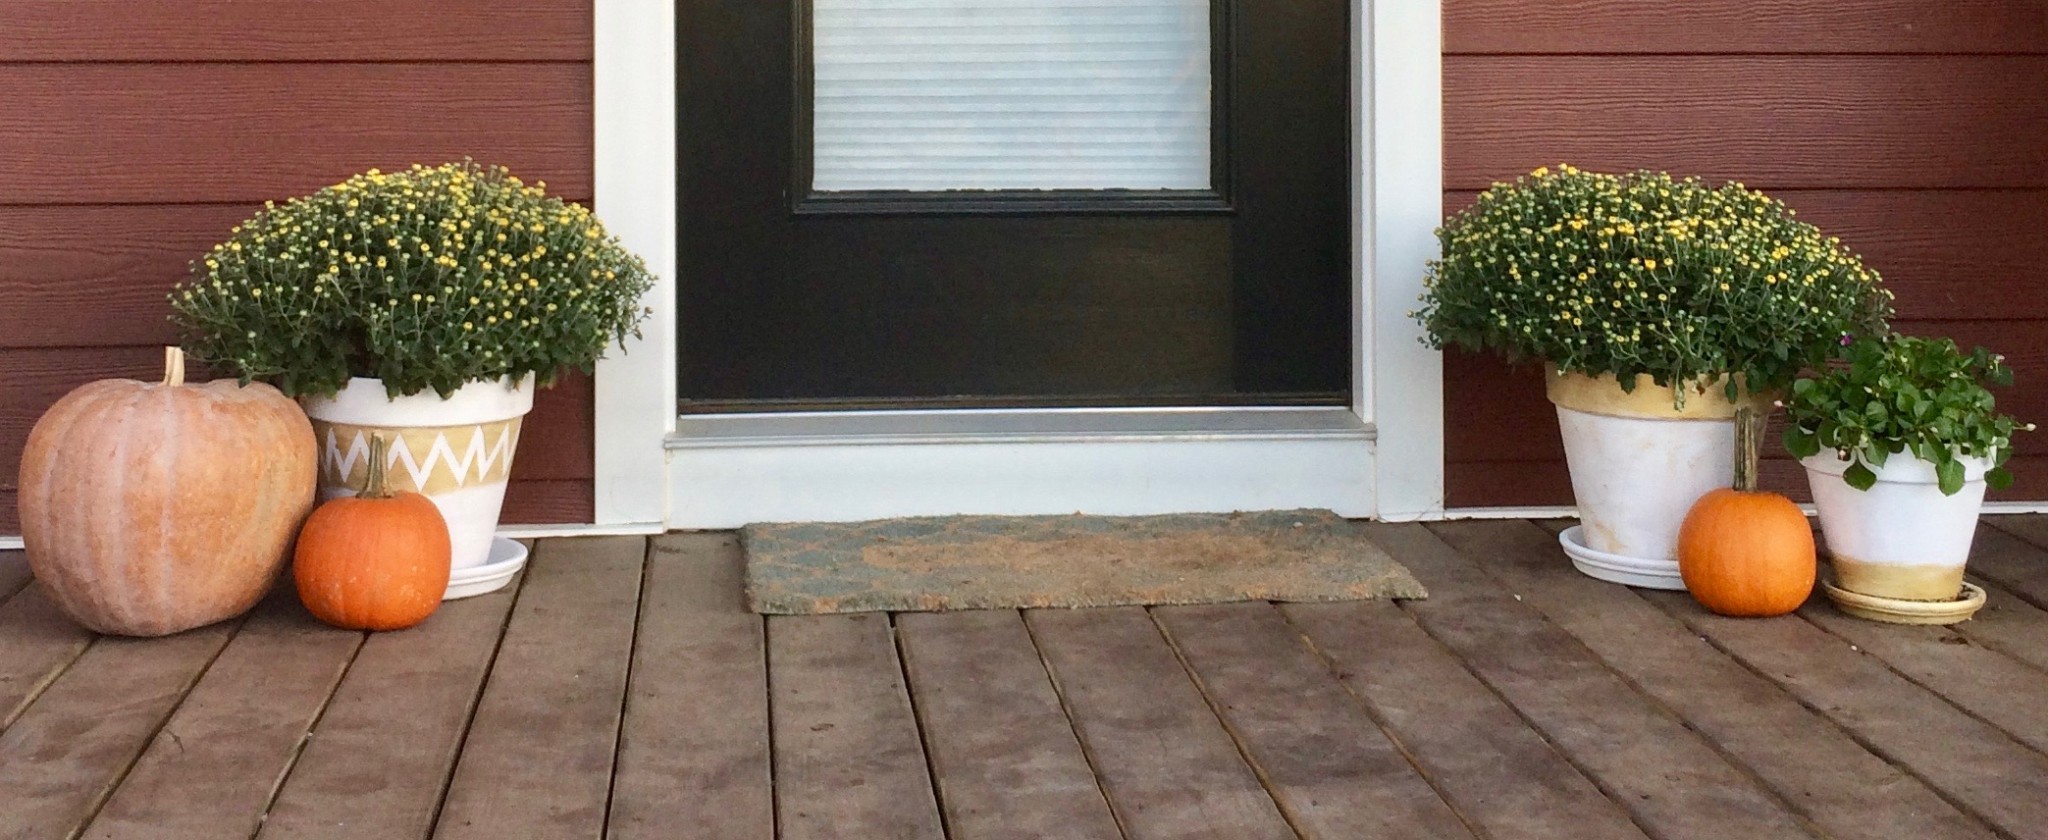
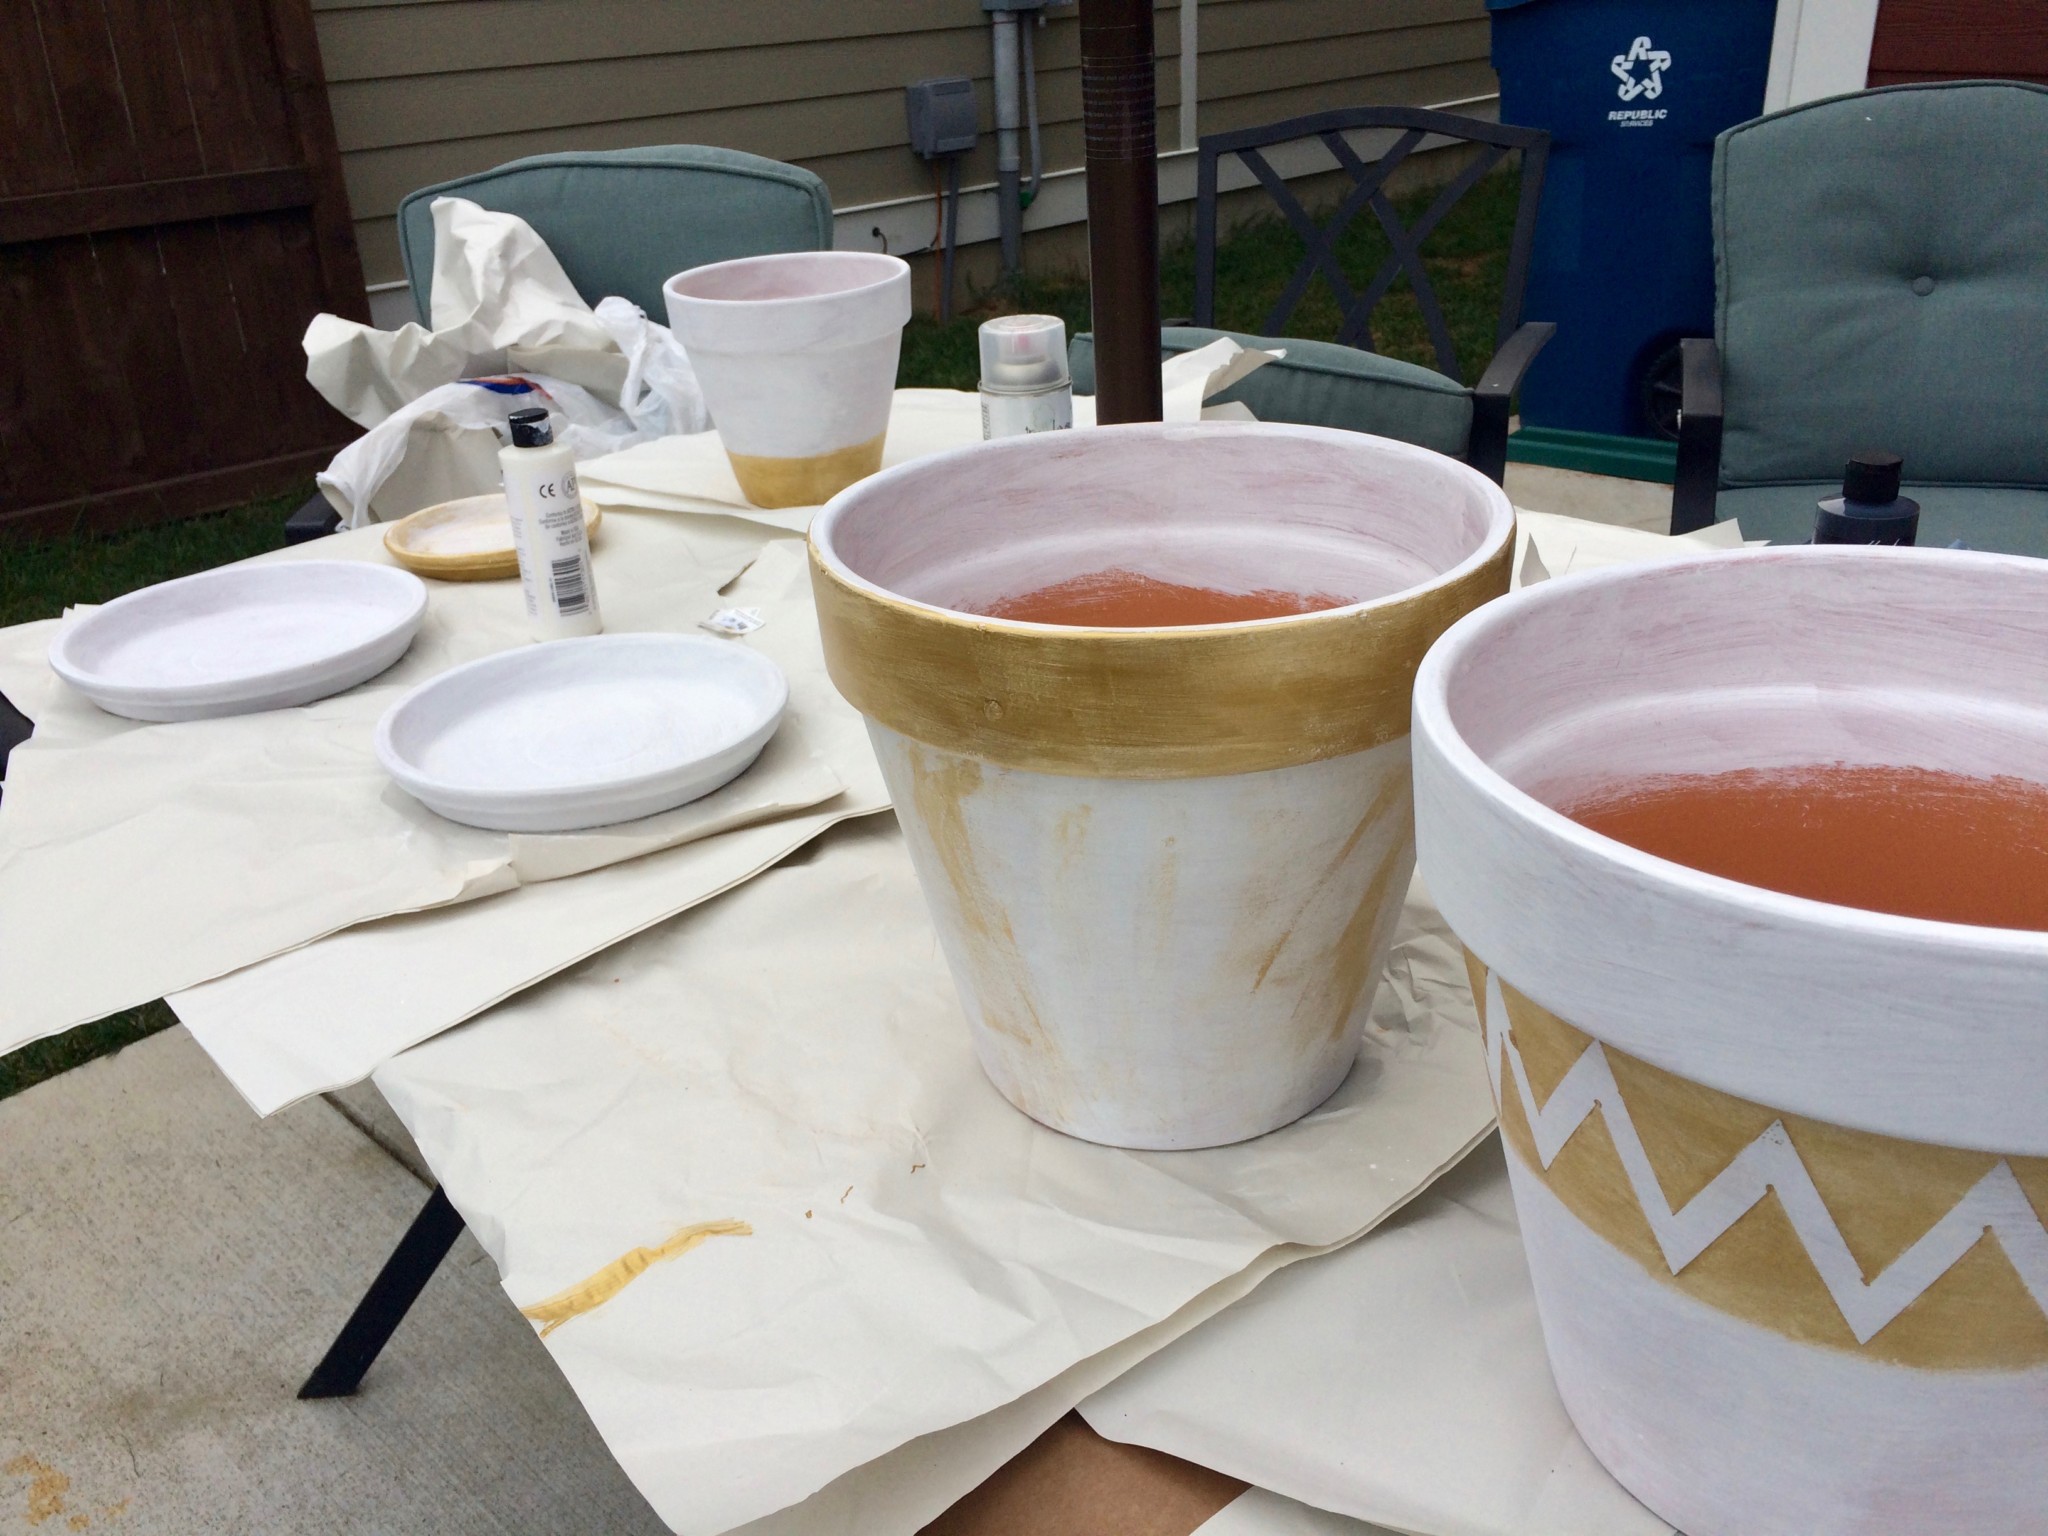
I painted the base and bottom section of the smaller flower pot gold for a color block look and left the larger two bases white. On the second larger flower pot, I painted the rim gold and free handed gold on the pot. I was very happy with the look. Once you have everything painted the way you like and all the paint has dried, spray over the entire pot with matte clear acrylic sealant spray. Sealant keeps your pots looking great.
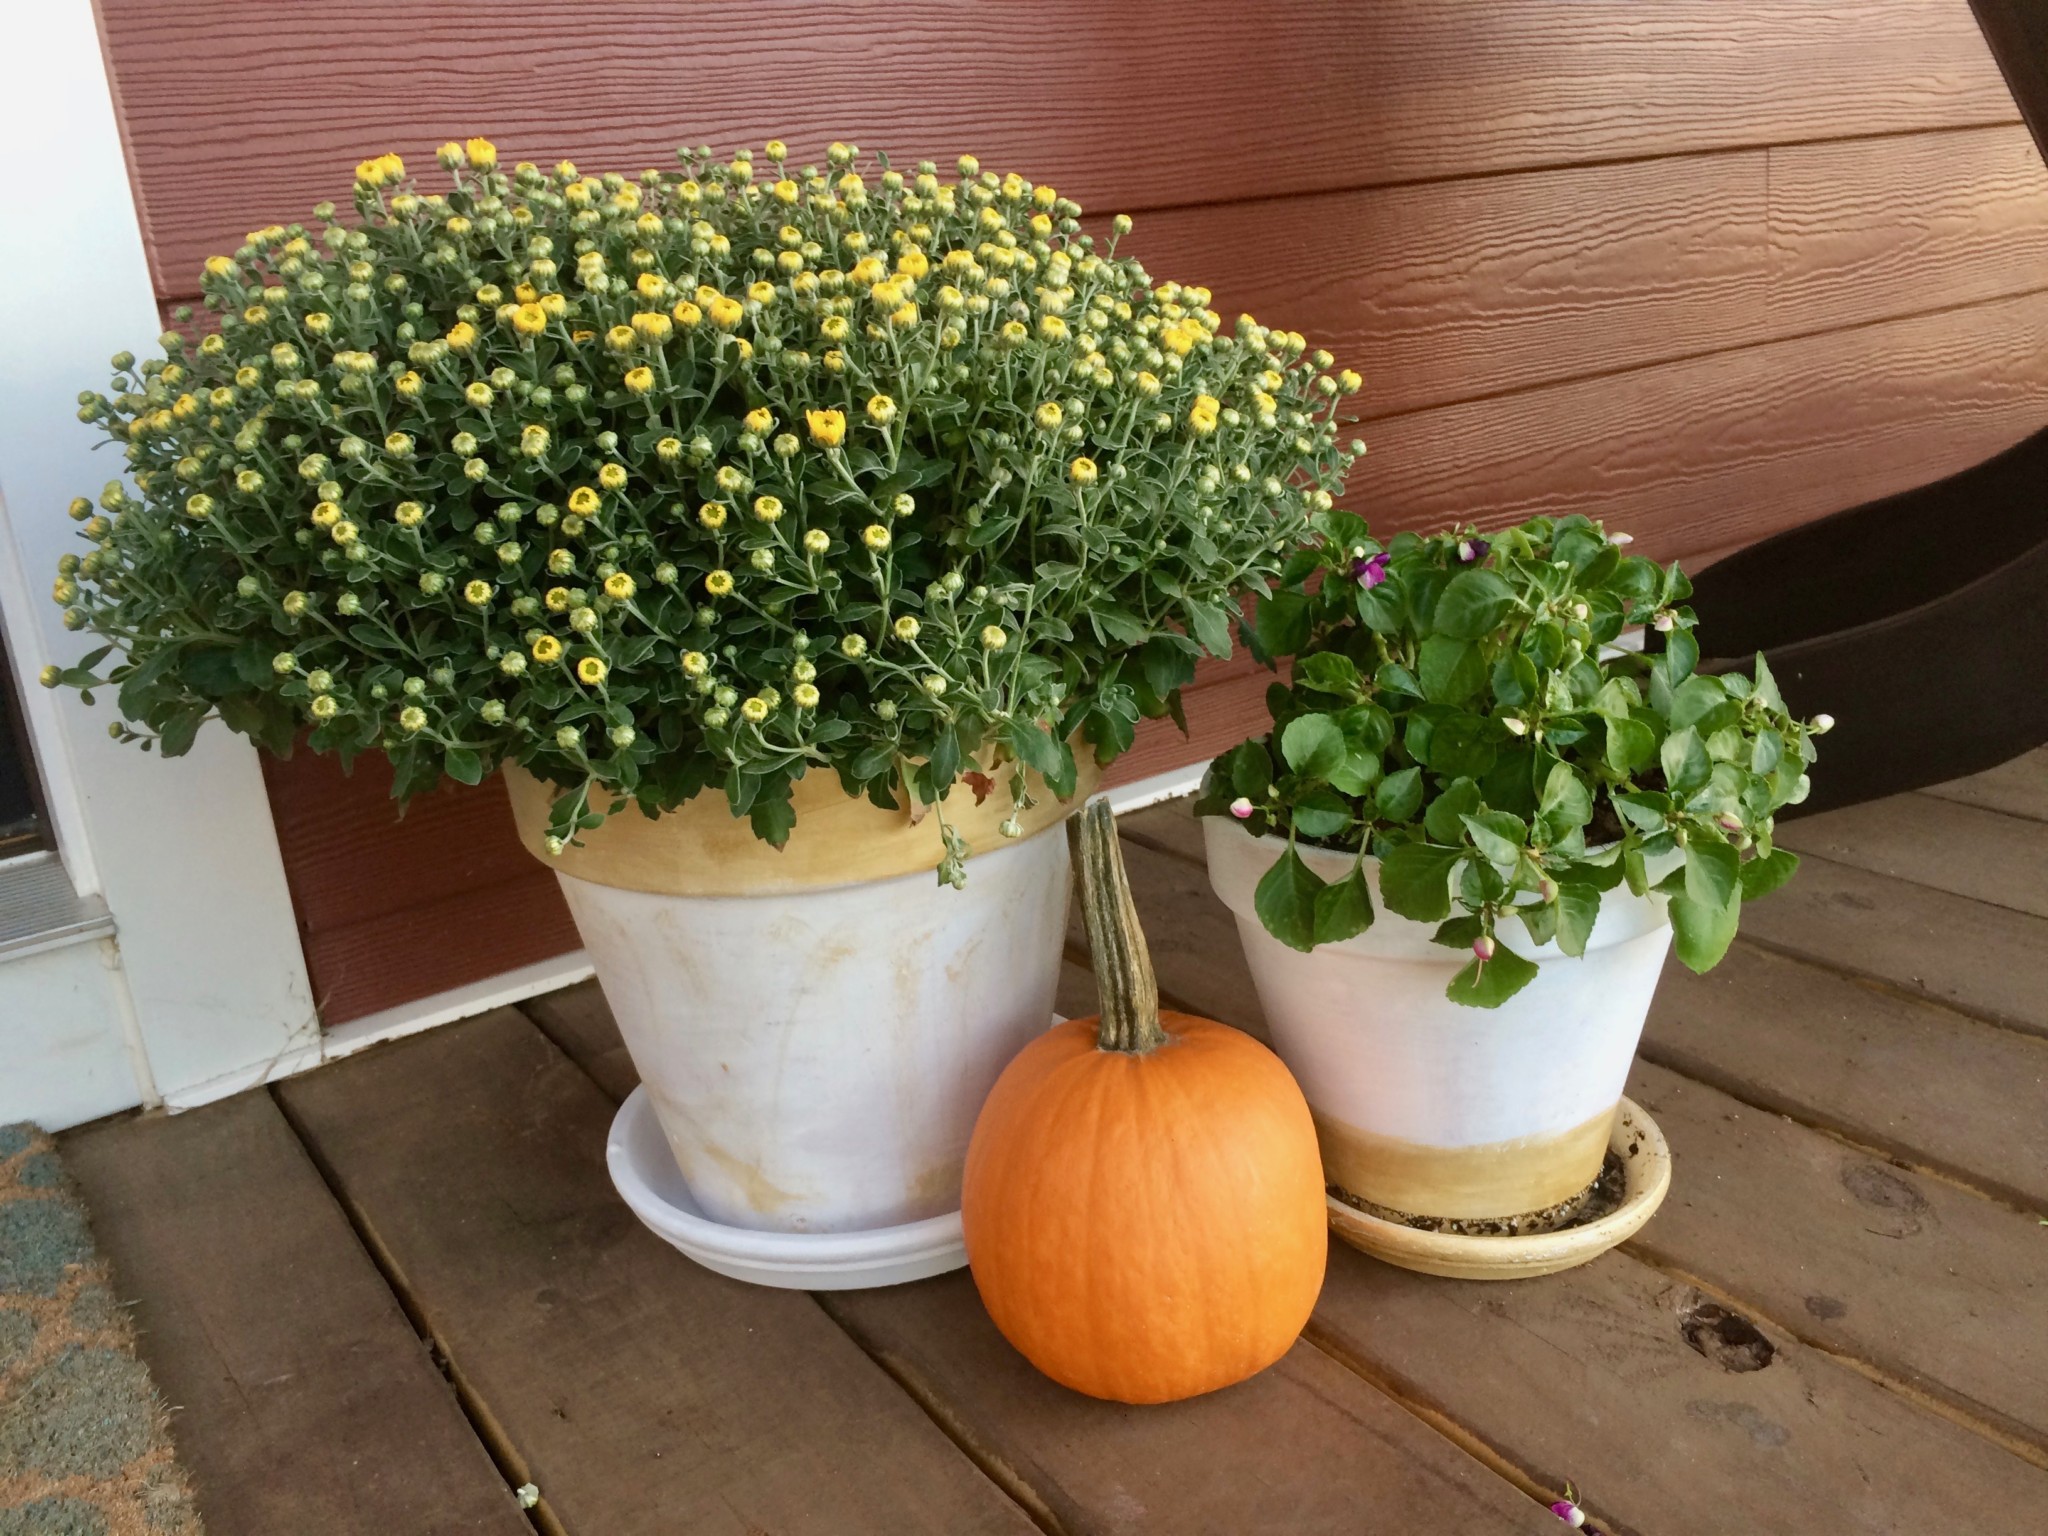
Plant Mums in the Finished Flower Pots
Now you have some gorgeous flower pots you’re ready to add plants. I had one outdoor potted plant in a planter a similar size that was growing well. I re-potted it in the smaller pot. I picked up the two medium sized yellow mums at a local farm down the street from our house. Before your place your plants in the pots, add potting soil. Remember to water the plants as directed. I paired the flower pots with a few pumpkins from the same local farm. The beginning stages of my fall porch decor is complete!