I recently ran the Star Wars 5K at Walt Disney World. One of the best parts of running Disney is all the crazy outfits people wear. After I signed up, I immediately wanted to have a fun outfit. Originally, I was going to make a crazy costume. That idea was over quickly once I remembered I had to be able to run in it. I decided on something I could actually use again and something that was easy to run in.
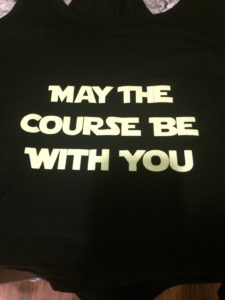
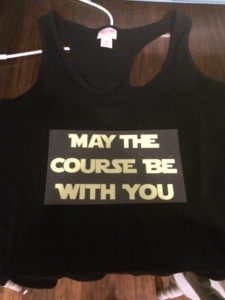
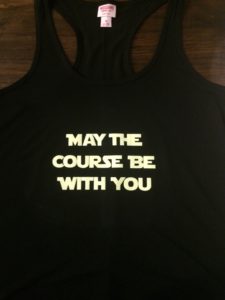
There are so many Star Wars RunDisney Outfits you can buy on esty, but why not just make one! It’s cheap, easy and you can add your own flare. The tank I made for the 5k said May The Course Be With You in yellow neon glitter letter. Here are instructions on how to make your own tank. ** This post contains affiliate links to products I use for your convenience and to support the continuance of this site. All opinions expressed are my own.
click here to read my review of the race
Supplies:
- Tank Top – Black cotton tank from Target ($8.00)
- Glitter Heat Transfer Vinyl – Neon Yellow from Expressions Vinyl ($3.49 plus shipping)
- Iron
- Cricut or Die Cut Machine
- Font of your Choice – Star Jedi font from dafonts.com (for personal use only!)
Directions:
I began the Star Wars RunDisney Tank by downloading and installing the font I was going to use to my computer. If you use a font from dafonts.com just follow the instructions. I have a mac and they were simple to install.
Open Up Cricut Design Studio
Once you have the font of your choice ready to go, open up your design studio and start a new project. All you need is the text box tool. Write out May The Course Be With You as individual letters, so you can manipulate the letter spacing correctly making them connect as the Star Wars font does. When the letters are aligned weld each word together and attached them together as a group.
Find The Right Size For Your Design
Measure the top and figure out how large the words should be and where they should be placed on the tank. Then size the words in your design space to match that. I did a test run and used my cricut’s writing function to write out the words on a piece of paper first in the size I wanted and taped the paper to my tank. I tried on the tank with the paper taped to it and doubled check it was the right size and location.
Cutting Glitter HTV
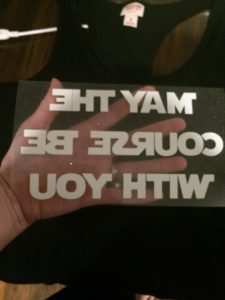
Once you have your letter size correct, reset the cricut to cut and set your machine to iron on. Make sure that you check the box for mirrored image before you cut anytime you are using iron on vinyl! This is important or you words will be backwards. Load your vinyl on your cutting board, check your settings and hit cut.
Heat up your iron using the setting provided with your vinyl. Do not use steam! The vinyl I used irons on at roughly 325°F.
Preparing To Iron
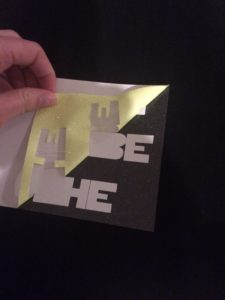
After your cut is complete, peel off the sections you are not going to be using. Photo above. Use your iron to preheat your shirt for around 3 second before sticking your vinyl to the shirt. The backing of the vinyl I like to use has an adhesive, so you can stick it right to the shirt. Once it’s stuck on the shirt, you are ready to iron.
Ironing On The Glitter HTV
Iron on a flat surface such a counter top with a towel over it to protect it from heat. You can use an ironing board, I think you get a better outcome with a harder surface. However, If you follow my advice be extremely careful to protect your counter!
You can use a heat transfer cover sheet to iron over the wording. I use a towel at first and then lower my iron setting and use nothing. You aren’t supposed to do that, but it seems to make it stick better for me. I don’t have the hottest iron out there. Press down for firmly for 10-15 seconds.

Removing The HTV Backing
Check to see if the corners of your letters are stuck to the shirt. If they are not, do not pull the backing off. Put another 10-15 seconds of firm pressure down and check again. Peel off the backing slowly while it’s still warm and then place a towel over the letters and iron over the wording one last time to make sure it’s stuck.
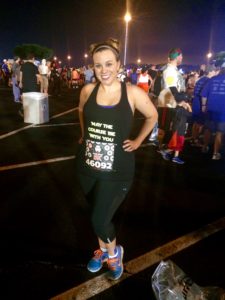
My Finished Star Wars RunDisney Race Outfit
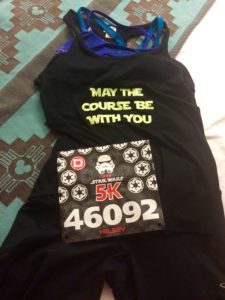
I paired my Star Wars RunDisney Tank with a gold, black and white sparkly headband I purchased at the race expo, black running tights from Target and my own version of Princess Leia buns! Have fun creating your shirt. Add your own flare to it and on race day you will know no one else will have the exact one as you! Don’t forget whatever you decide to wear, enjoy the run!
[…] Star Wars RunDisney Outfit » […]